Monthly Archive for June, 2011

New Mudflaps

New Mudflaps 
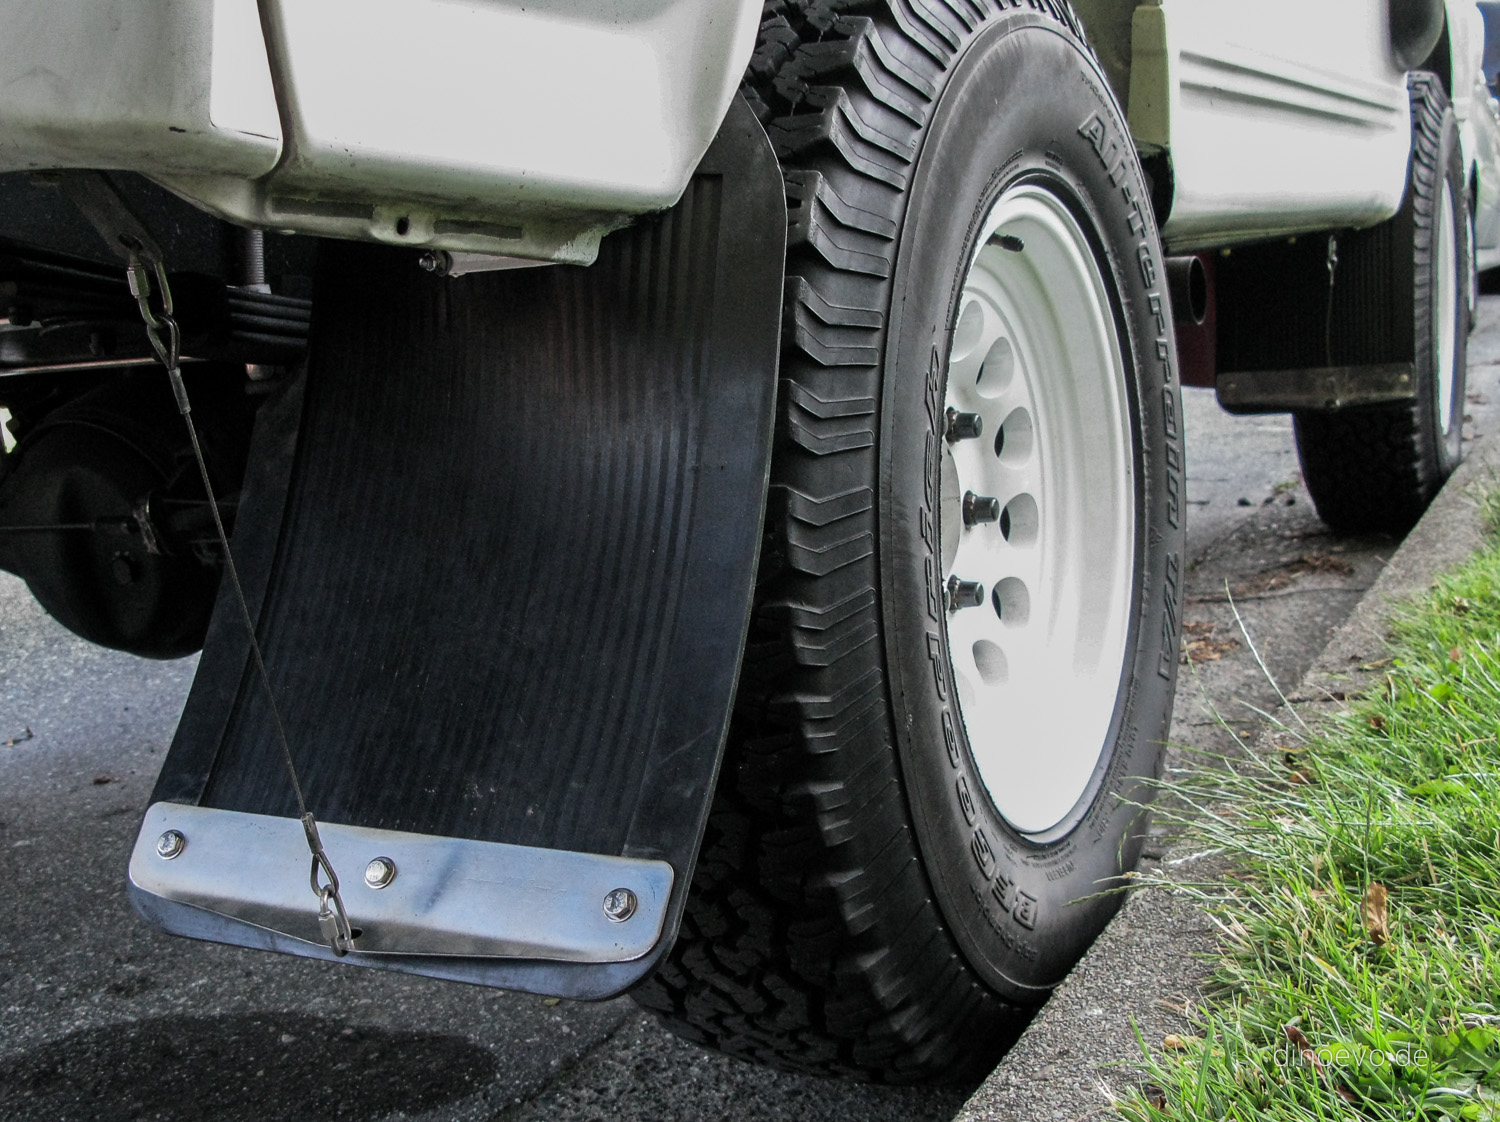
Our van came with red mudflaps from Japan, which I have to admit looked like they came off a poser car. Changing the mudflaps was quite low on my priority list, specially because I couldn’t find a perfect replacement for them. Either mud flaps (or sheets of heavy-duty rubber) are quite expensive, already pre-shaped to a certain car model or just too short for larger offroad tires. After hunting around for a while I found the right product on Amazon (yeah I know sound weird) for $14 a pair.
I kept the really nice stainless steel hardware from the old mudflaps and just replaced the rubber. Also I still had to clean up a few spots where I cut back the wheel arch to fit the larger tires. So I cleaned the metal, primed and painted it as well as sealed and rust proofed the area.

Interior Panels & Headliner

New Wood Panels 
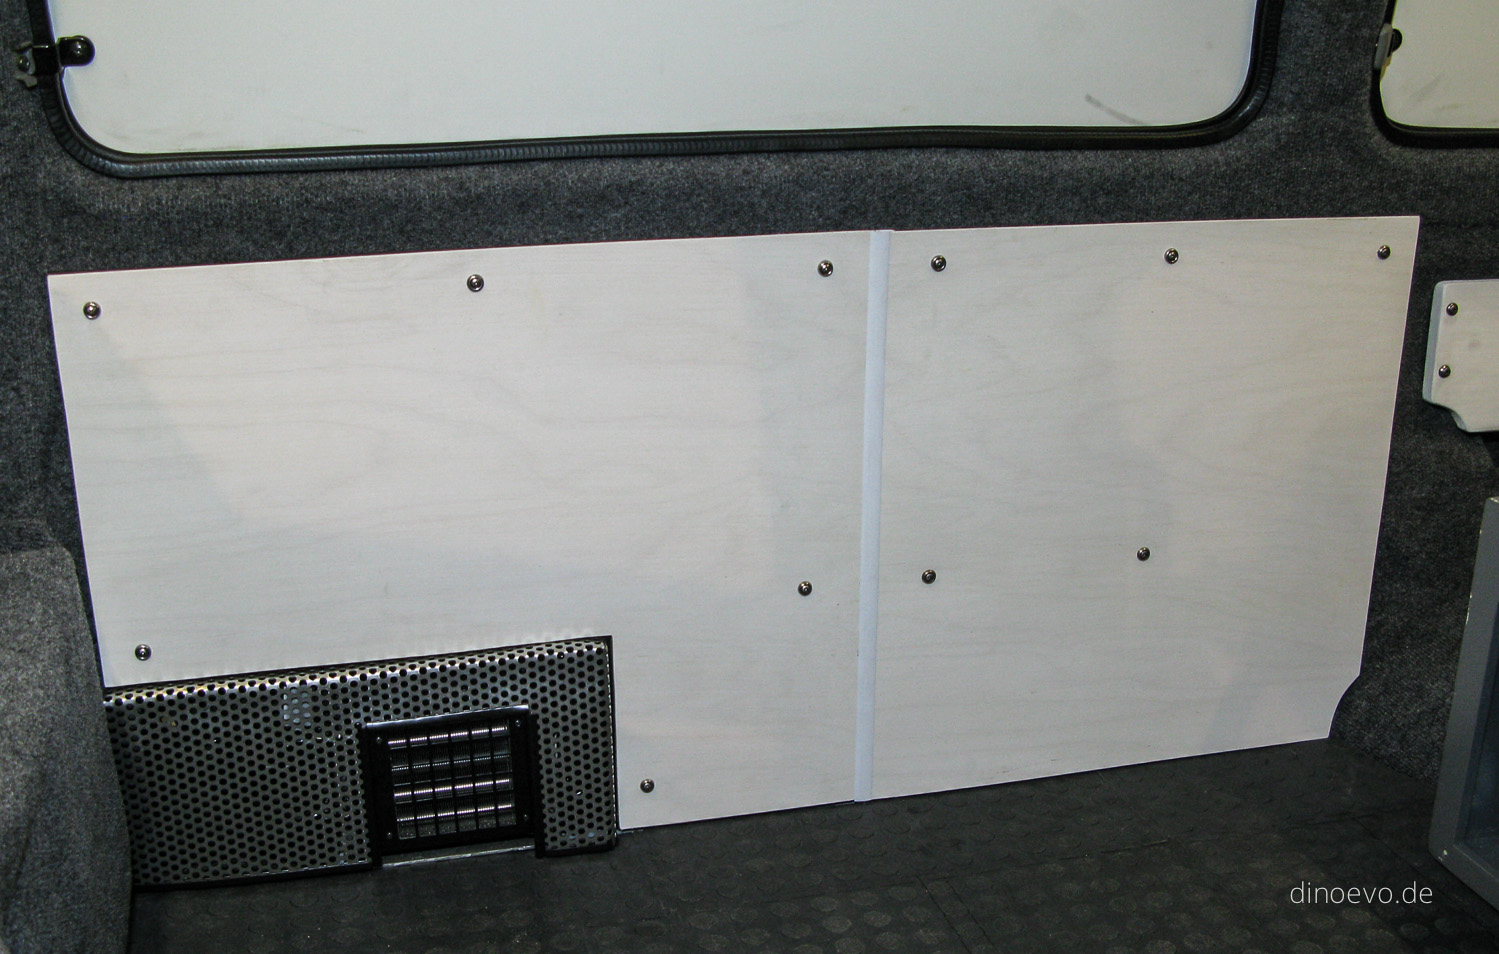
We didn’t really like the stock plastic interior panels. Also after I took the first panel off, I realized how much space was wasted behind it. So everything had to come out. As the interior is going to be our bedroom, living room and kitchen at once, we wanted something nicer and more comfortable. Wood was our first choice, but I didn’t want to add a lot more extra weight compare to the stock panels. After looking around I couldn’t find the right wood, till I talked again to Glenn from Vurv who already gave me a hand for the side windows. He had some 5′x5′ ⅛ Baltic Birch panels which are perfect for this kind of application. To give the panels a good protection, I stained them with Behr Outdoor Stain and finished is with a clear coat. After cutting them in the right shape I glued a layer of ¼ Neoprene on the back and attached them with finishing screws to the van.
New Wood Headliner The headliner was a little bit more complicated to mount as the wood panels had to be bent and pushed into the roof shape. First the old headliner came out, then I clued multiple layers of insulation to the roof and mounted the panels with the help of a friend in an overlapping pattern to the cross beams. Only two small seams are left which will be covered with LED stripes as our interior light. All in all we are very happy how the panels turned out.

Insulation

Neoprene Insulation 
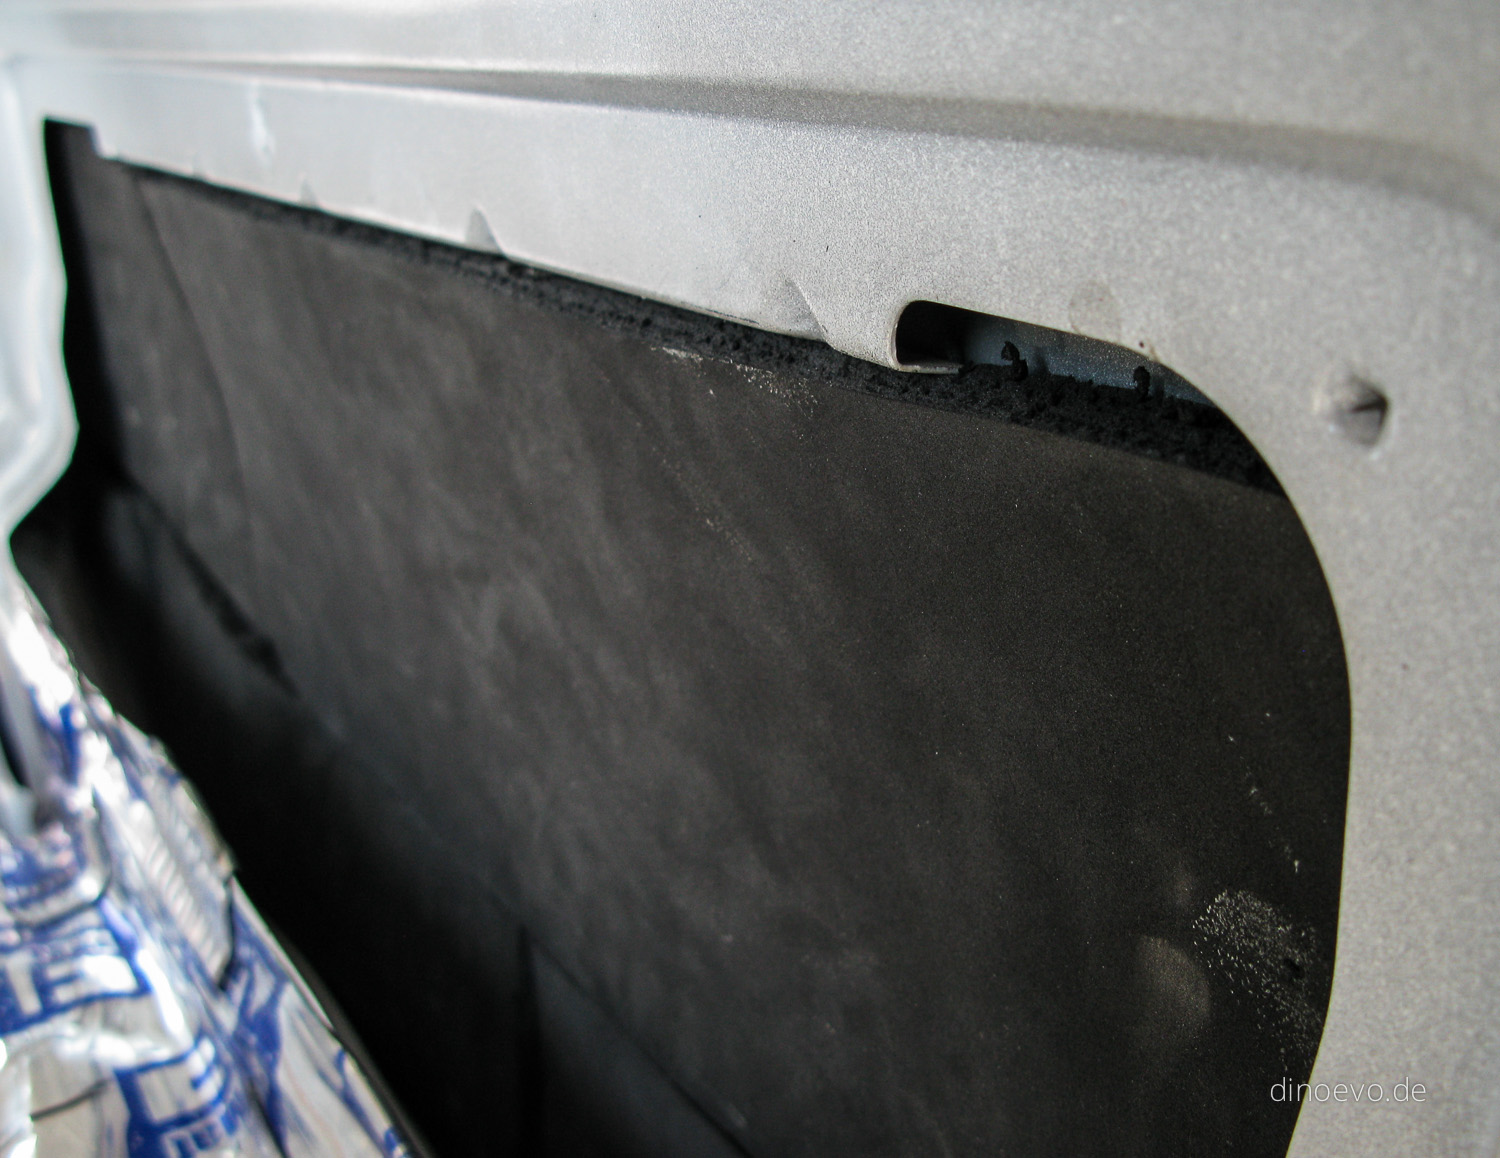
I recently finished insulating the interior. At first against noise and now against extrem temperatures. Important for the insulation material is the fact that is does not trap water. The only option I found – specially when you have only limited space and no straight walls to work with – is closed-cell foam. After some research I found Neoprene has one of the best R-Values in this category. Unfortunately it is not the cheapest material either.
In the end I picked a mixture of materials for different applications (windows, panels, headliner, floor). Every possible area is now covered with either reflective bubble wrap, Eco Foam or ½ inch High-Quality Neoprene which should keep the interior at a decent temperature on hot days and frosty nights.

Last Mechanical Work

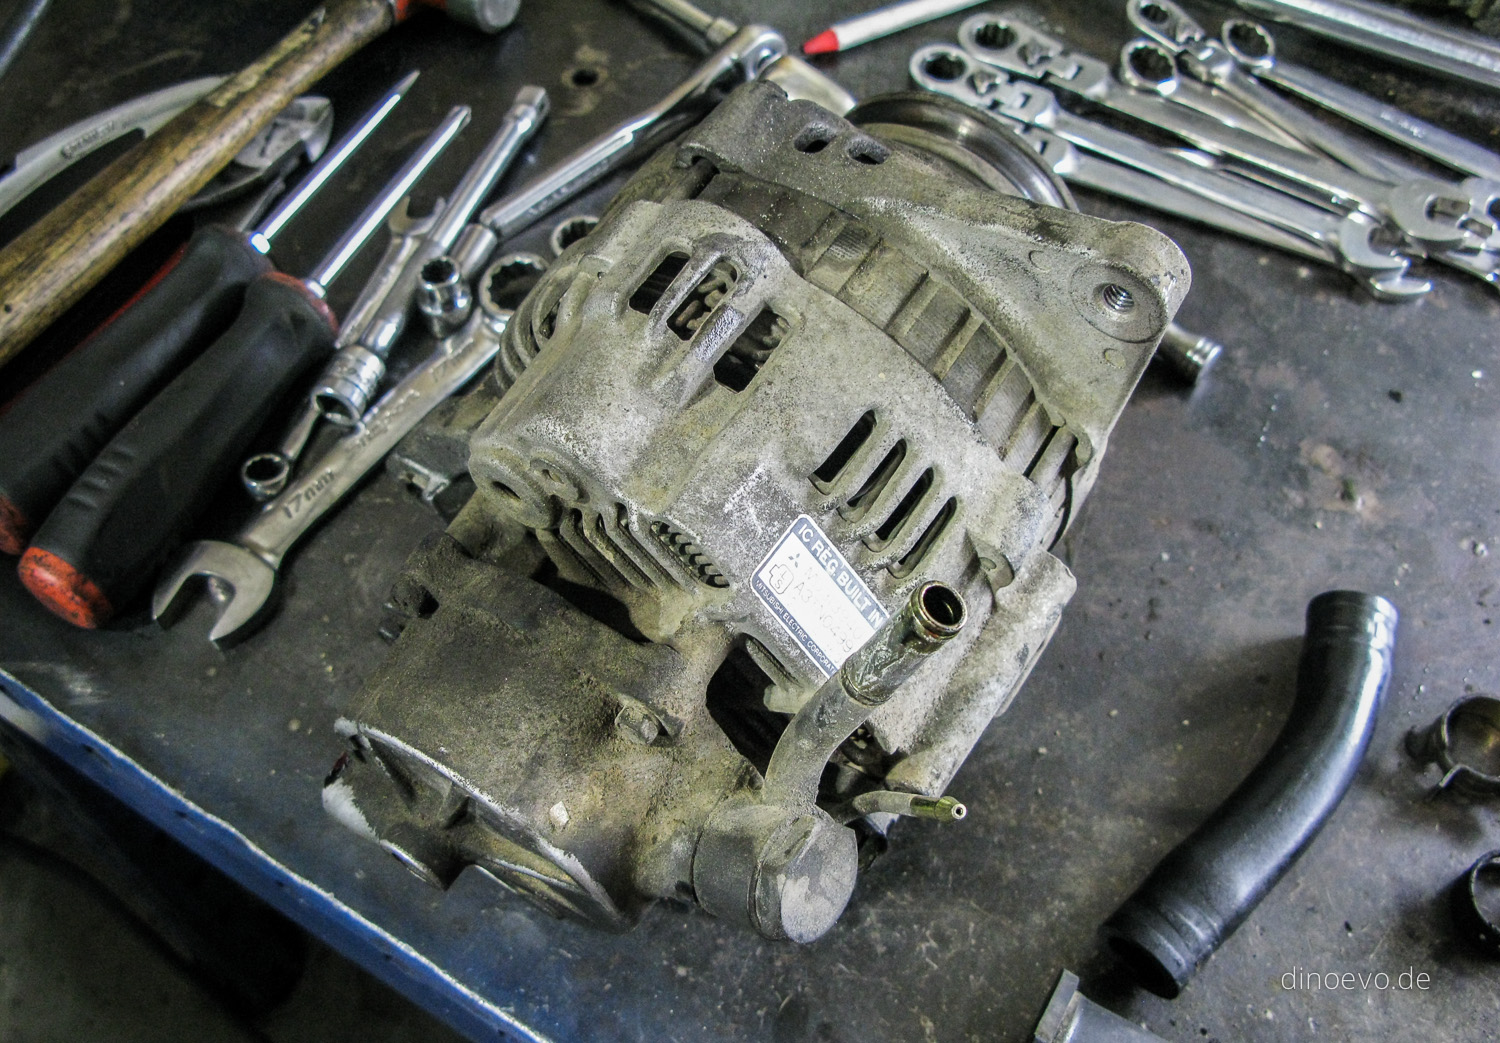
There were still a few things on my list of mechanical work I wanted to get done before we take off. Some of it was outside of my knowledge so I worked together with the guys at CVI to bring DinoEvo up to my standards and ended up doing the following updates:

  • New rear brake shoes
  • Replaced all remaining old coolant lines
  • Rebuilt alternator including new housing
  • New brake master cylinder
  • New fuel filter
  • Replaced steering boots and tie rod ends
  • New upper and lower ball joints
  • Replaced all CV boots
  • New sway bar stabilizer bushings
  • New clutch slave cylinder
  • New clutch kit

That should be it with preventive maintenance. I’m really happy how the van performs. Most of the components that wear out over time should be good now for a long time.