Monthly Archive for July, 2011

Tire Mount

Roof Rack Tire Mount 
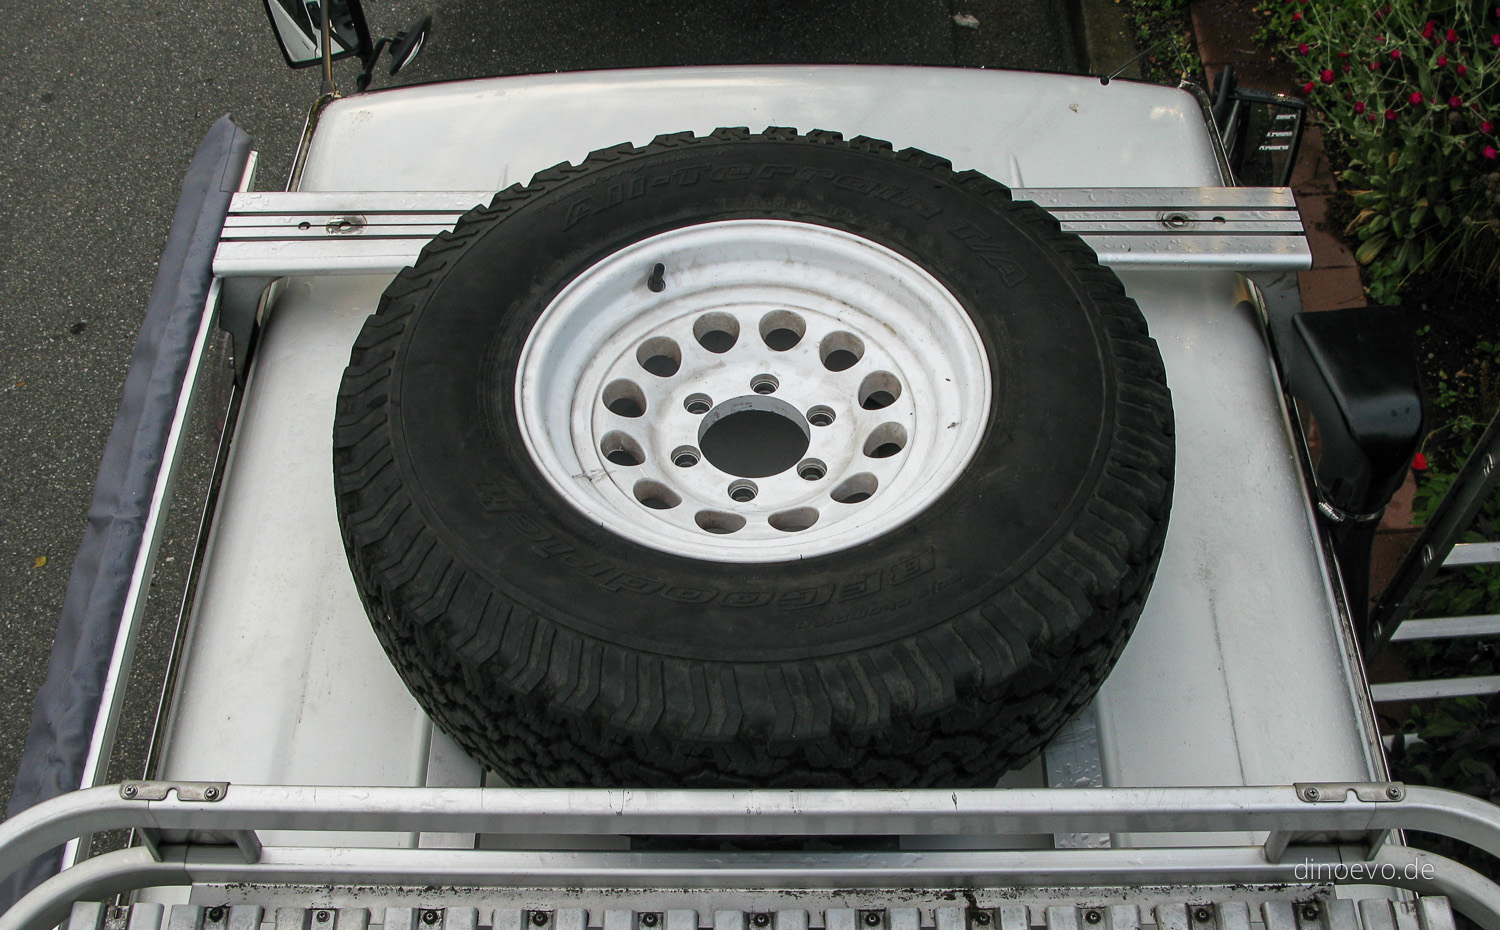
As the tire size went up on DinoEvo, the spare wheel didn’t fit in the original spot under the van anymore. Also the area is now used for an additional Diesel tank.
I was thinking about to do a rear bumper swing-away tire carrier, but decided against it for several reasons. It is very crucial for us to have easy and quick access to the trunk door. Opening the tire carrier several times a day would have been annoying. Another reason was the overall added weight of a heavy steel bumper. Sure, it would add more protection, but adding a couple hundred pounds just to carrier a tire wouldn’t be smart with the overall already limited payload. Therefore the spare tire went on the roof. Not as good for weight distribution, but the lesser evil.
DinoEvo came with a light-bar on the roof, which I took off right away. Now I used parts of it again to make the structure for the tire mount. The design of the mount is pretty simple. I bought some heavy-duty aluminum rectangular tubing and bolted four of them with stainless steel hardware to the existing roof rack as well as the old light-bar crossmember. The tire itself is going to be tie-down as well as secured with a lock.

Sliding Door Step [Updated]

img_2440 
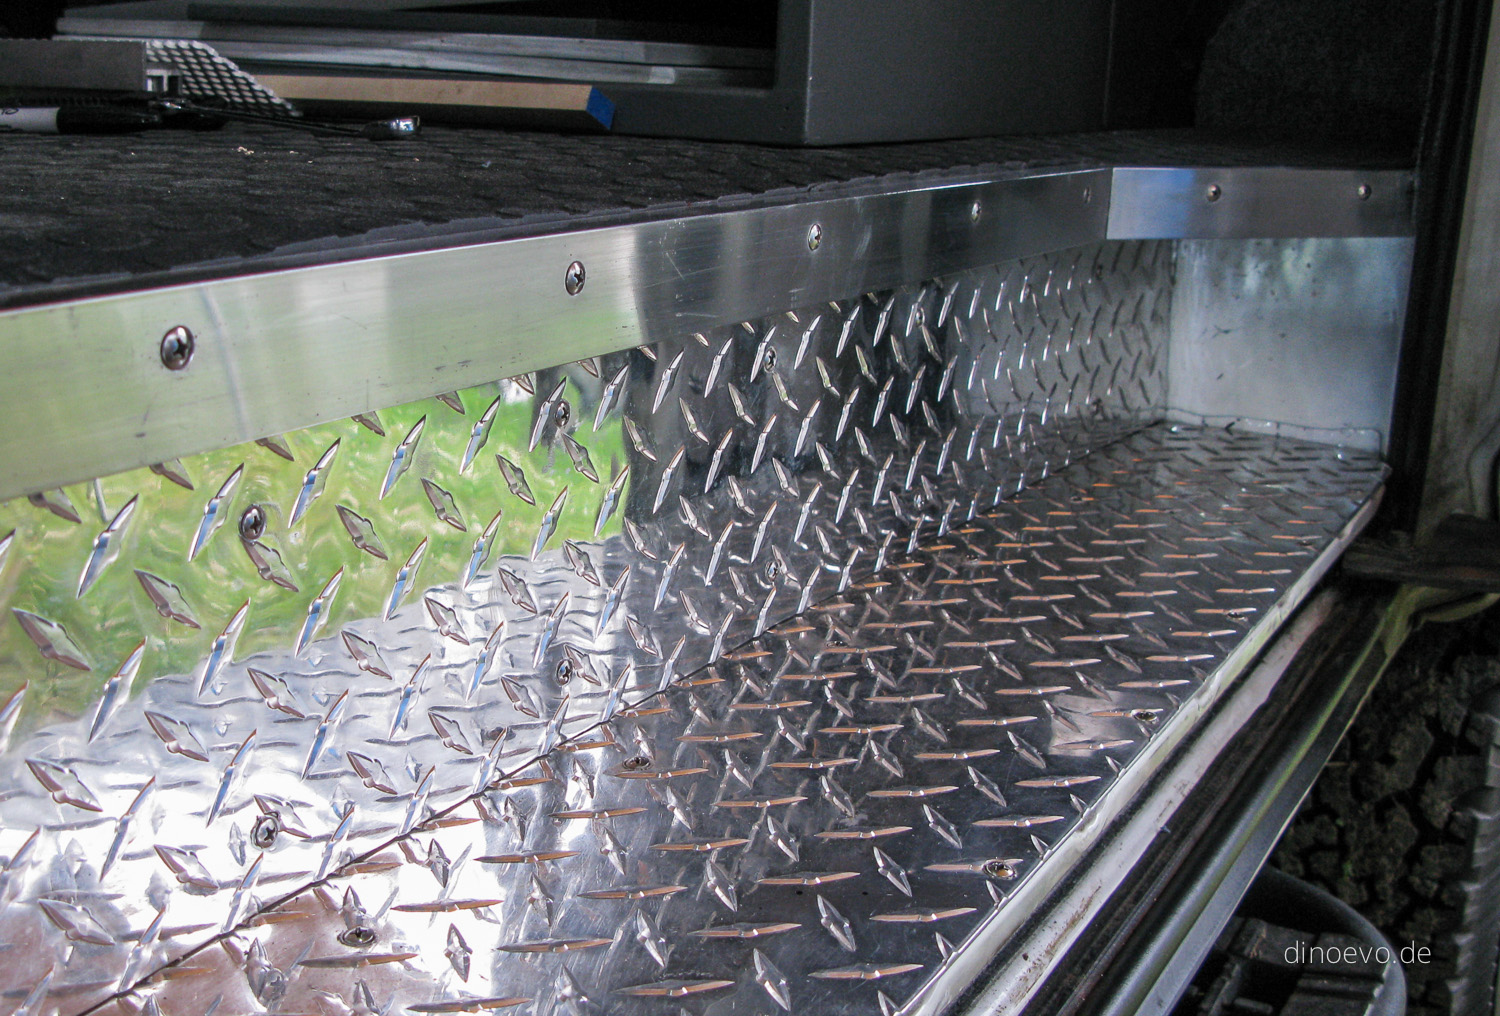
A while ago I took off the plastic side step at the sliding door. Hidden behind is quite a bit of space which can be used for other stuff. I didn’t want to have the paint exposed as you would probably wear it off quite fast with your boots. So I bought two pieces of aluminum checker plate at the Metalsupermarket for about $25, put some insulation and rubber floor behind it and screwed the plates with stainless steel screws to the body.
As for the little light I found a watertight light housing for boats which fits really nice in the existing hole. Later on I’ll change to bulb to LED.

Update July 2011:
After meeting with Pablo & Anna from viajeros4x4x4 I revised my initial plan of finishing the entry step a bit. They cut off both sided of the round corners to gain more space. While I found the rear piece quite useful I agree the front part is not. So I took a grinder and cut it off, finished the corner with some left over maple hardwood and bolted a thick piece of angle aluminum on it. Project done. Finishing touch on the sliding door entry

Diesel Coolant Heater + Hot Water Tank

Undercarriage Diesel Heater Box 
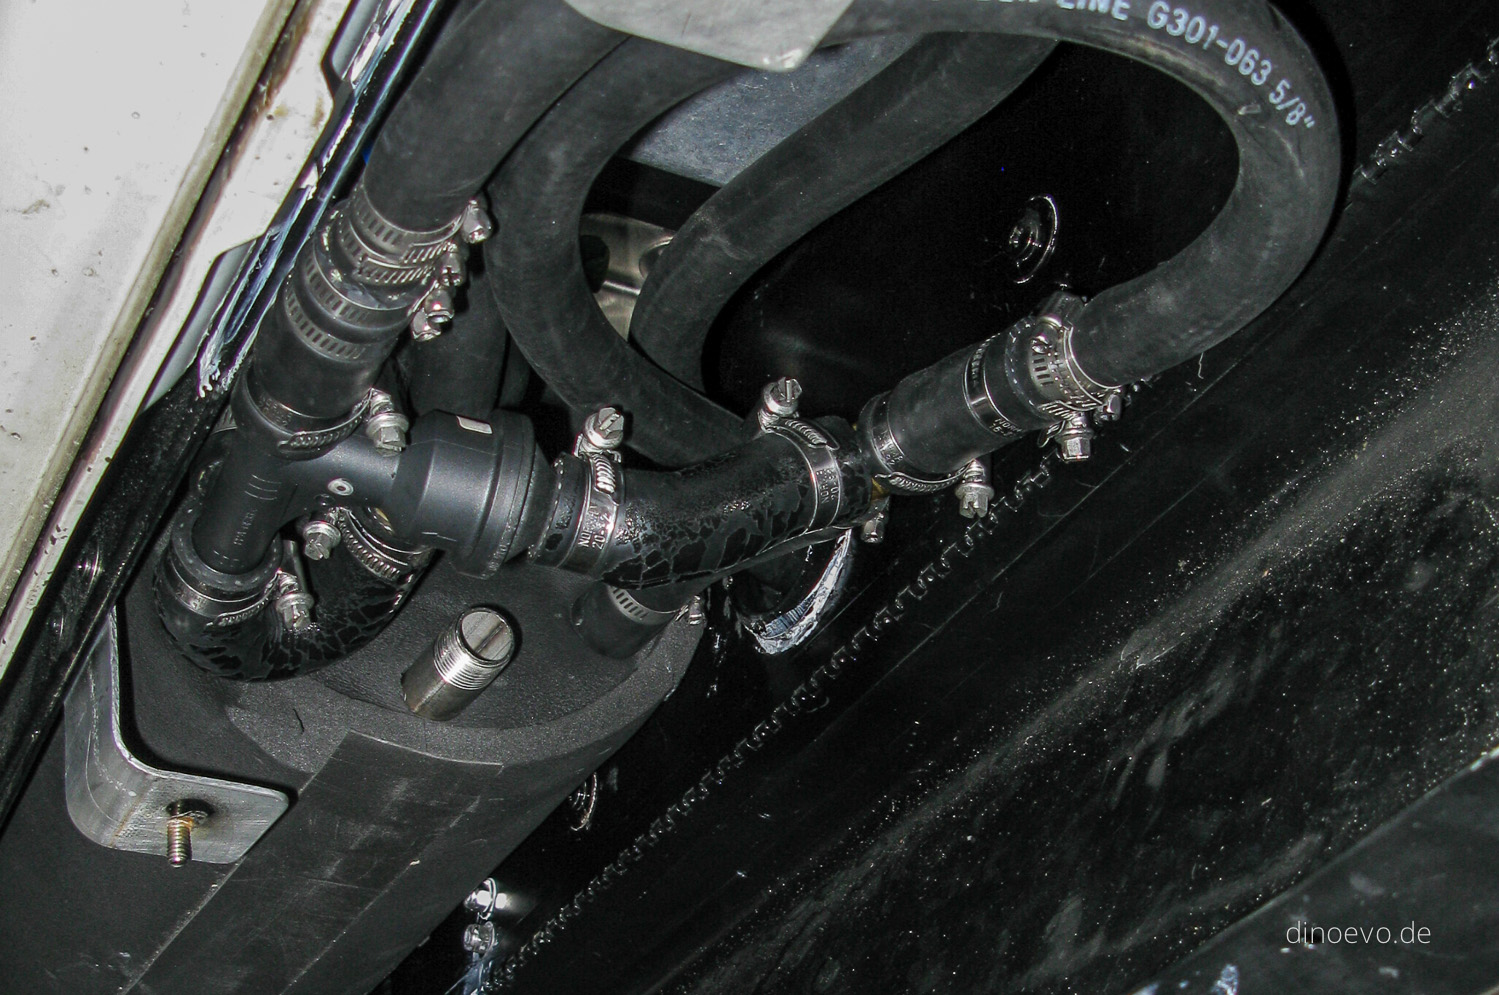
Having an auxiliary heating system with a hot water option was a high priority for us. Specially on longer trips in colder regions, a warm shower and warm interior makes a huge difference for you personal comfort.

There are many different ways of heating air/water in an RV. For us a Diesel powered coolant heater from Espar (Hydronic D 4 W SC) made the most sense for a few reasons. First its very compact as space is limited, second you only have to have one single source of fuel on board and third you can preheat your Diesel engine on very cold days. The reason for an Espar vs. Webasto is the better availability of spare parts worldwide as well as the possibility to run the heater over a longer period of time in high elevation (over 1500m above sea level – with special fuel pump sensor) which we are going to have a lot during our time in the Andes.

Finding the hot fresh water tank was a challenge as most of the RV or marine tanks in North America are way to big for the limited space we have available. I was close to get a custom tank made, but we finally found the perfect size at the Overland Expo in Germany. Elgena – an established company from Munich – offers all kinds of stainless steel water heaters in smaller sizes. We bought the Nautic-Junior M with 10 litre capacity.

After getting all the parts together, we had to find a space to mount them. Most sense made for us to take the rear air-condition and heater core out (front AC is still working) and build a box for everything. After months looking through ads on Craigslist I found an old toolbox with almost the exact measurements we need. I sandblasted the box and gave it a few coats of paint and mounted all the brackets. The big opening on the side of the tool box matches up with one of the openings of the old rear heater. So all the cables and hoses are going up to the cab this way.

Diesel Heater - Bus Heater Core Next step was to mount a new heater core inside the van. I found a small auxiliary heater core at Princess Auto. The quality (and noise) of the 120mm computer fan mounted on the back of the core was not the best, so I upgraded it with an ultra-silent fan and installed RPM dial switch to make it even more quite. Right above the Diesel heater was a big enough spot behind the side panels to mount the heater core.

The fuel pickup of the Diesel heater is connected to a Scepter military fuel can inside the van for two reasons. First, I still want to be able to mix WVO on warm summer days into the engine fuel tank and second on really cold days – when you actually need the heater most – the Diesel won’t gel up in the warm cab.

The plumbing inside the box was very tricky and time consuming. I wish there was more space as there are a tons of hoses going back and forth. The system is set-up in way that the fresh water tank gets even heated with just the engine coolant alone. So basically when we drive around and come to a campsite, the water is already hot. The same is with the rear heater core. It also works without the Diesel heater. Only if we are camping for several days at the same spot or for cold nights we need to use the Espar.

A schematic overview of our system:
System Diagram
Coolant is coming from the engine to a temperature sensitive valve (1). It goes than to the Espar (2) and gets heated up. Hot coolant is going to the Elgena hot water tank (3) and heats up the water. After that it goes to the auxiliary heater core (4) inside the cab. Than coolant is going back. Now the valve (1) comes into play again. Initially, up to a cooling water temperature of approx 67 °C, the heat from the Espar is only fed to the heat exchanger and hot water tank – inside of the vehicle and water heats up fast. From a cooling water temperature of around 67 °C, part of the heater’s heat is also fed to the Delica’s engine. This slowly heats the engine circuit, without causing the “small cooling water circuit” to rapidly cool down.

So far everything is running how it should, but we still need to extensive test the entire system as well as hook up the fresh water tank.

Carpet Panels

New Interior Upholstery 
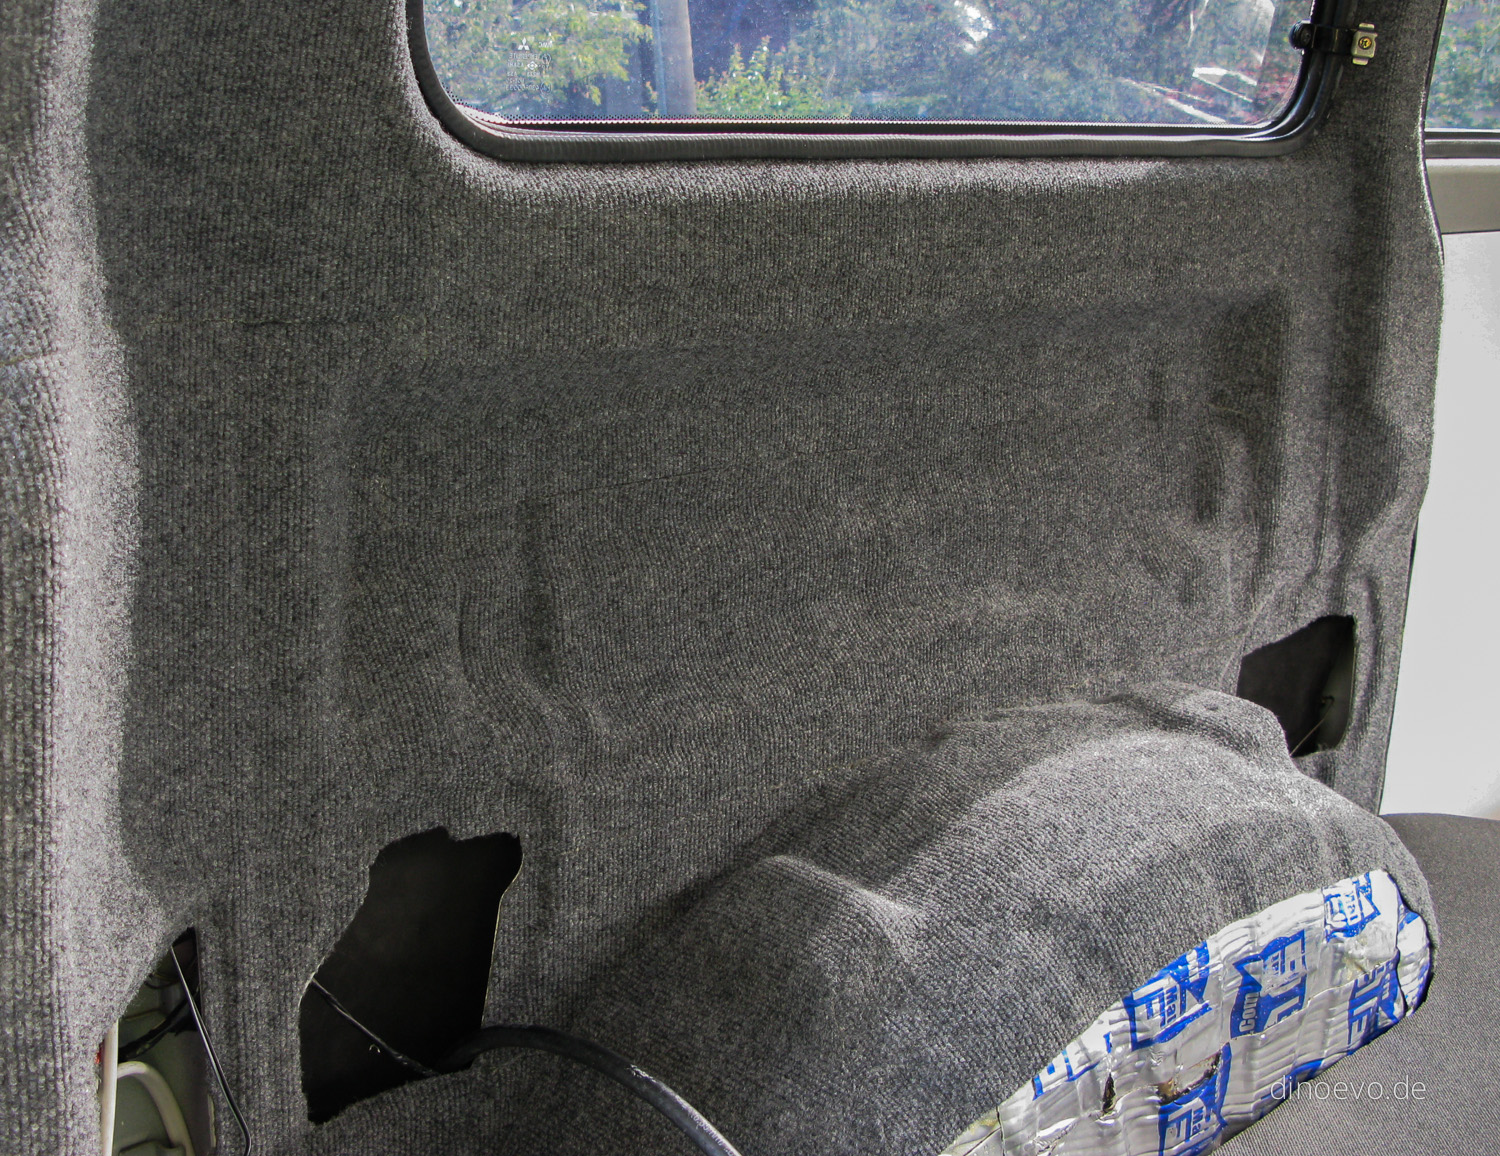
Our Delica – a GLX model – came just with plastic trim, which wasn’t the most comfortable looking finish. Also as I took the side panels and headliner off to gain more interior space, sheet metal got exposed.
Looking around for different options to cover everything in a nice way, I came across a thin Indoor/Outdoor carpet at Home Depot. The 6′ x 8′ rug has no backing material which made it very flexible to wrap around corners. After testing a few different ways to glue the carpet down, I went with Contact Cement.
Beside the strong fume, working with Contact Cement was straight forward. Just make sure your pre-cut piece of carpet fits perfectly, as there is no way you can adjust the position once both surfaces touch each other.

After about 6 liters of glue, 1.5 rolls of carpet and about 30 hours in total, the panels were all covered.

DinoEvo meets SuperExceeded

At our last local Delica gathering I had the chance to check out an interesting mod of another l300 owner. Arnold – the owner – cut the end off one Delica and welded the half of another Delica together. Pretty crazy undertaking with a unibody vehicle and a little 2.5 Diesel engine, but I have to admit it looks cool. He is planing to swap the engine, transmission and power the third axle as well as change the front suspension to a solid axle. So a lot of work ahead, but the start is done. Looking forward to see the finished van someday…

Check out his website: superexceeded.com