

Wiring Diagram
A very helpful document throughout the entire project was a proper wiring diagram. The quality of the printouts and handbooks I found …
A very helpful document throughout the entire project was a proper wiring diagram. The quality of the printouts and handbooks I found …

Quite a few people asked me how I solved the interior light. First of all, every illumination is done with LEDs as …
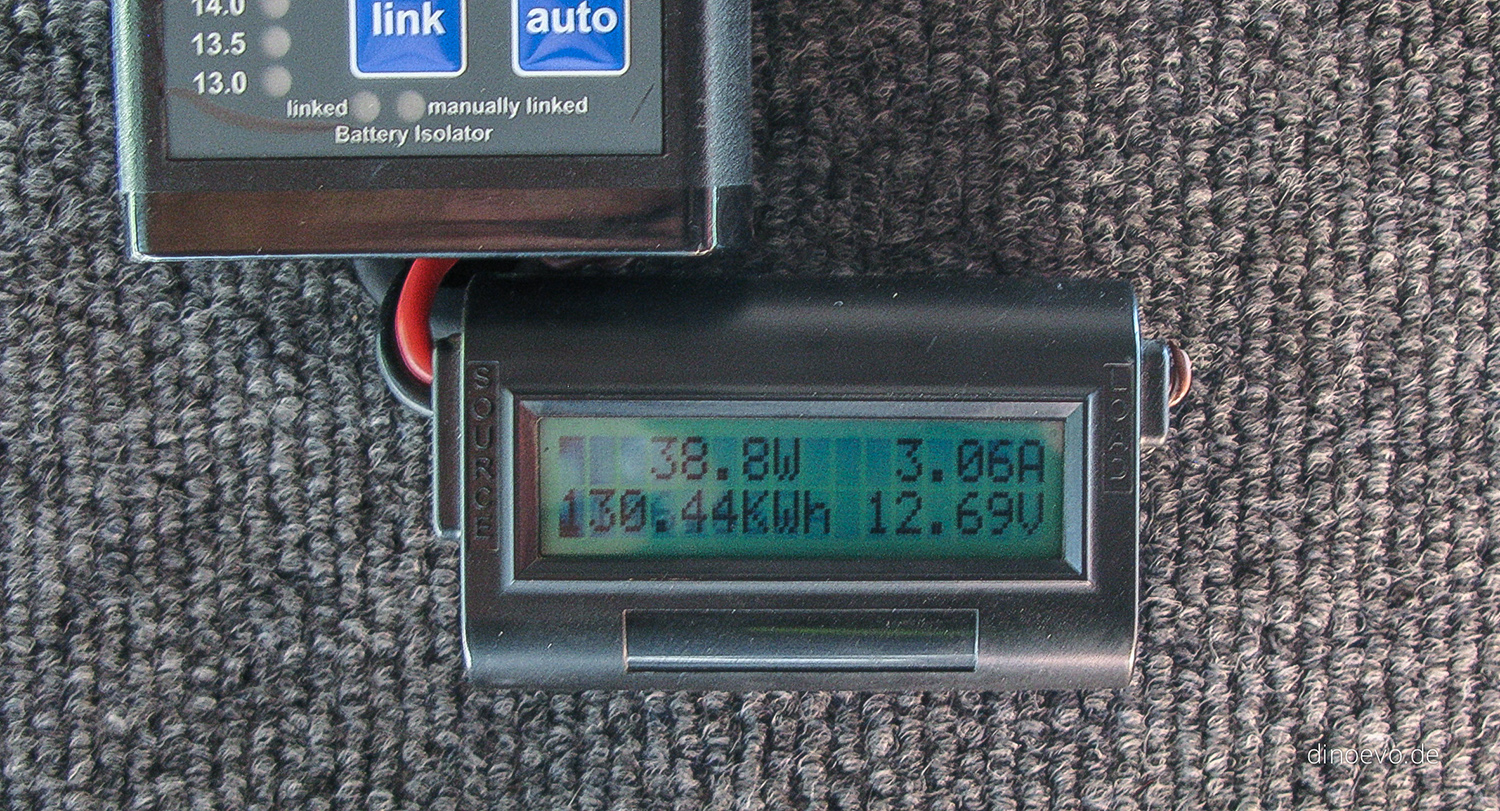
To get more information about how our auxiliary battery is doing, we installed a DOC Wattson RV & Marine Battery Monitor and …
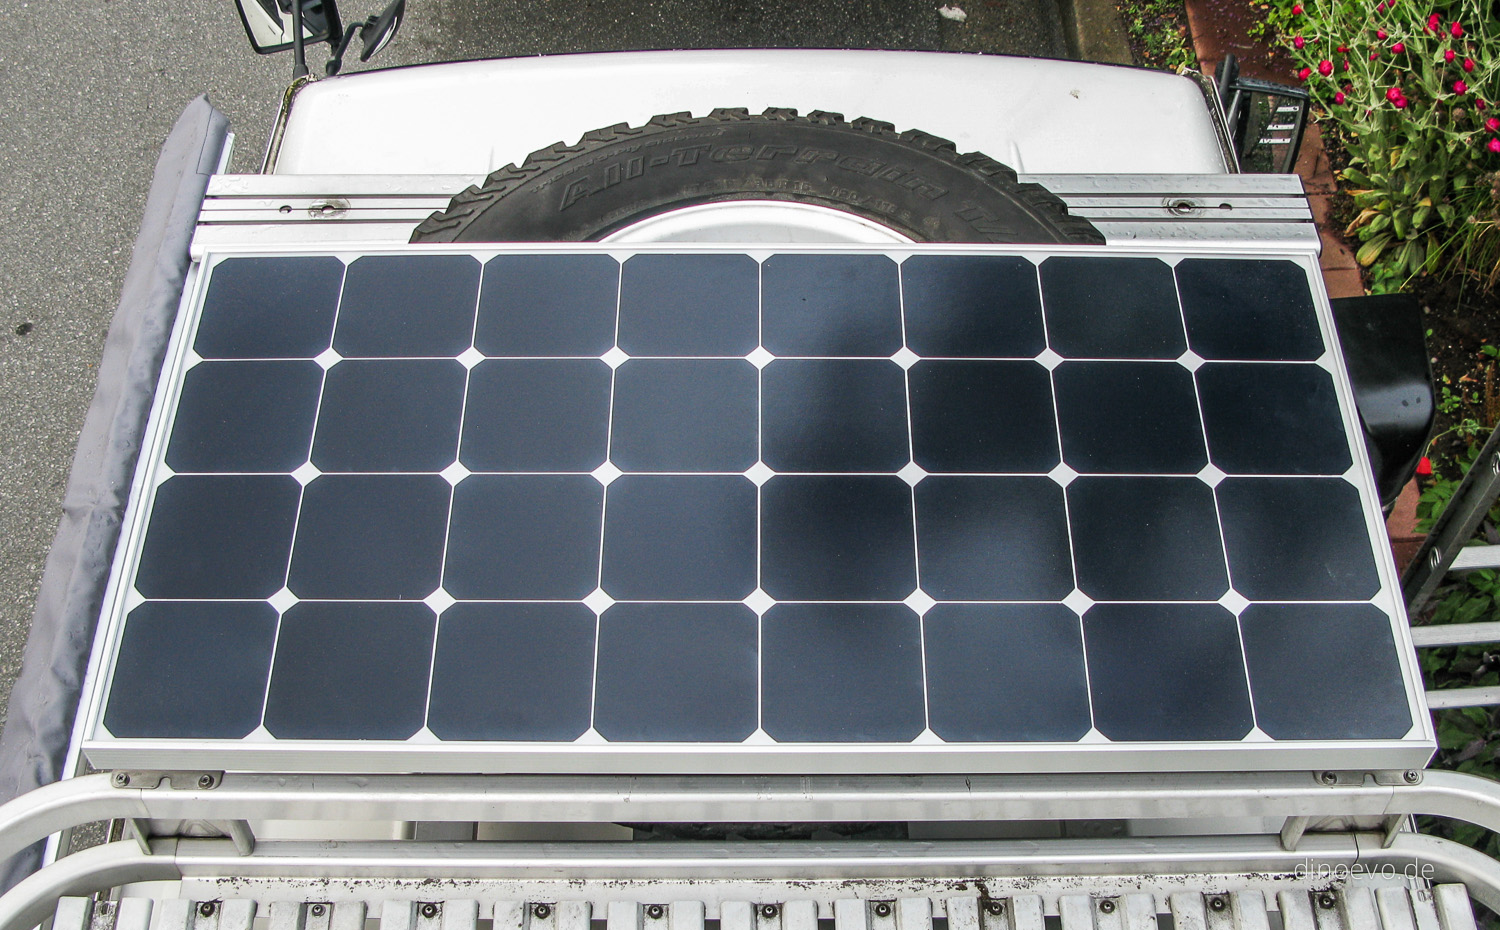
Another addition to our electrical system is a 100W solar panel from GrapeSolar*. Manly to extend our off-the-grid or not-driving-to-charge-the-battery time. After …
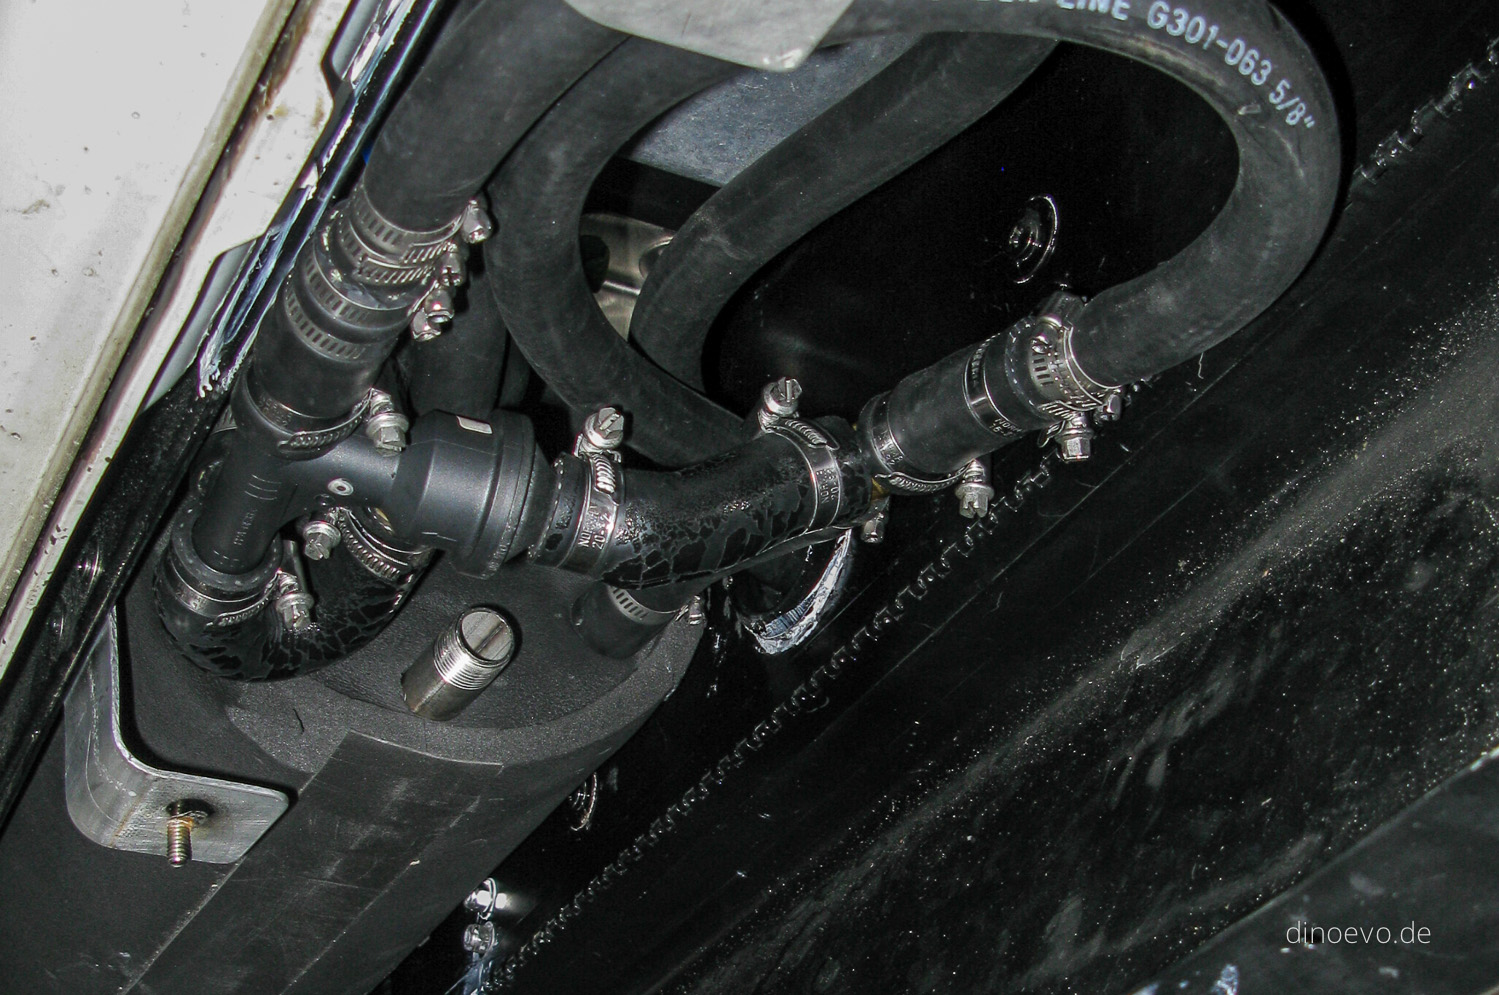
Having an auxiliary heating system with a hot water option was a high priority for us. Specially on longer trips in colder …
Due the lack of interior light from the roof insulation project I went on and installed a Vision X LED utility flood …
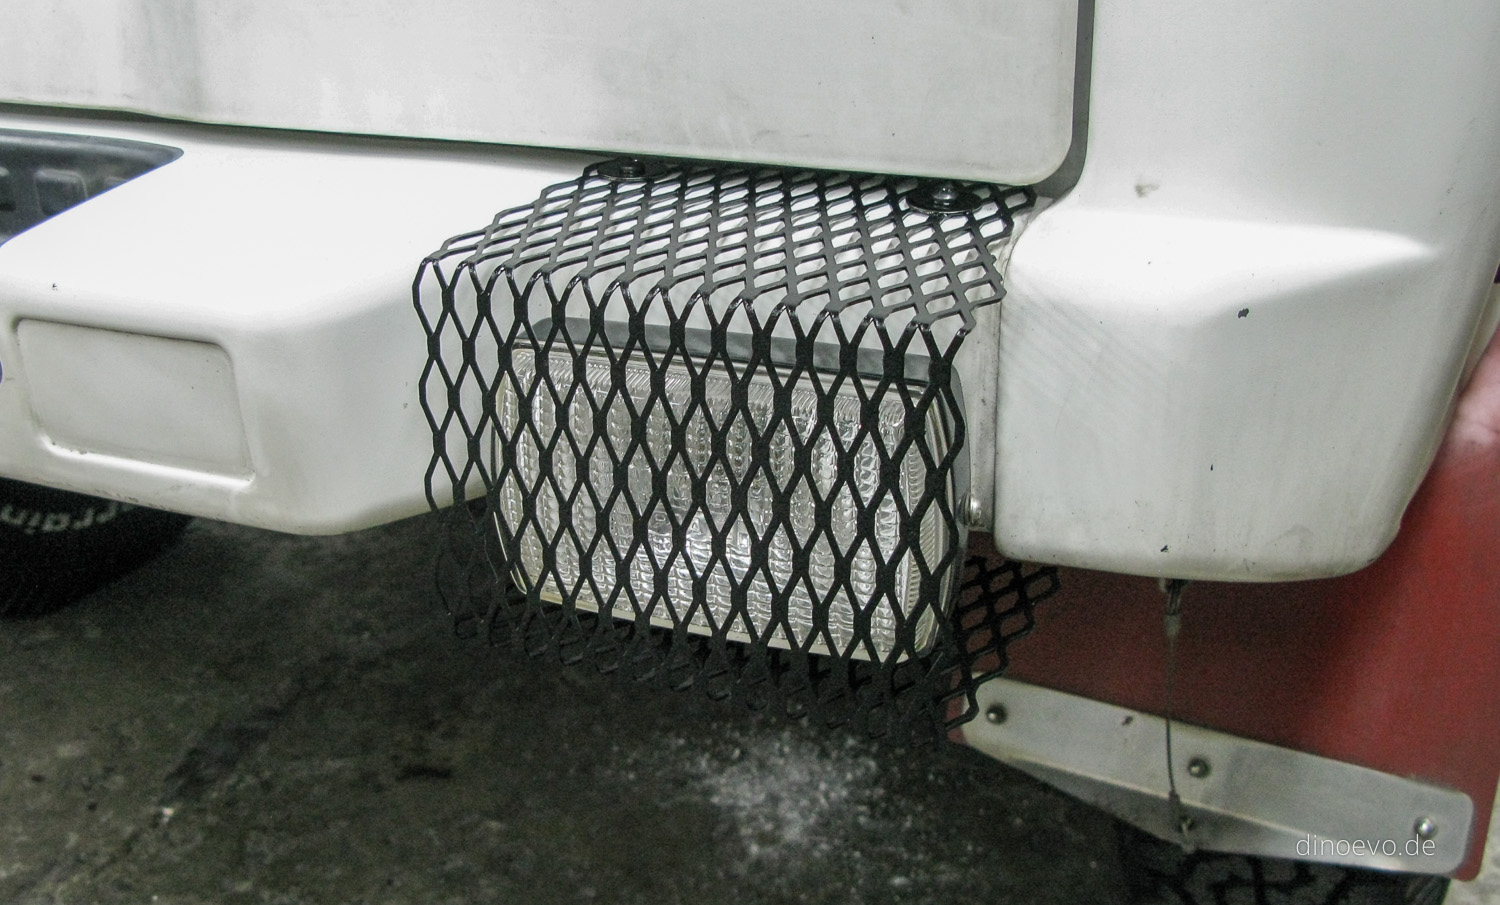
Reversing at night with the flimsy stock backup lights and limo tinting is quite challenging. To make it easier we have two …
A few electrical projects got done over the last week with the kind help of a friend. Usually, I don’t use the …
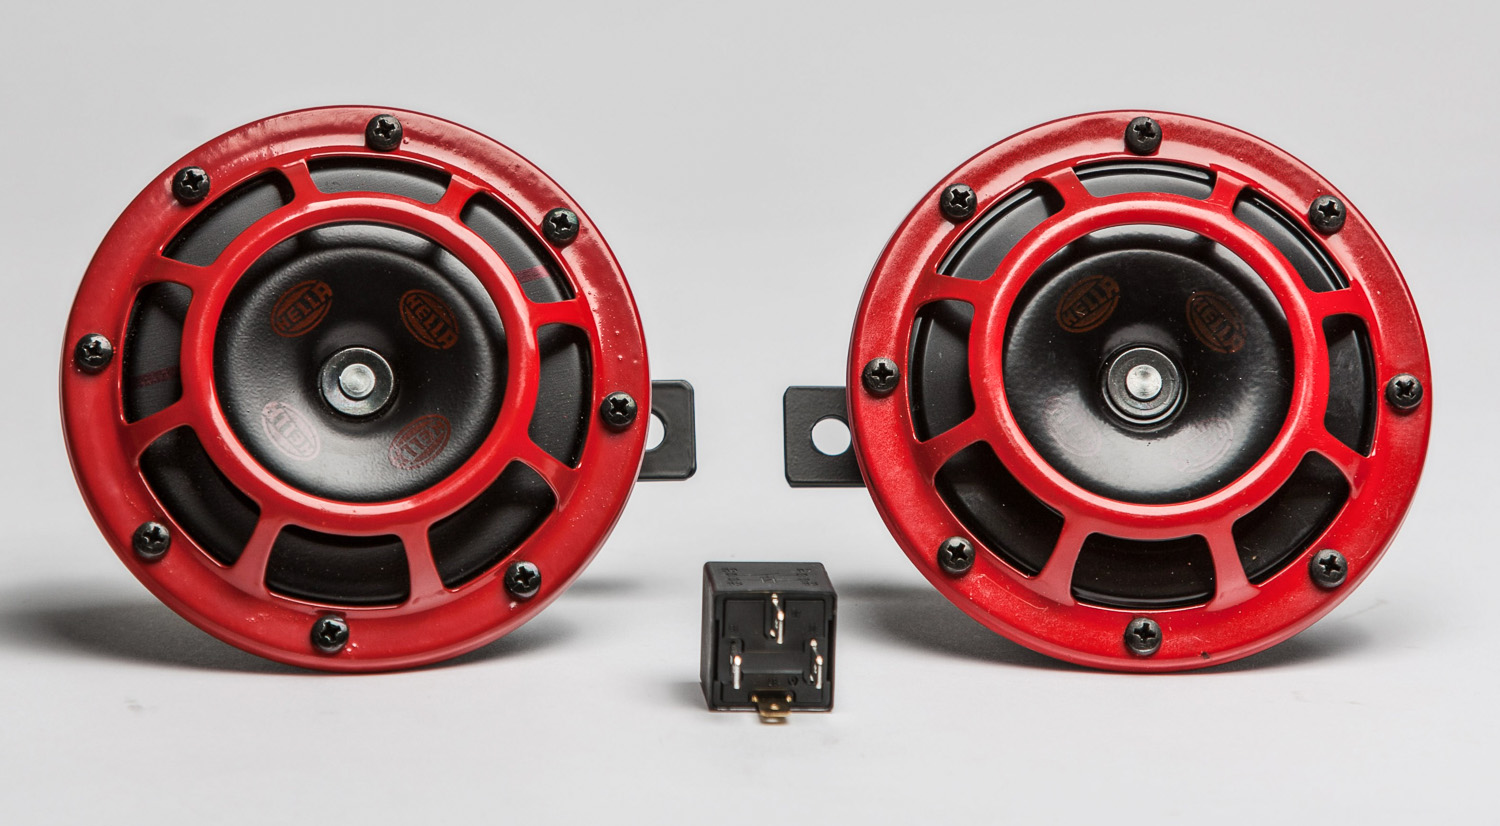
Beside larger modifications I also worked on some small jobs over the last few weeks: A good indicator to see if someone …
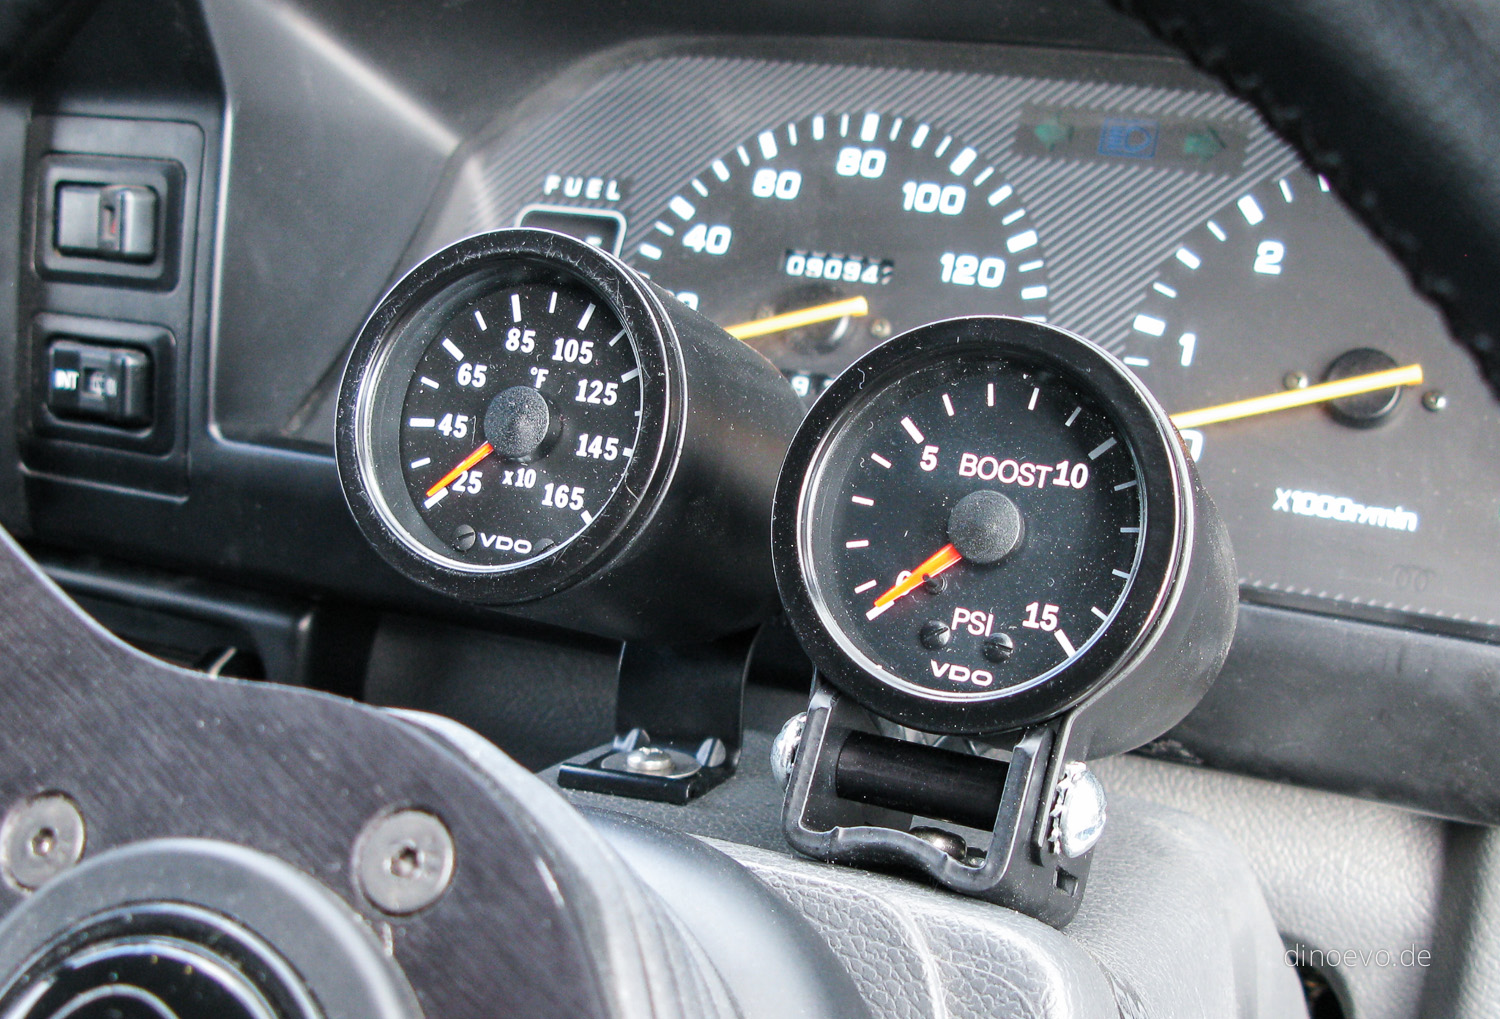
To know a little bit better what’s going on inside the engine I installed a pyrometer (for the exhaust gas temperature) and …
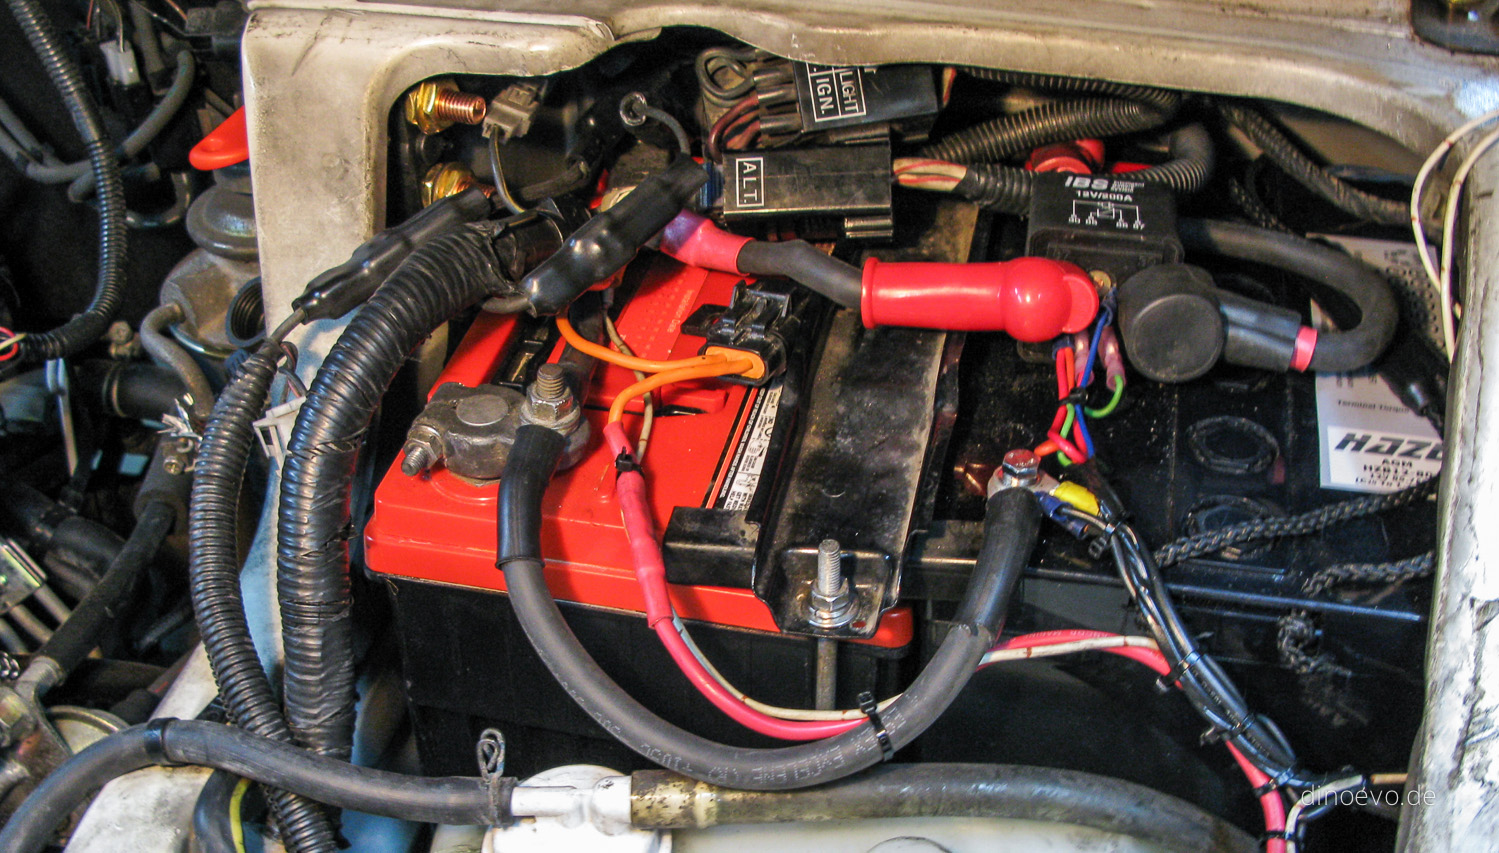
First I want to say a big thank you to Jay for the time he spent to install our new dual battery …

One of the first interior appliance we bought recently is a proper compressor fridge. After years of ice- and 12v-coolers we finally …
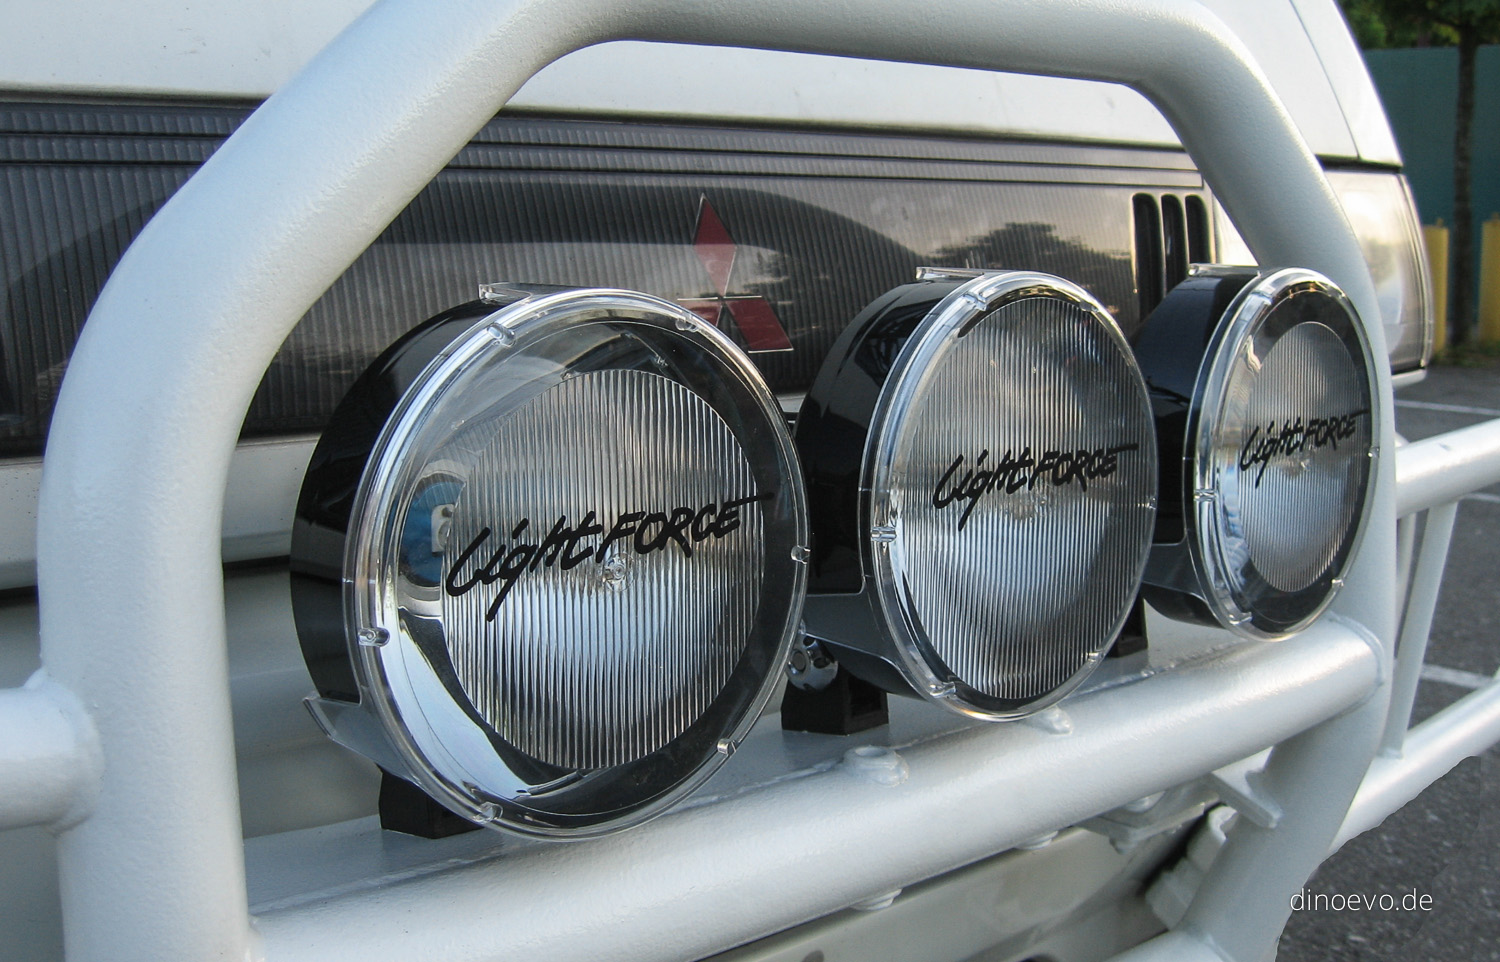
This was really a hard decision. Way too many good fog lights out there, but in the end the Lightforce Striker 170 …
An update on what we have worked on this week. The Delica came with a pretty sweet and solid aluminum roof rack. …