
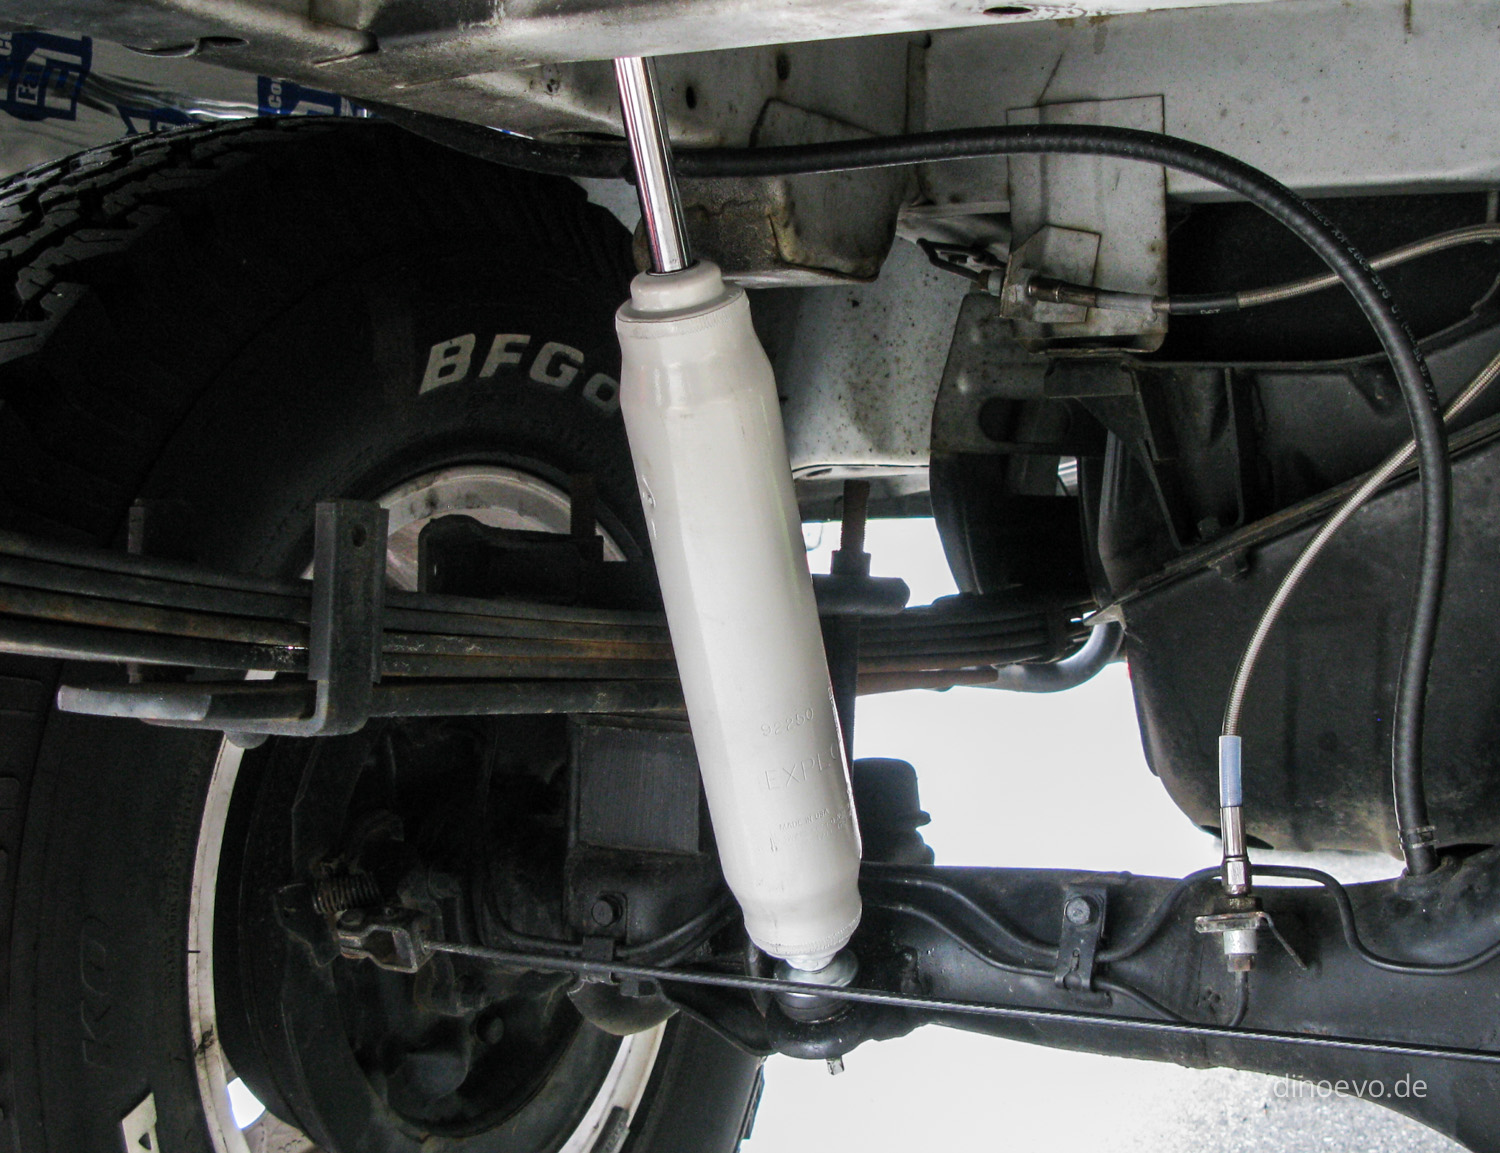
New Shock Absorber
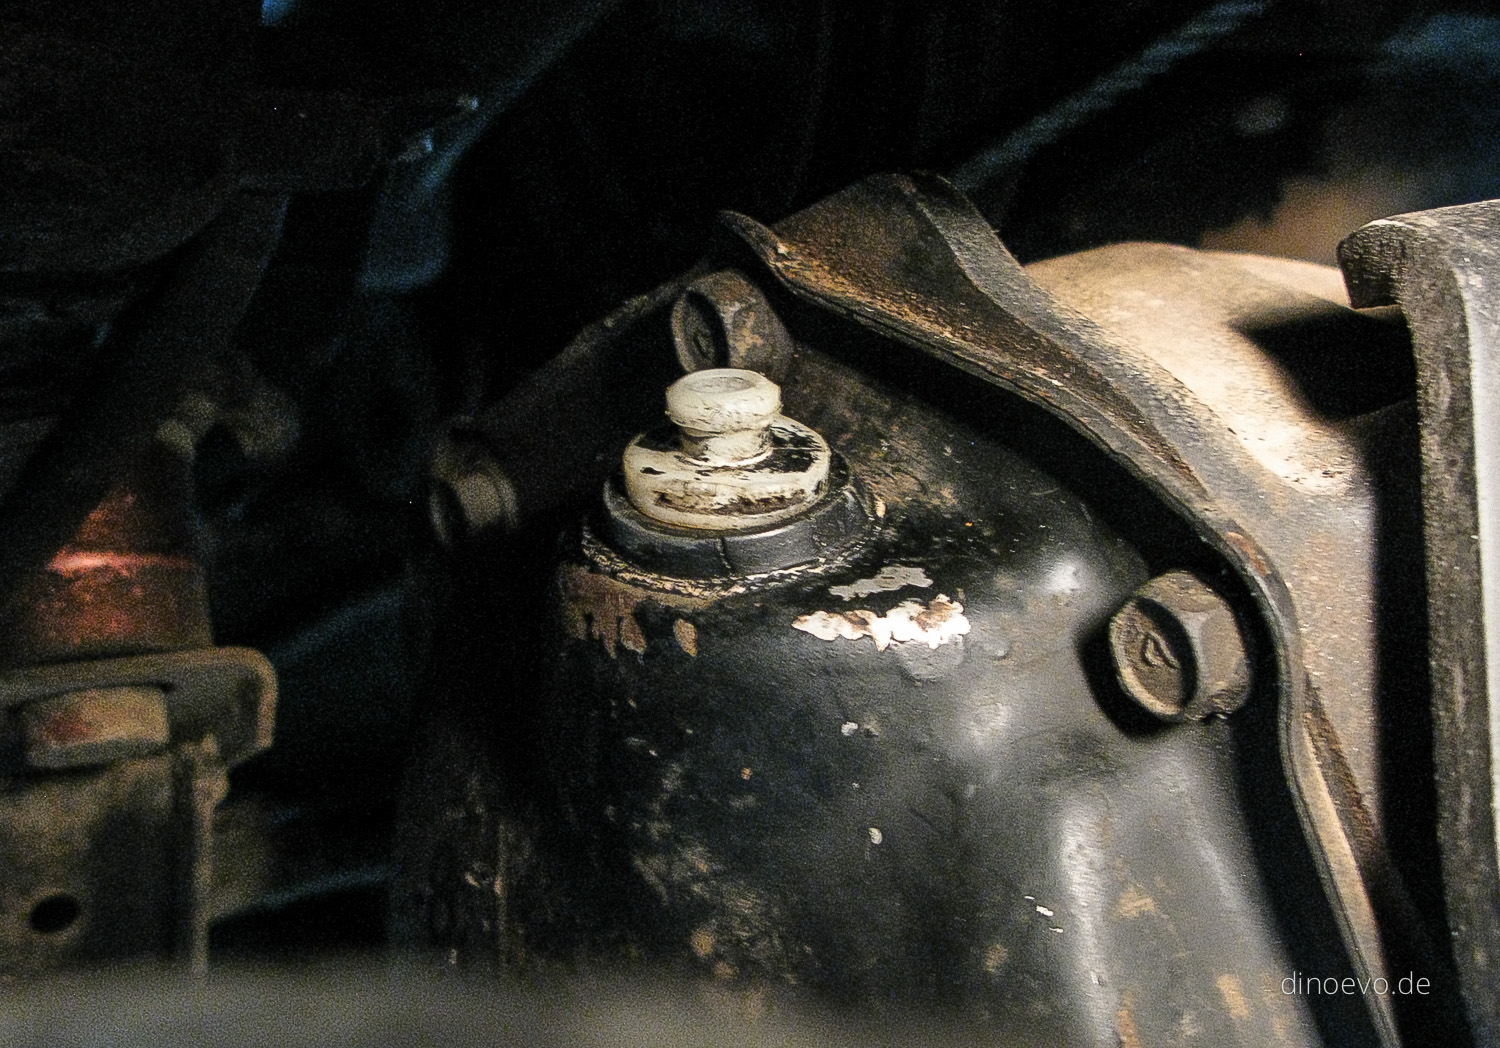
Last but not least our suspension got new shocks from ProComp. The ES9000 are nitrogen gas charged with a twin tube design …
Last but not least our suspension got new shocks from ProComp. The ES9000 are nitrogen gas charged with a twin tube design …
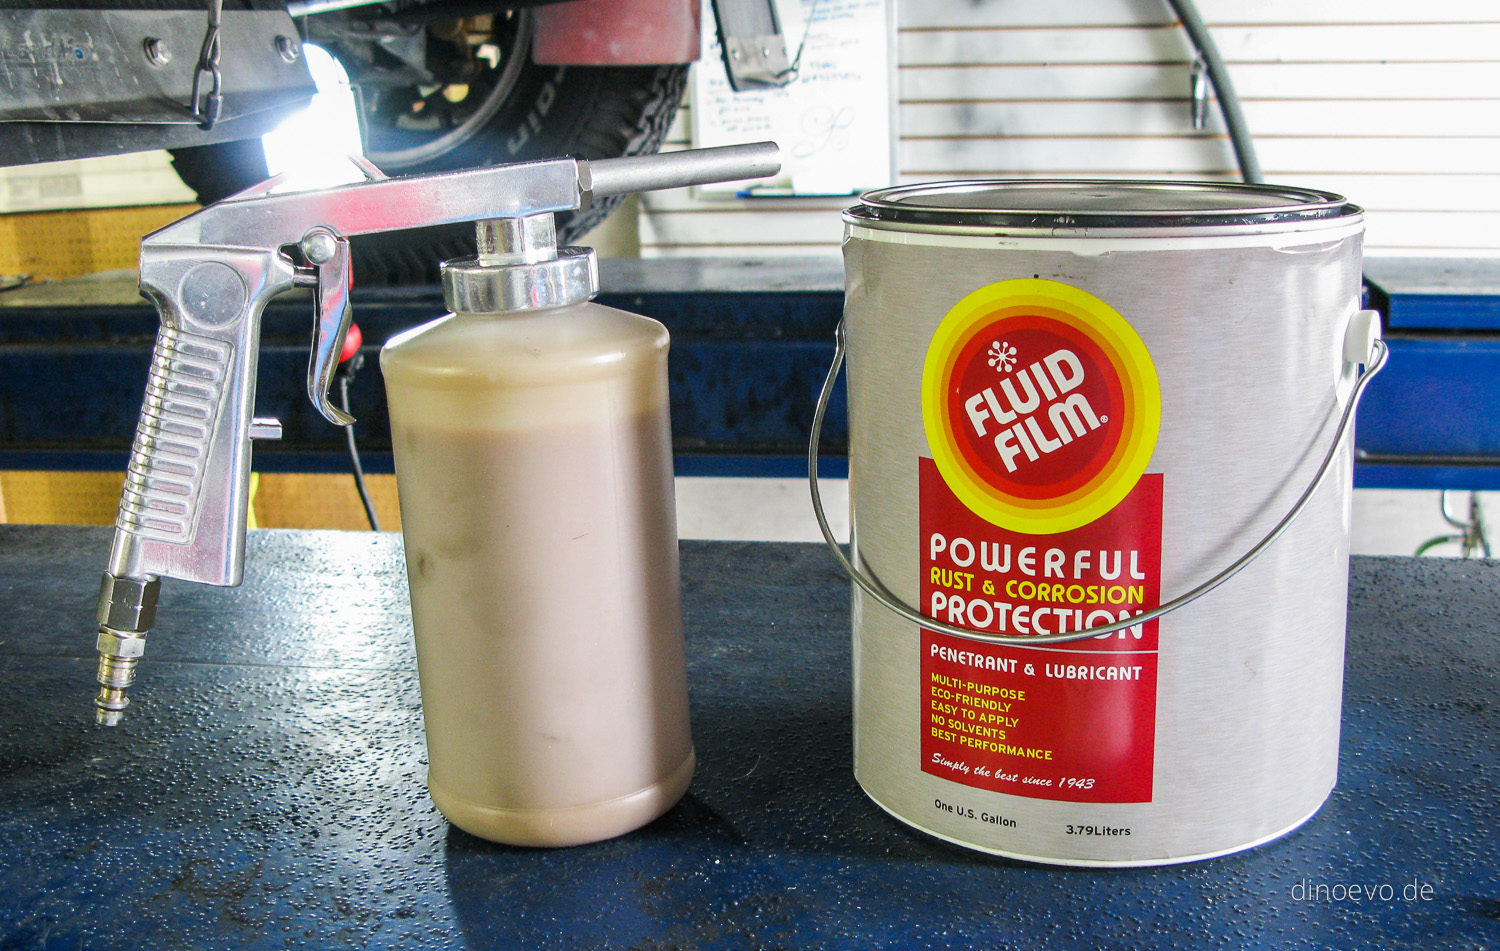
As we bought DinoEvo in Japan it had absolute no rust. Not a single spot. Quite unusual for a 15+ year old …
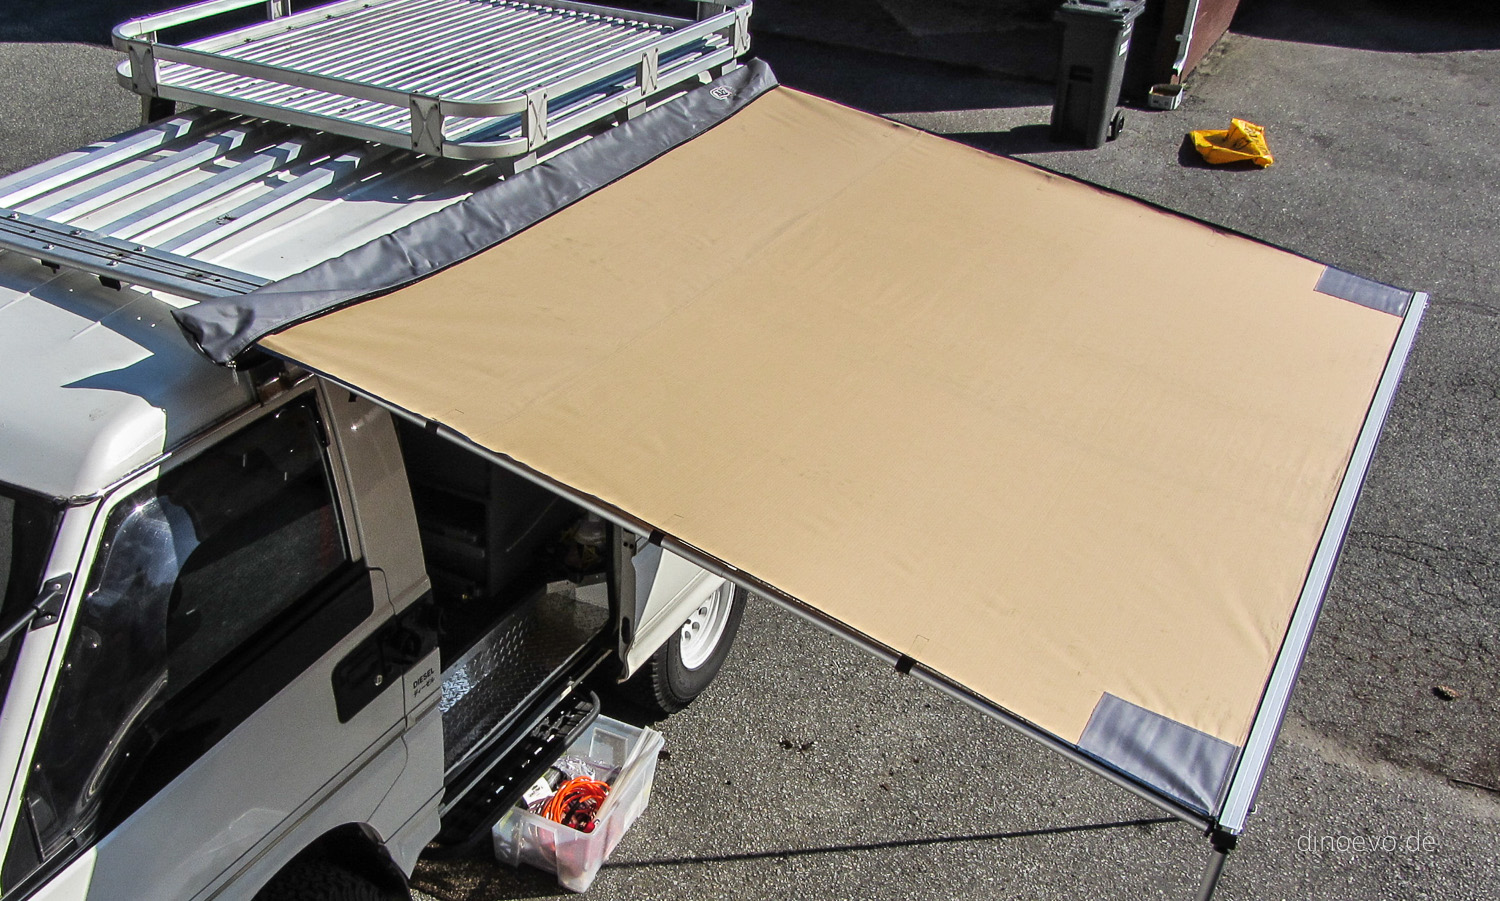
One of our great new summer additions to DinoEvo is an awning. To be exact the ARB Offroad Touring Awning. We didn’t …
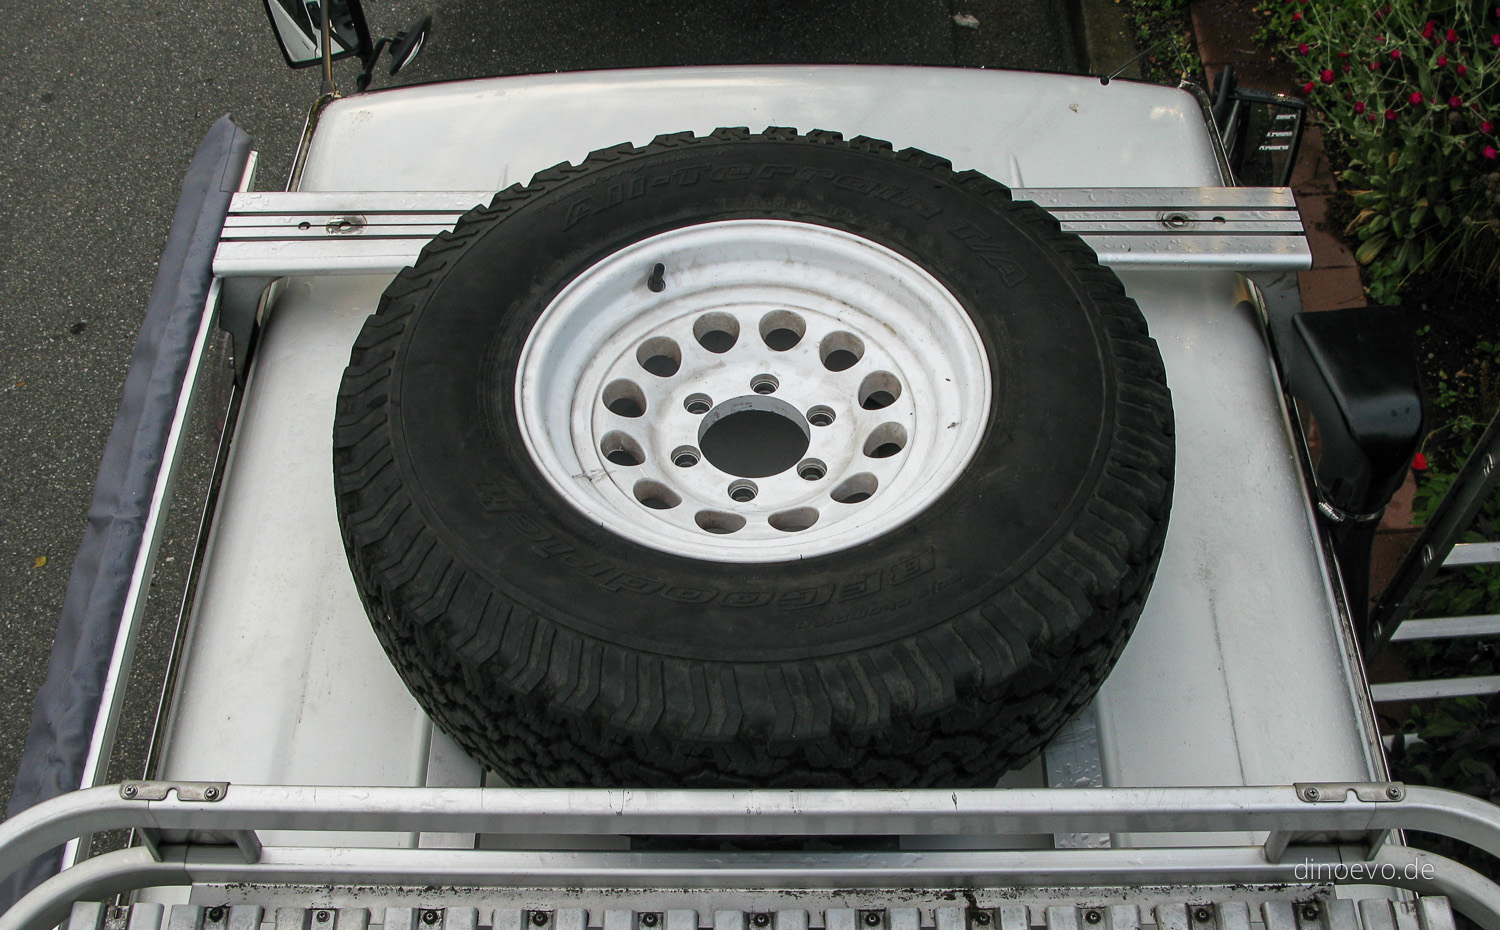
As the tire size went up on DinoEvo, the spare wheel didn’t fit in the original spot under the van anymore. Also …
Having an auxiliary heating system with a hot water option was a high priority for us. Specially on longer trips in colder …
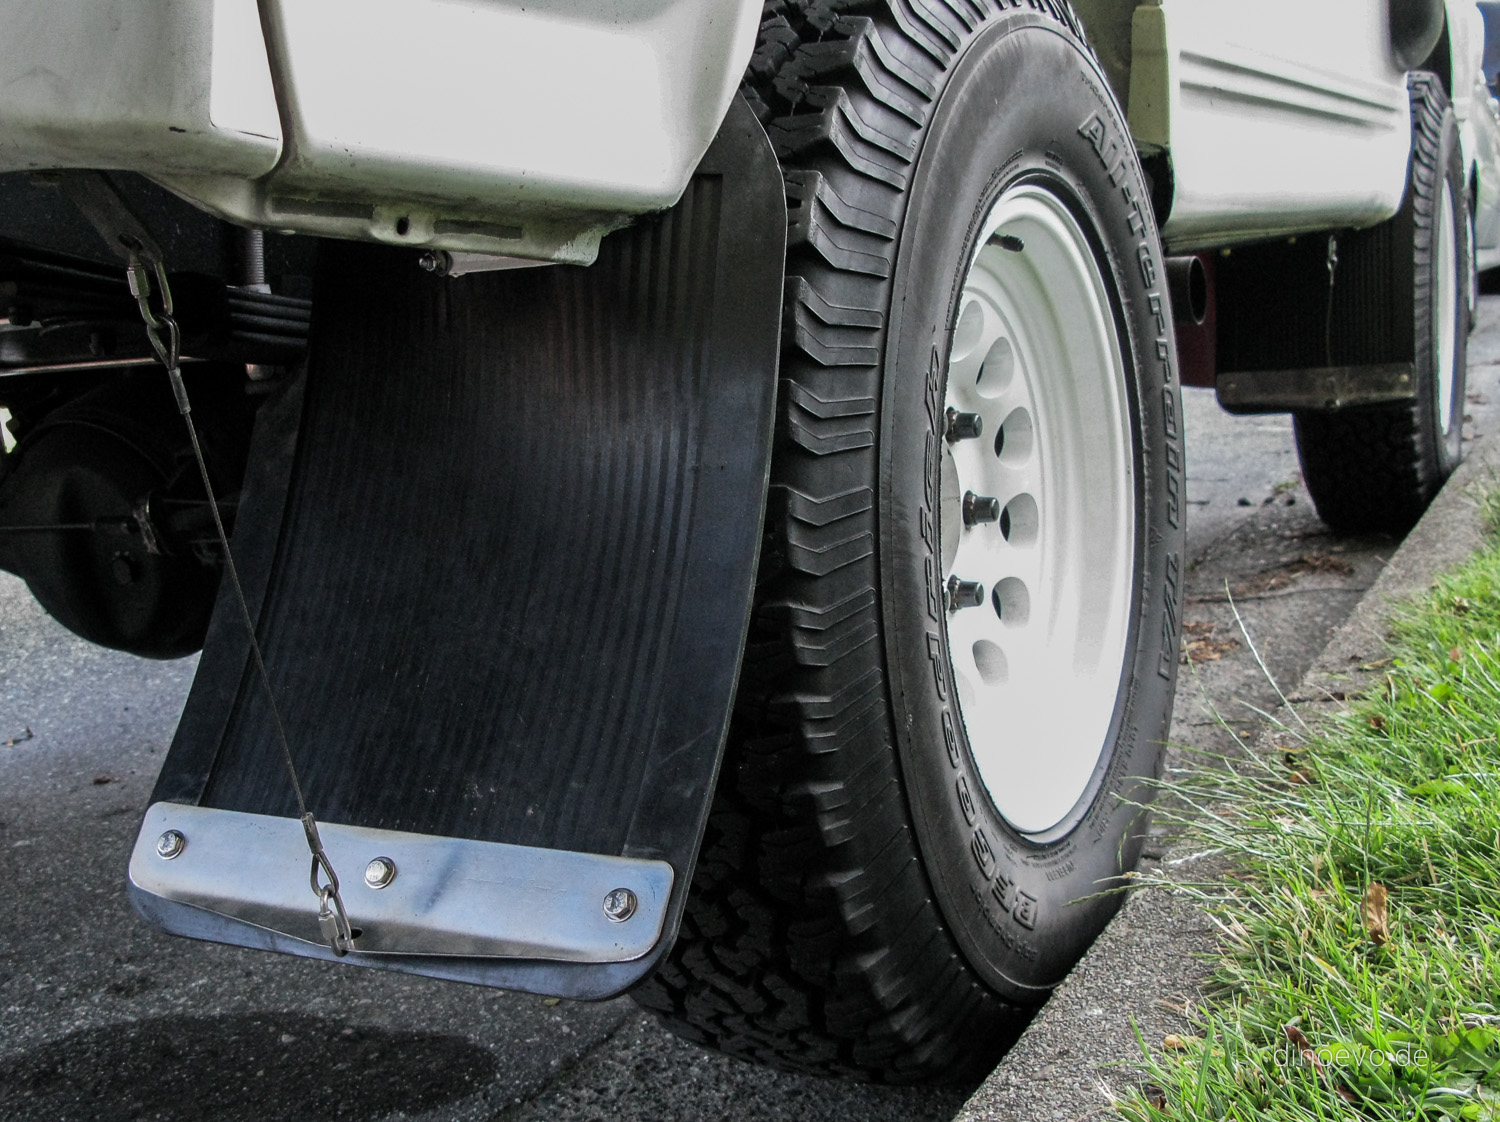
Our van came with red mudflaps from Japan, which I have to admit looked like they came off a poser car. Changing …
There were still a few things on my list of mechanical work I wanted to get done before we take off. Some …
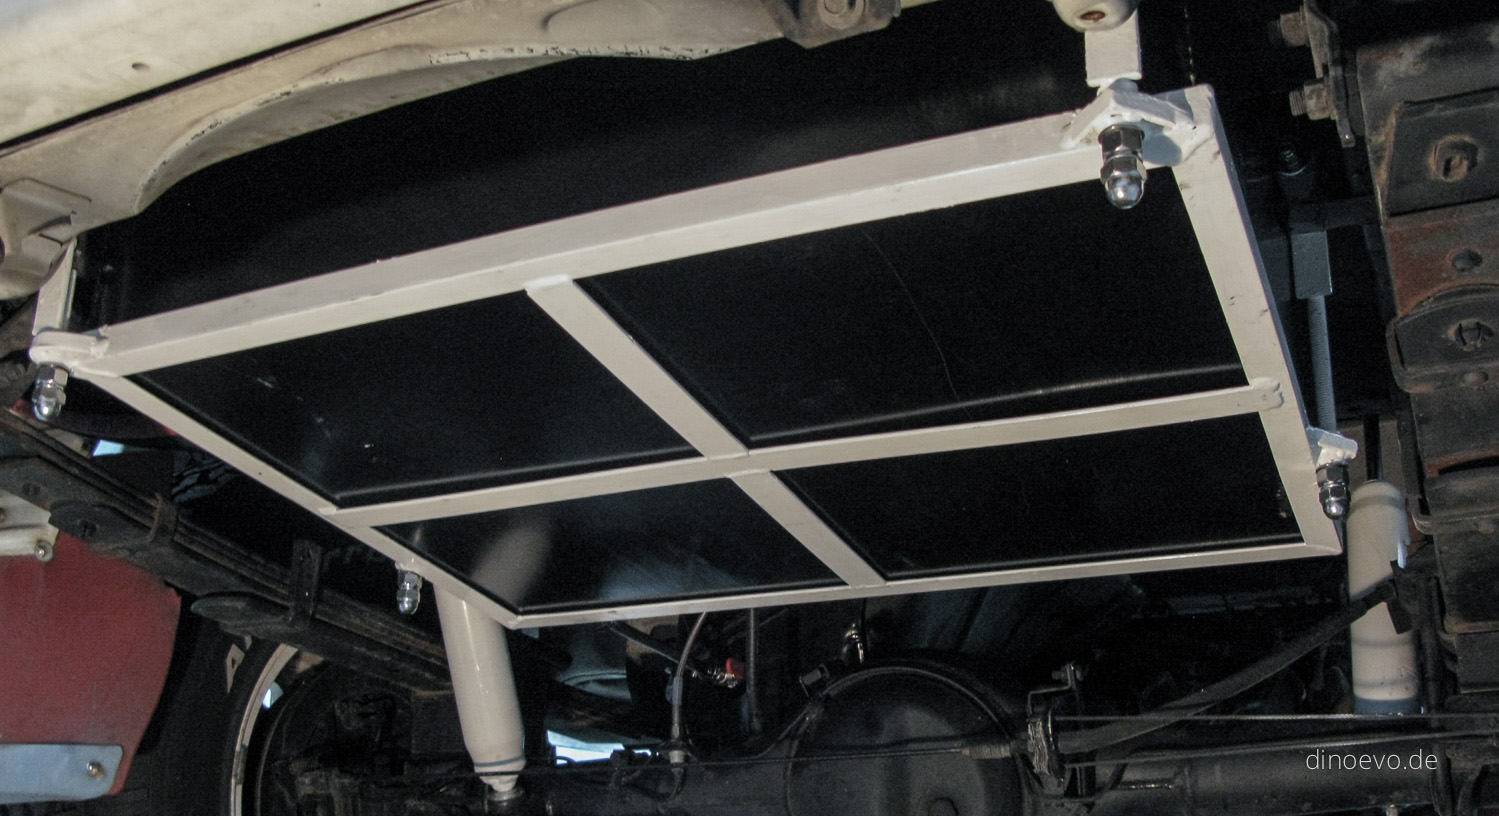
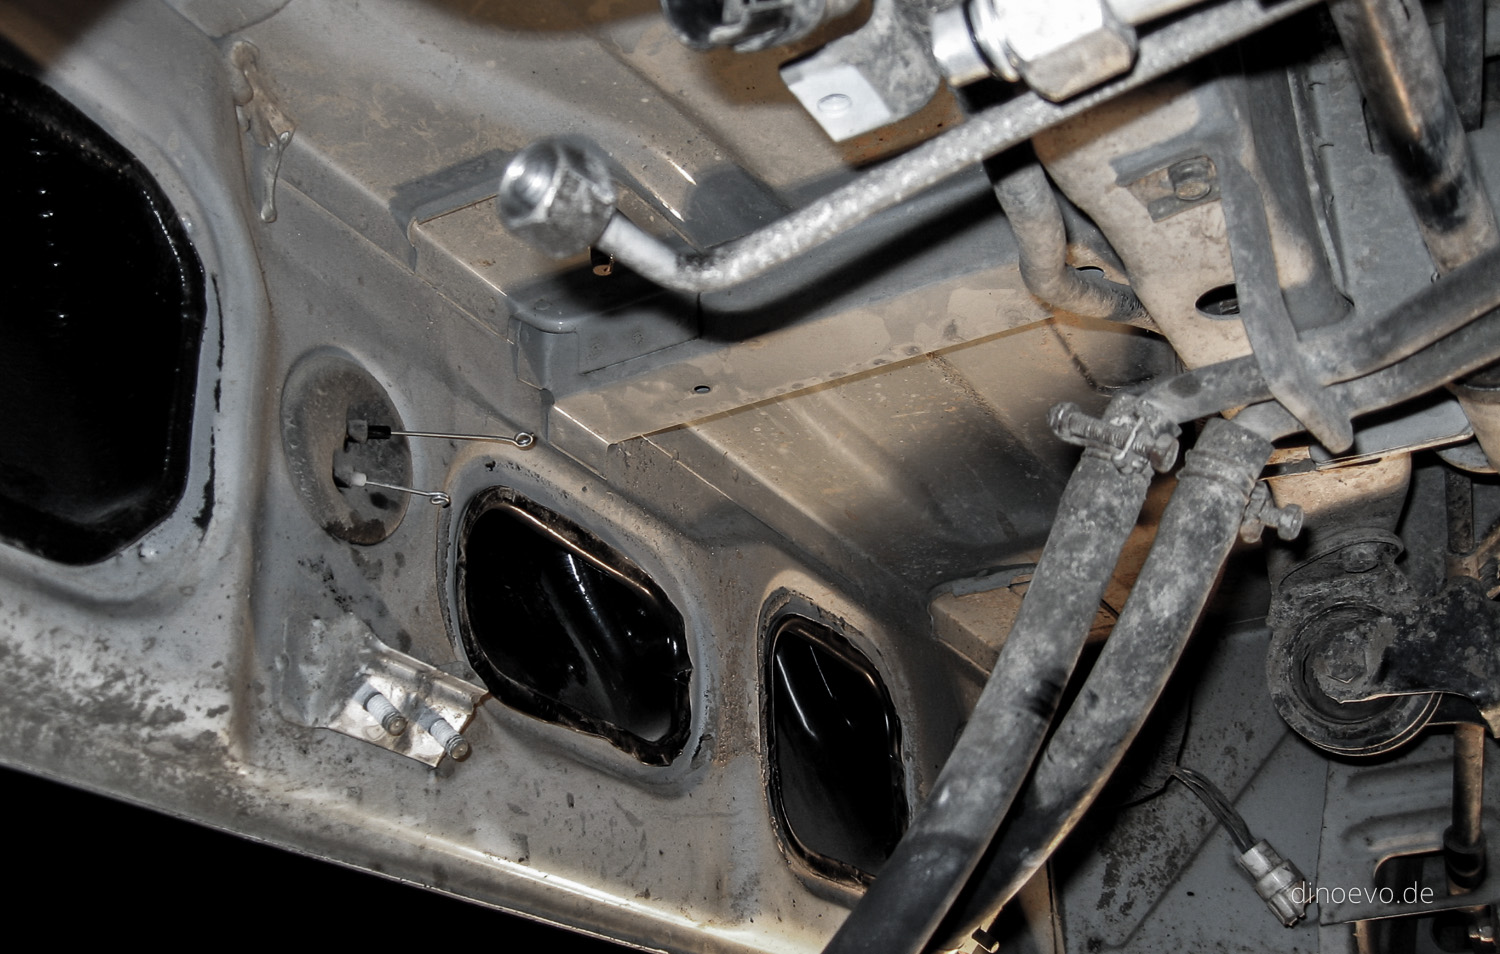
After a long time of figuring out the right approach, the auxiliary fuel tank is finally done. It is a 85 Litre …

Unfortunately the headlights of a post ’89 Delica are not common on this side of the planet, so buying a replacement lens/housing …

Just from looking at the wimpy stock door locks as well as the experience from other travellers, I decided to add some proper locks …
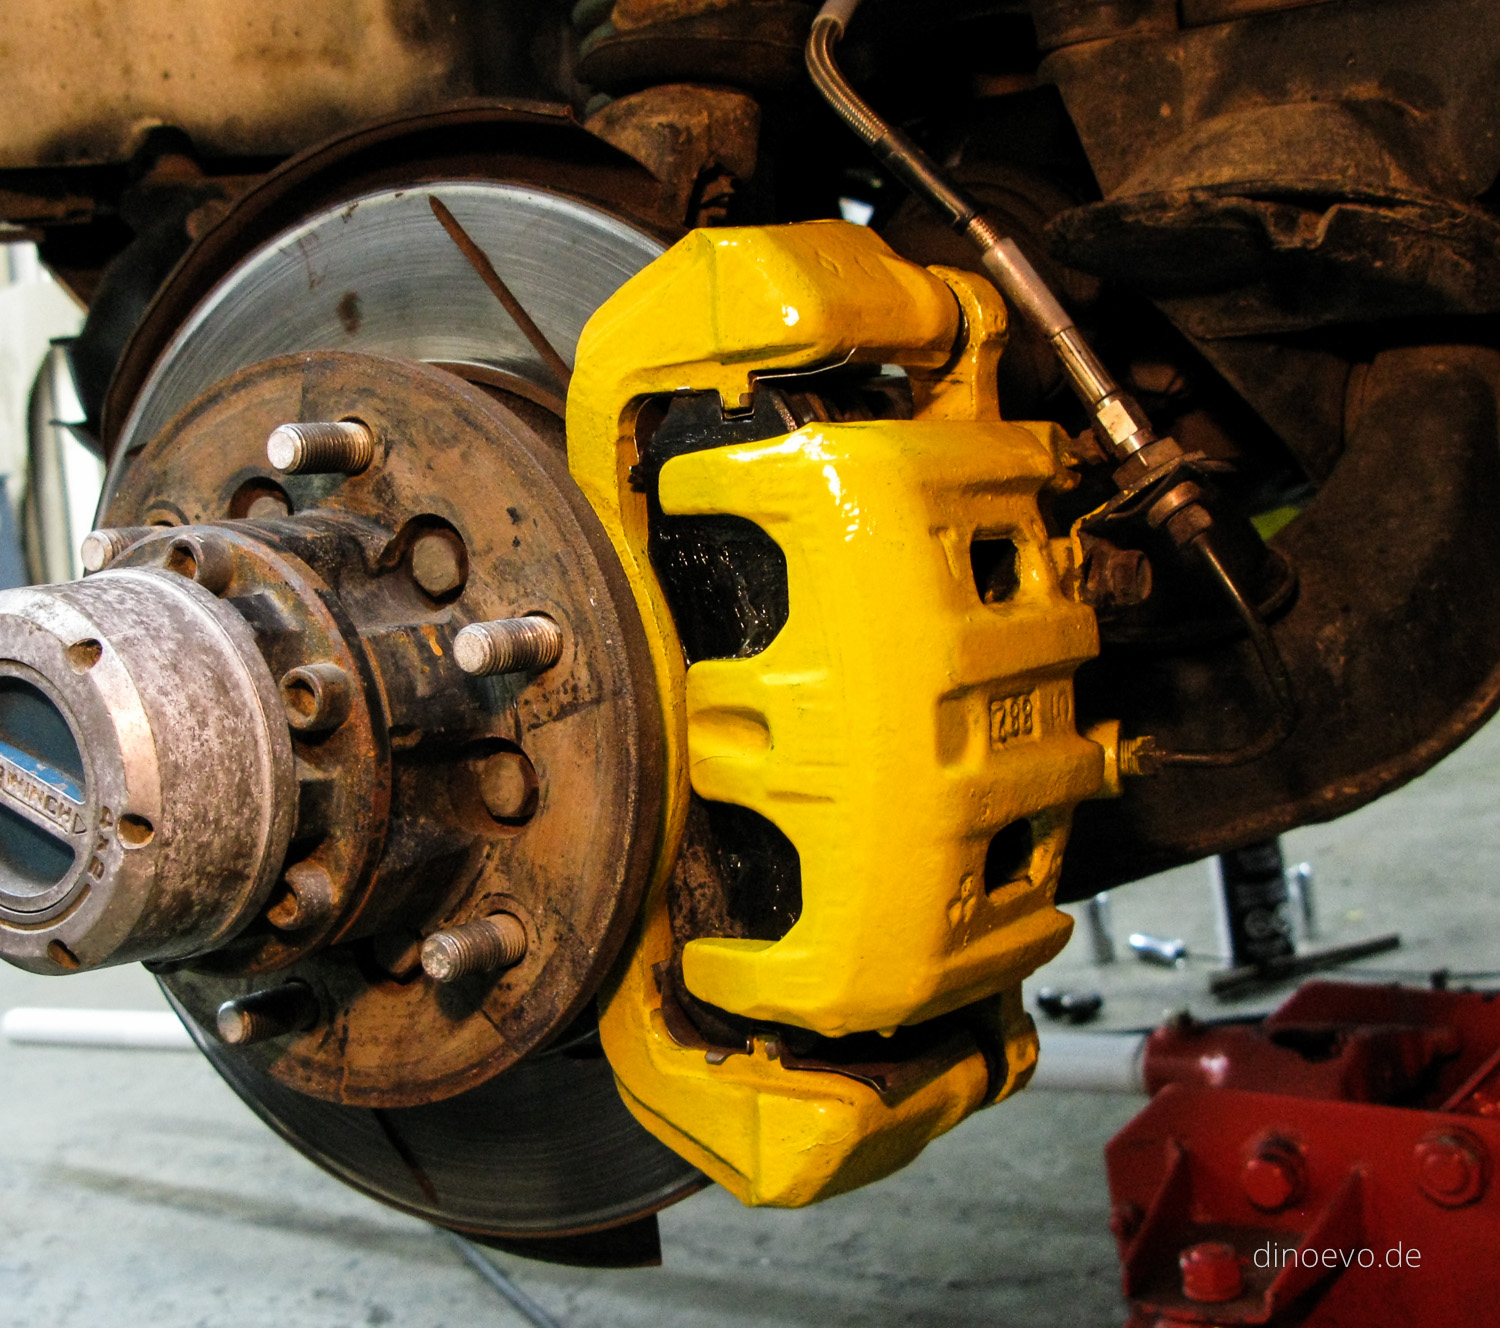
A few month ago we upgraded the front brakes to a double piston setup. After a while they had some surface rust …
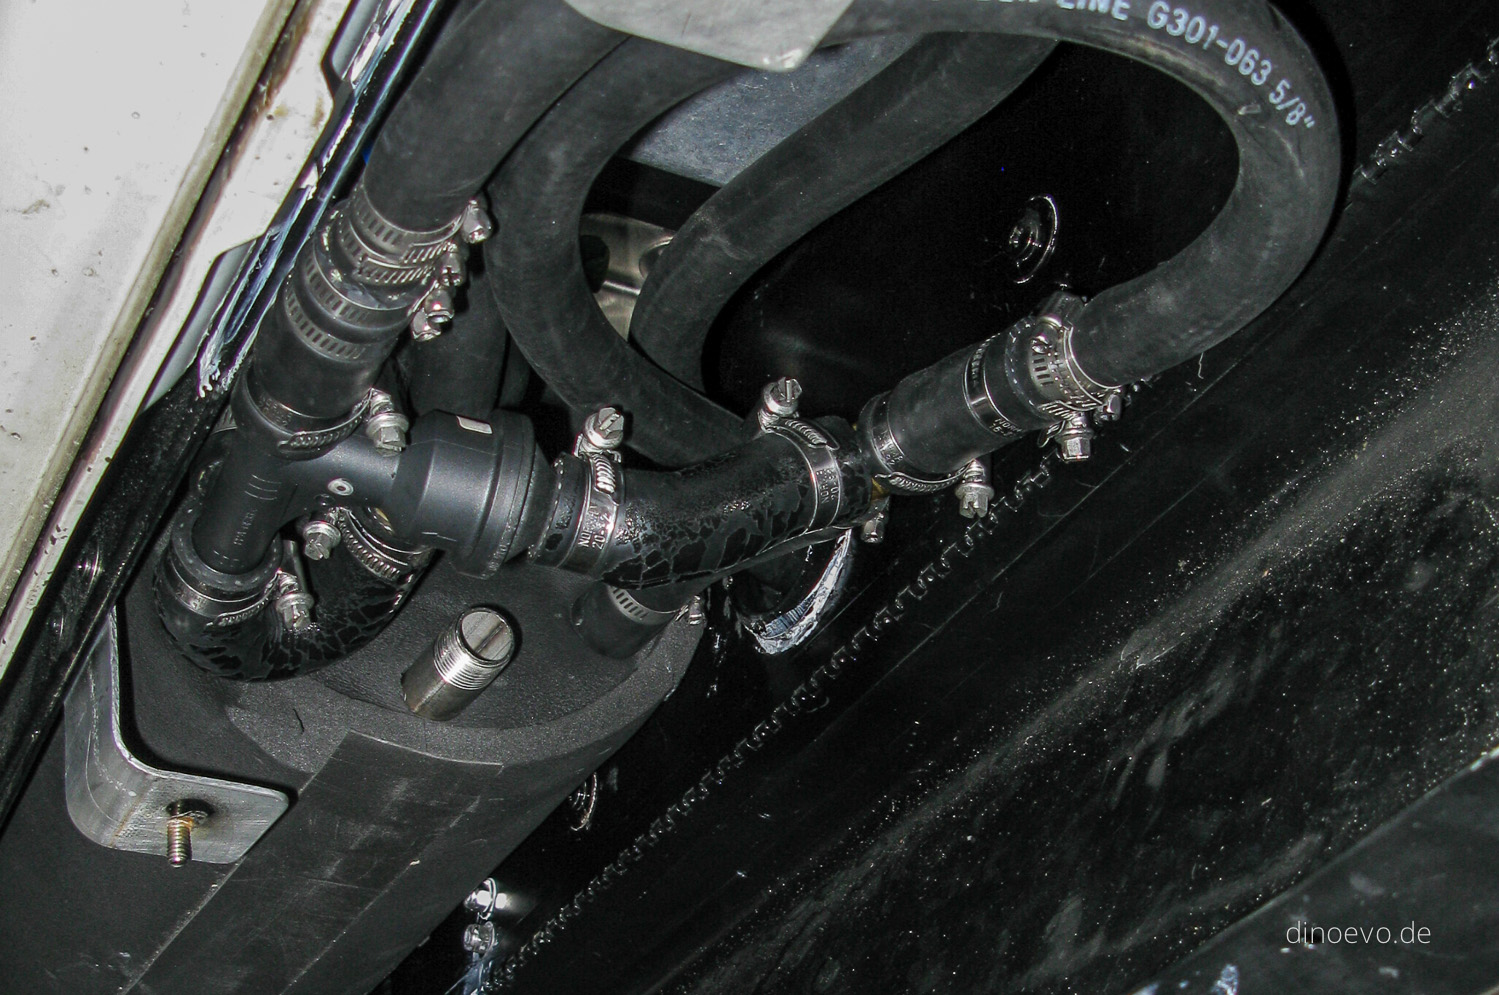
After adding a snorkel the next step to make our van ready for deep puddles was to extend the front- and rear …

One item on our list of preventive maintenance is to rebuild the injection pump. They are prone to leak after a while …
It was time to make some room for our upcoming Espar Diesel heater and the hot water system. One thing we didn’t …
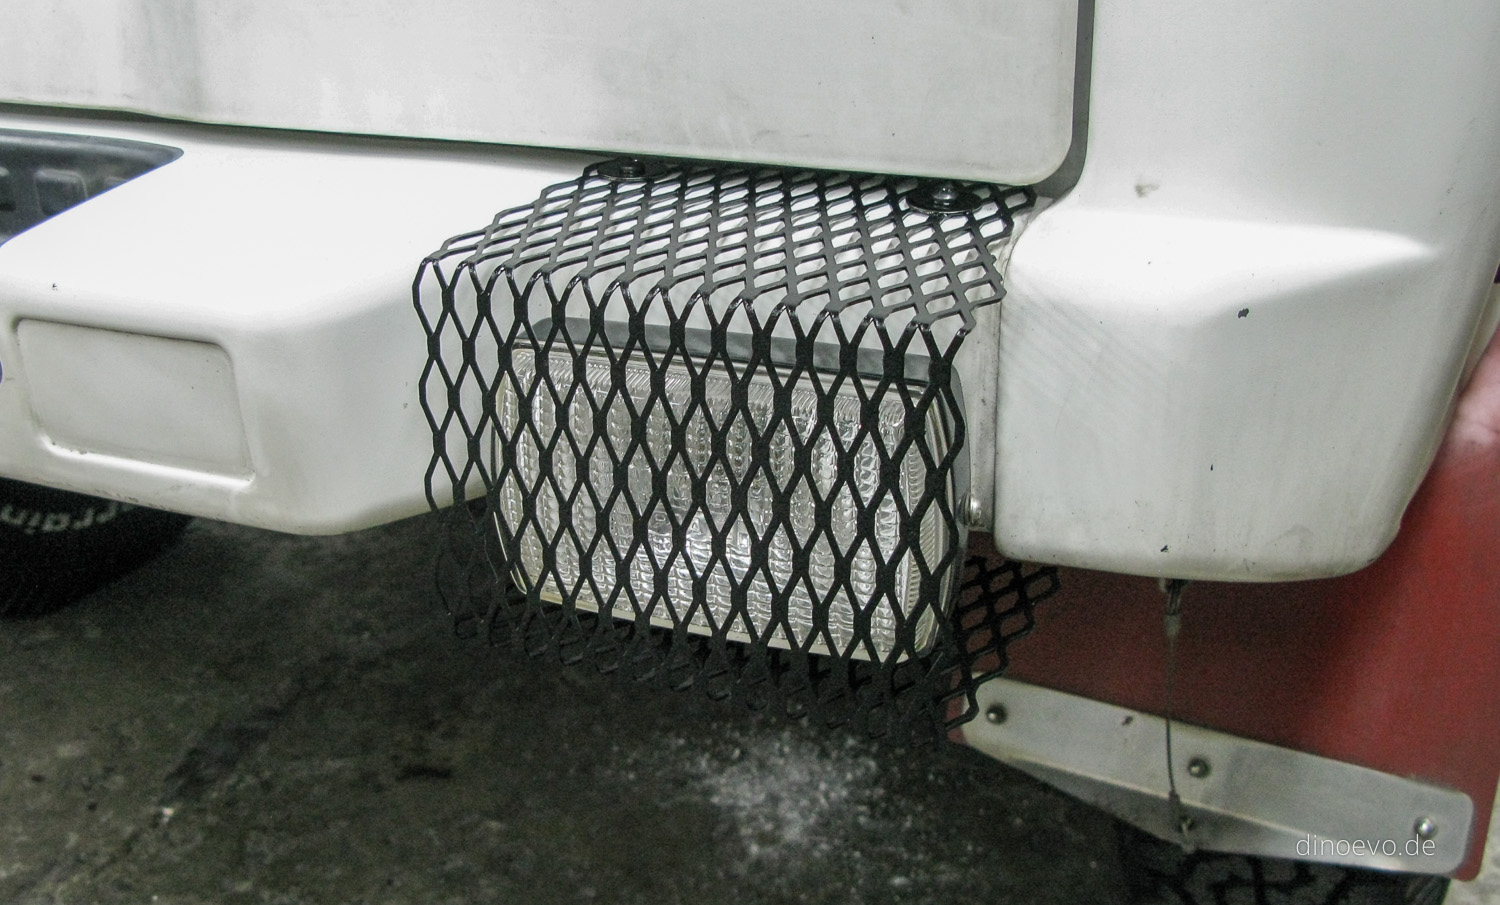
Reversing at night with the flimsy stock backup lights and limo tinting is quite challenging. To make it easier we have two …

After using those tires and rims for about 10 month I came to the conclusion they were not the right fit for …
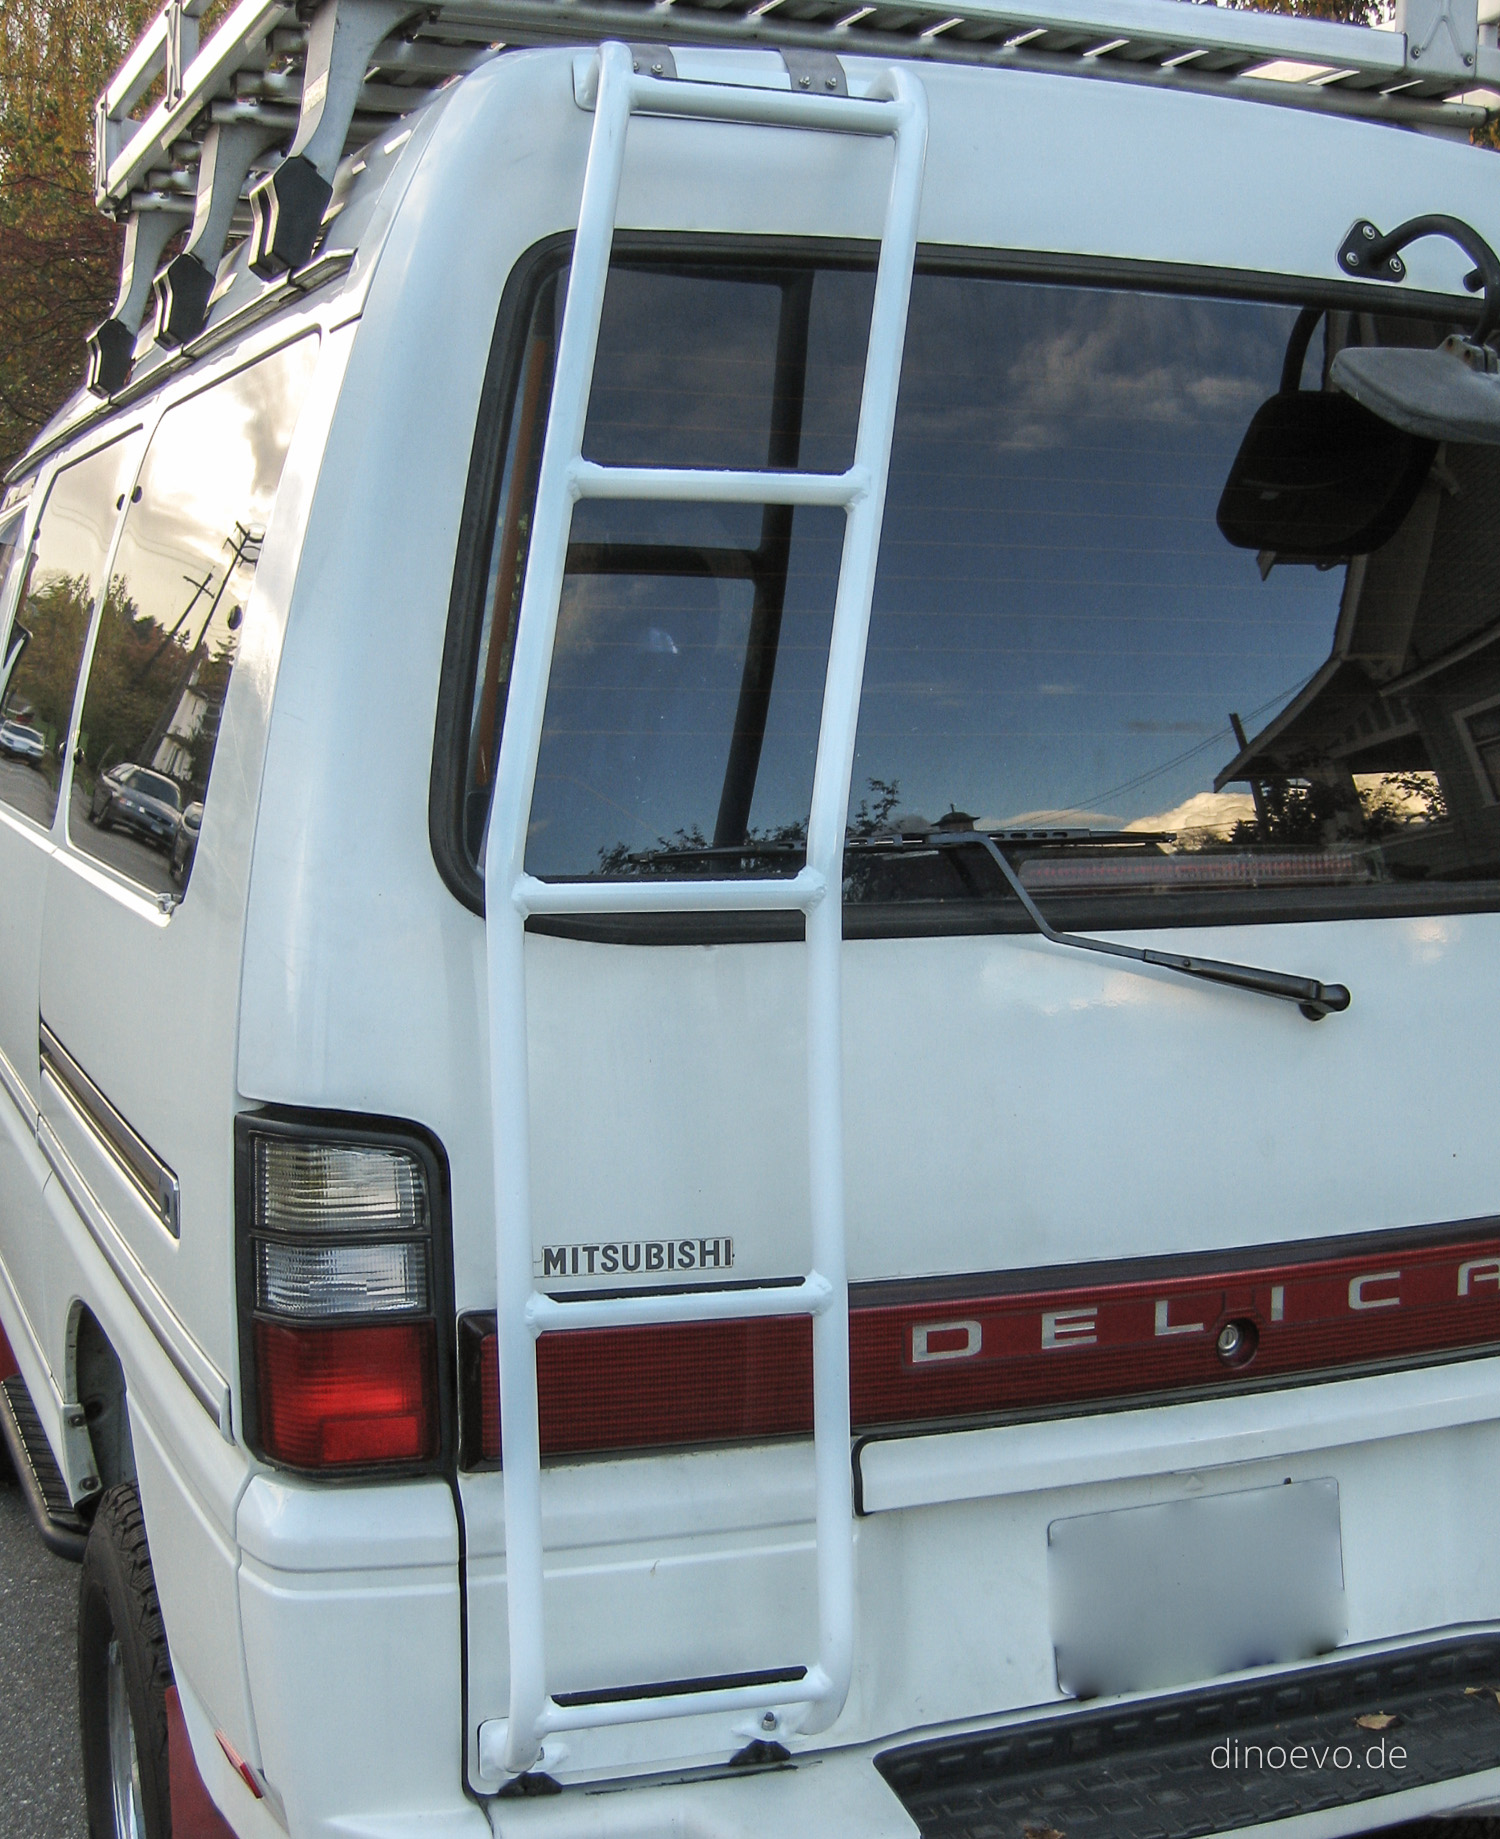
I was not really happy with the aftermarket ladder which came with the Delica, even it was stainless steel and well done, …
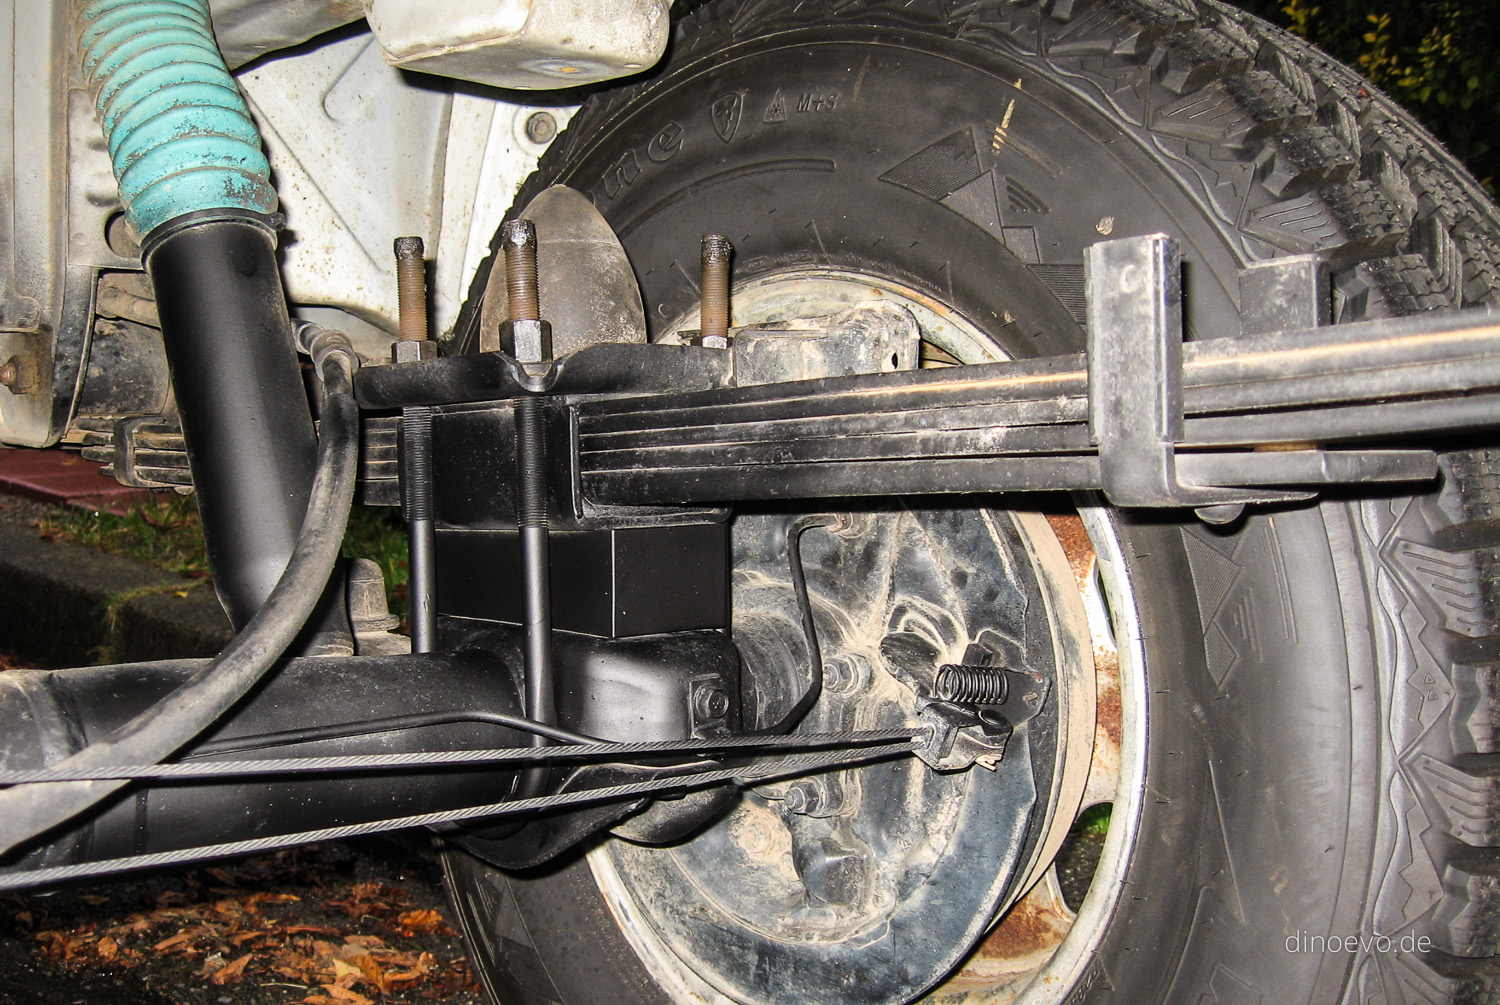
Due the age of the car the rear leaf springs as well as the shackle rubber bushings were already quite out of …
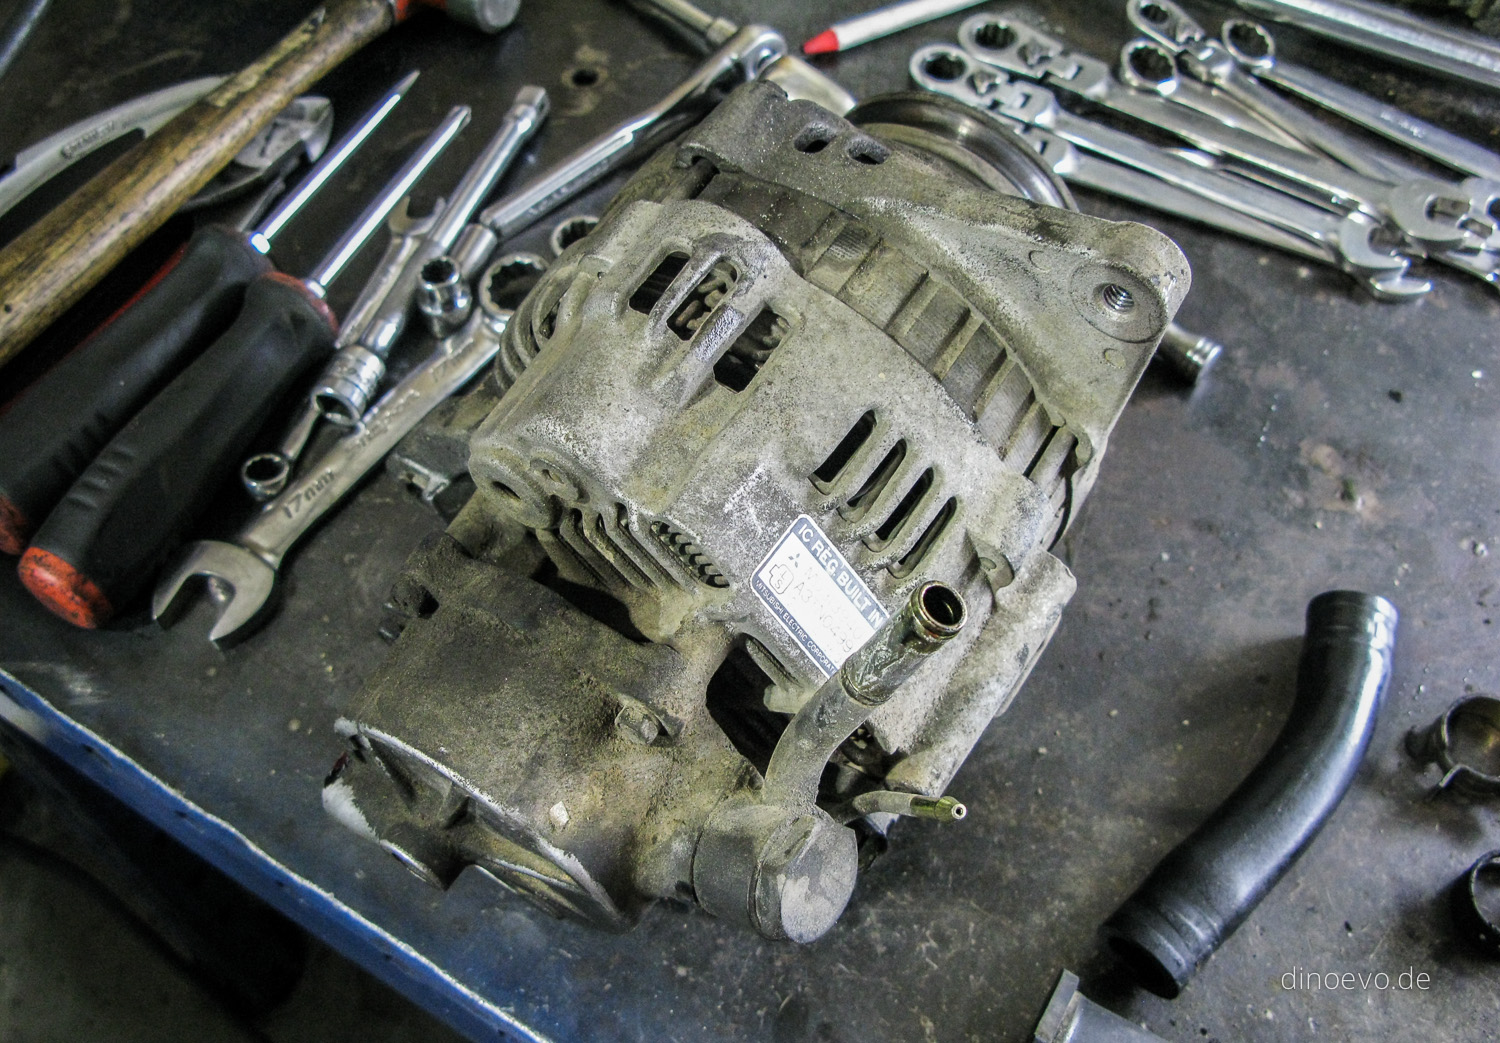
Beside larger modifications I also worked on some small jobs over the last few weeks: A good indicator to see if someone …
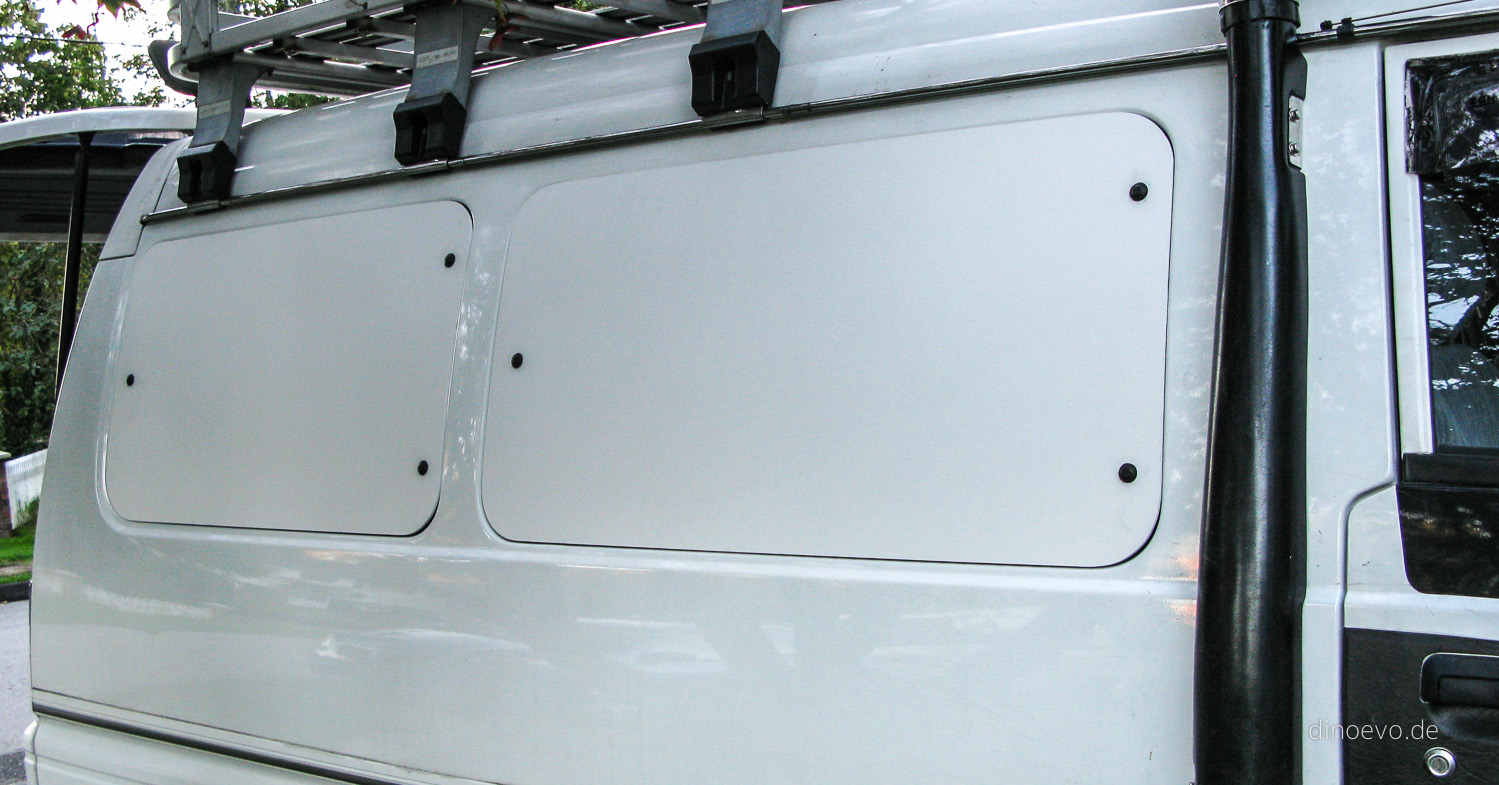
The first step to a better insulation for our van was to get rid off unnecessary windows. In our old l300 we …