

Rebuilt Struts
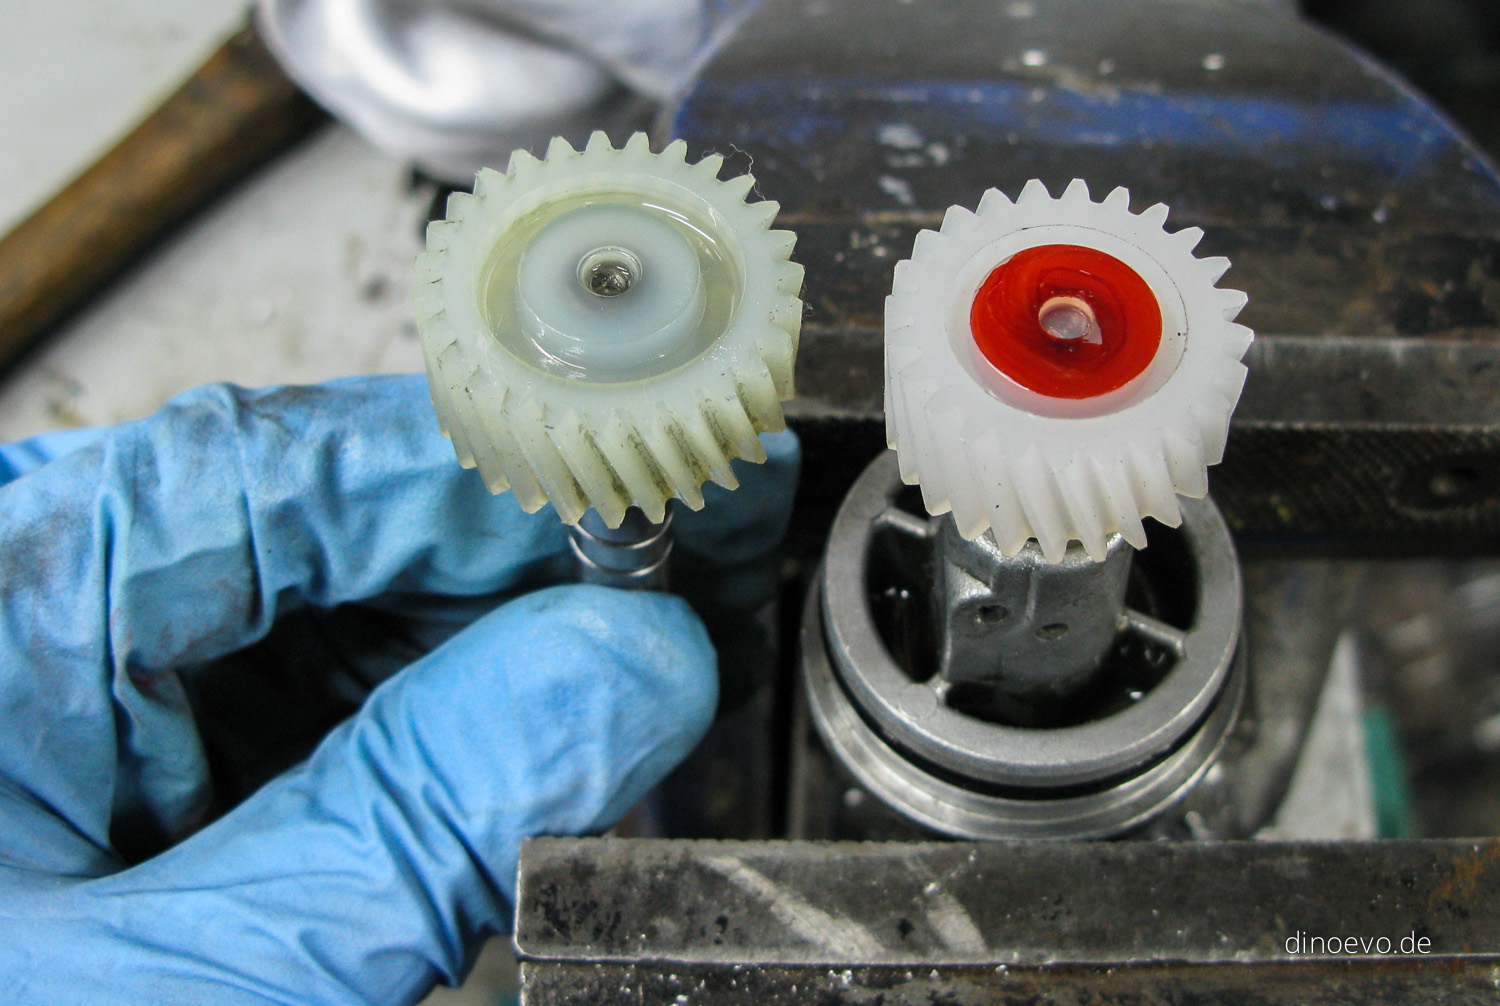
One of the most common problems on a 15 years old Delica is the weak tail gate strut. Specially if you add …
One of the most common problems on a 15 years old Delica is the weak tail gate strut. Specially if you add …
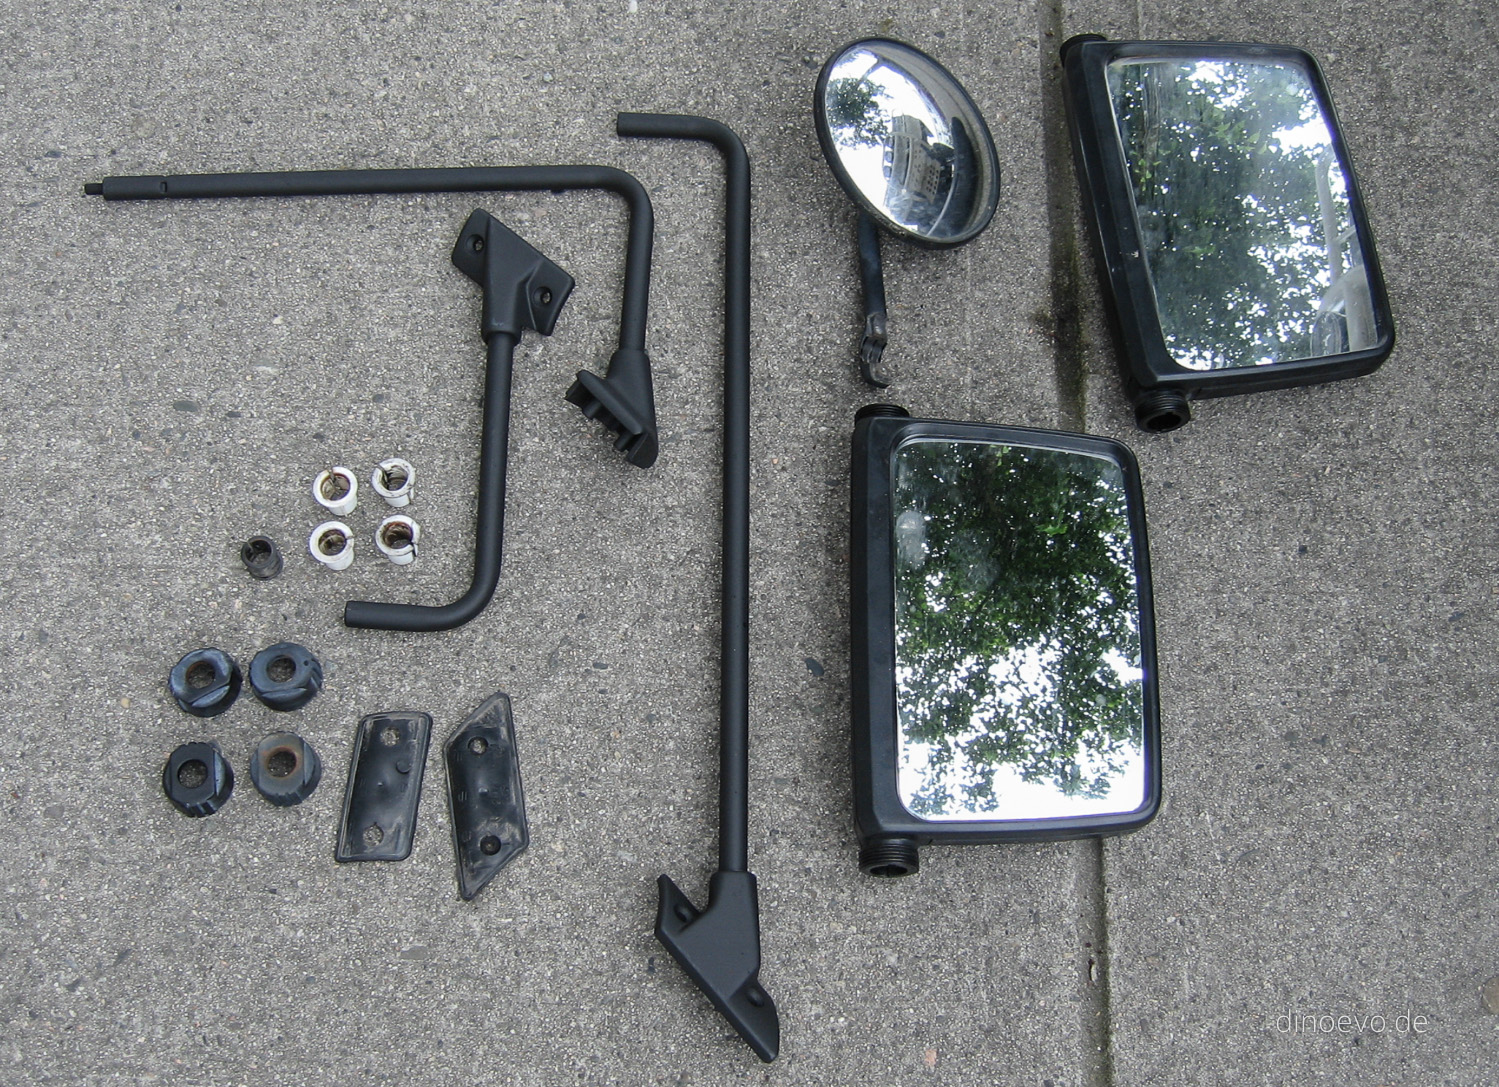
Even DinoEvo is still in overall very mint conditions, it had a few rusty spots on the mirror rods and front wiper …
Bought a Engel MT35 fridge. Big heavy beast. Start thinking more and more about the interior. # Just uploaded tons of inspiration … → 30/06/2010
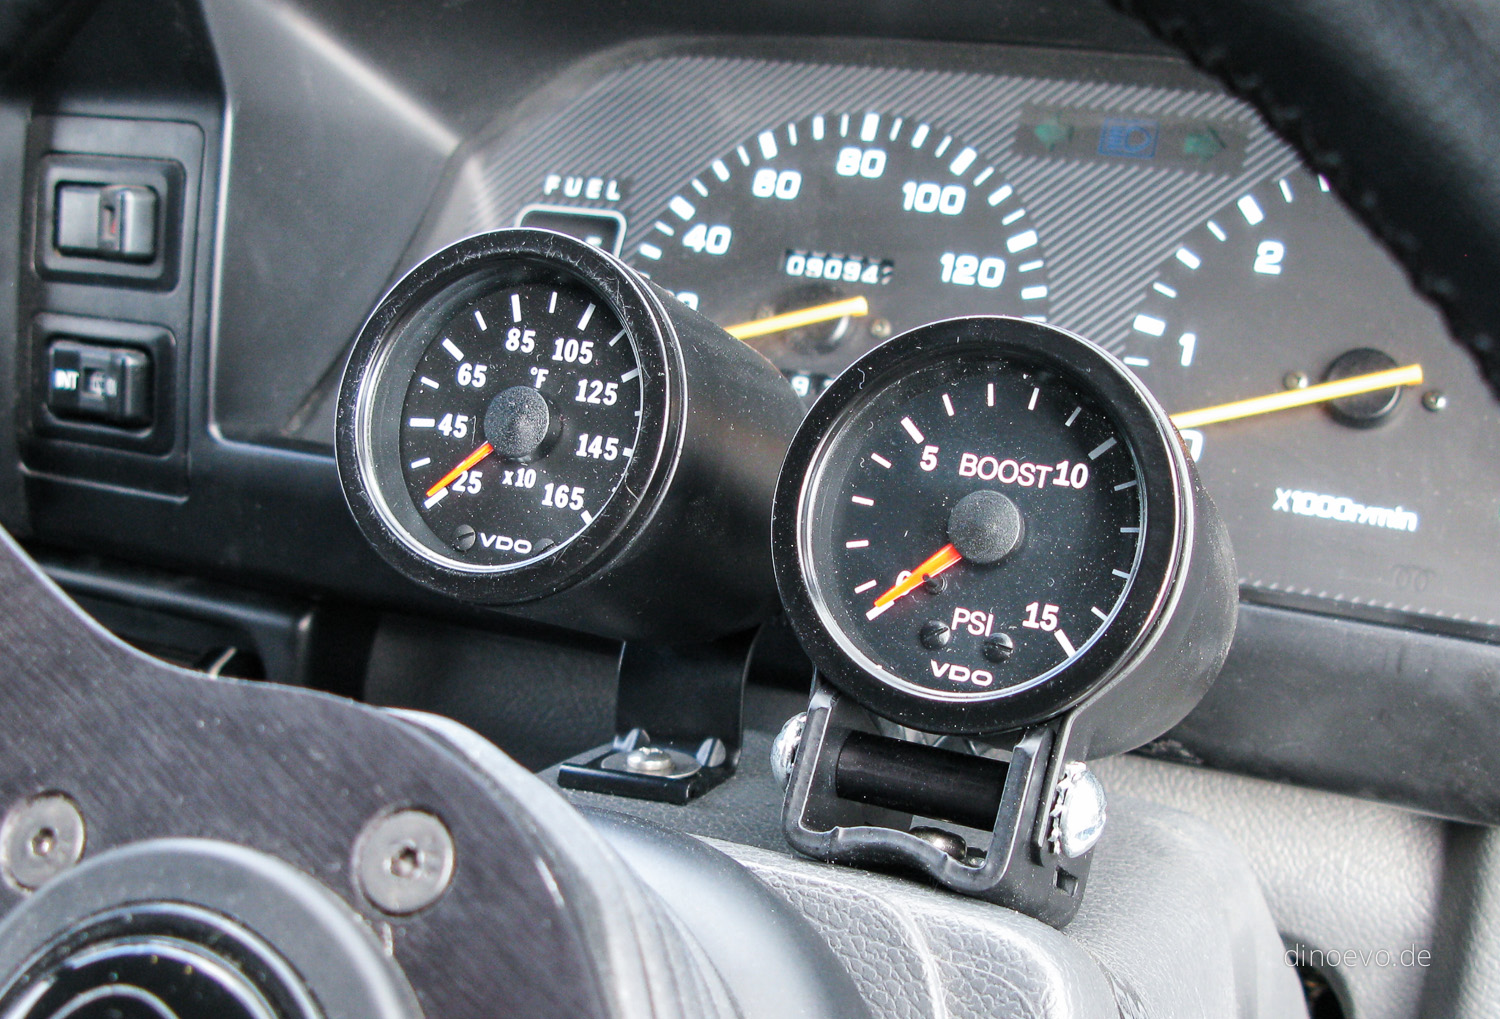
To know a little bit better what’s going on inside the engine I installed a pyrometer (for the exhaust gas temperature) and …
One temporarily downside of the snorkel was the constantly releasing of the pressure valve under load. That had to be fixed. I …
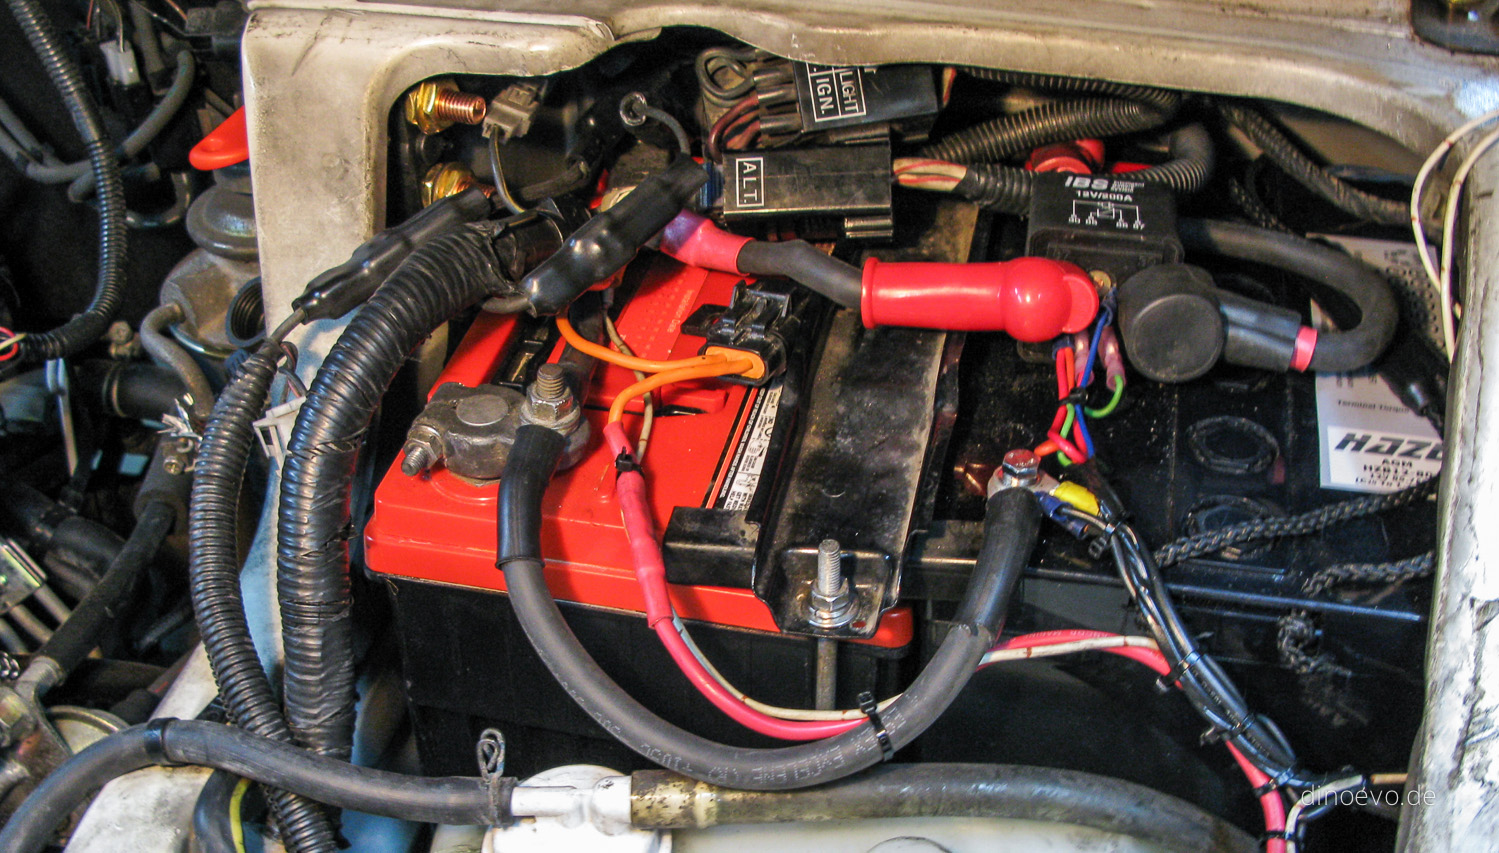
First I want to say a big thank you to Jay for the time he spent to install our new dual battery …

One of the first interior appliance we bought recently is a proper compressor fridge. After years of ice- and 12v-coolers we finally …
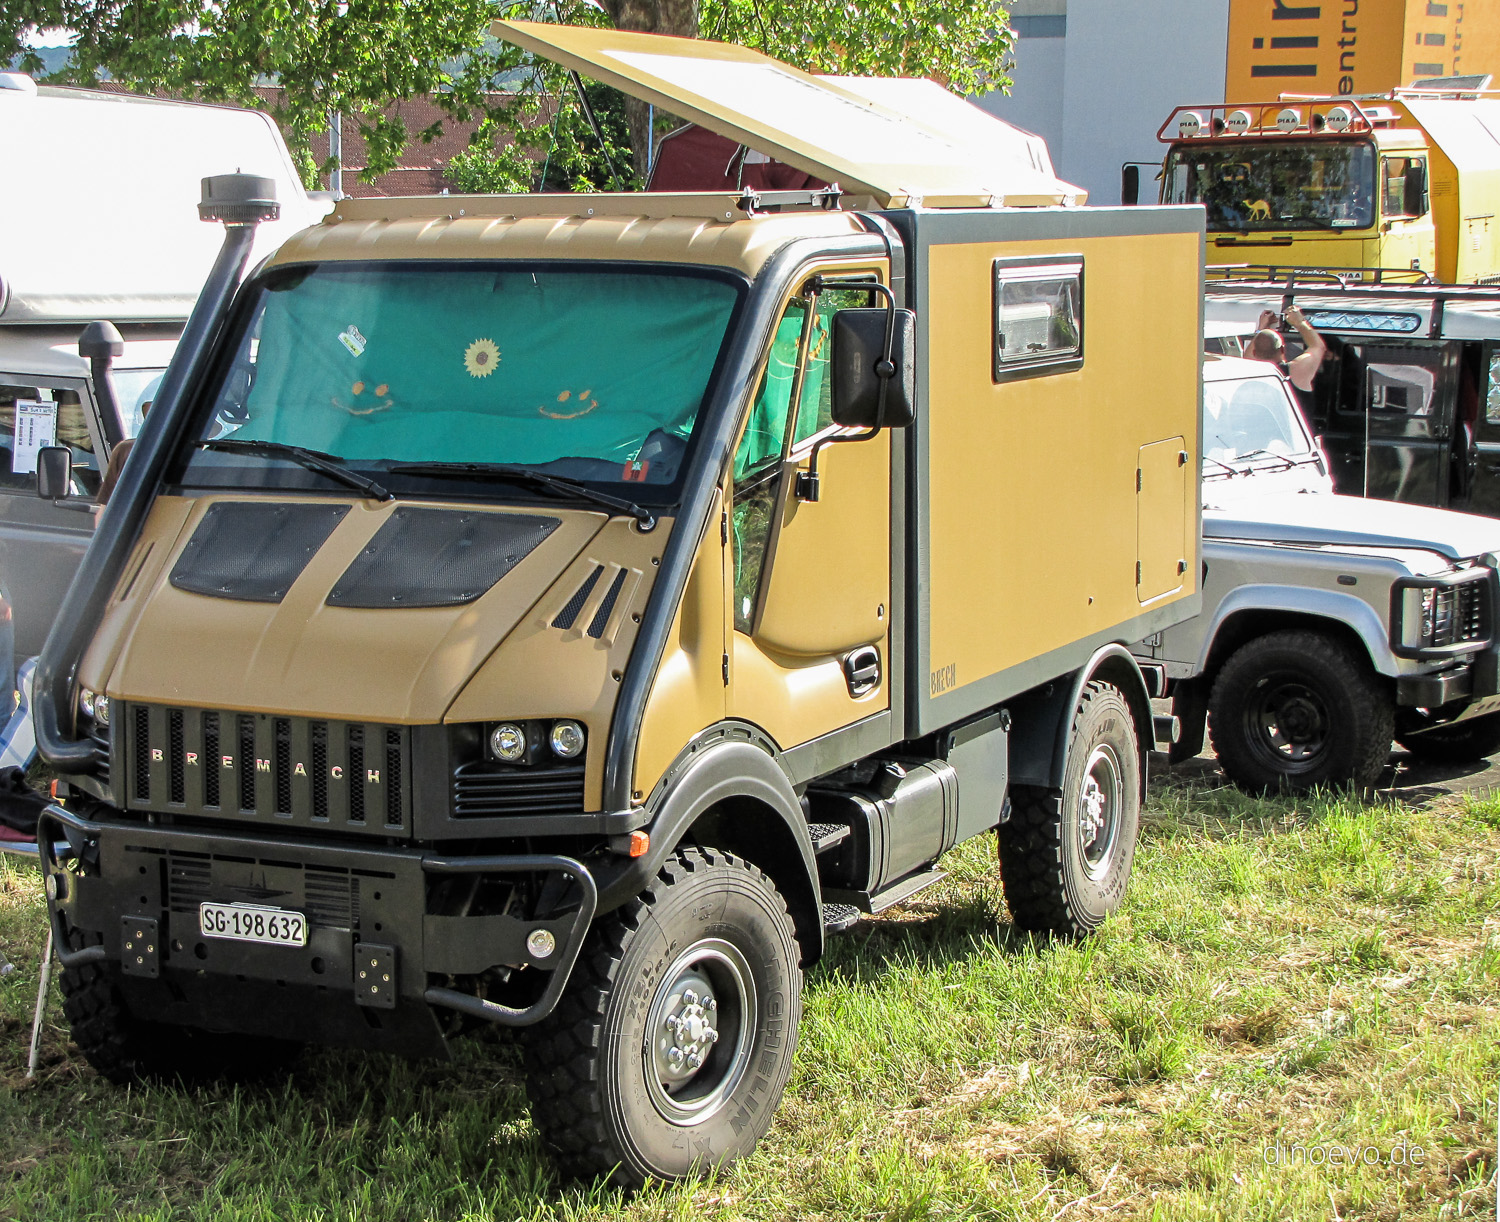
A few weeks went by without any work on our van as we went to Germany to Europe’s largest 4×4 and camping …
A few new post about the project. http://ow.ly/1NYu8 Including the new bull bar with Lightforce Striker 170s. # DinoEvo performed really well … → 31/05/2010
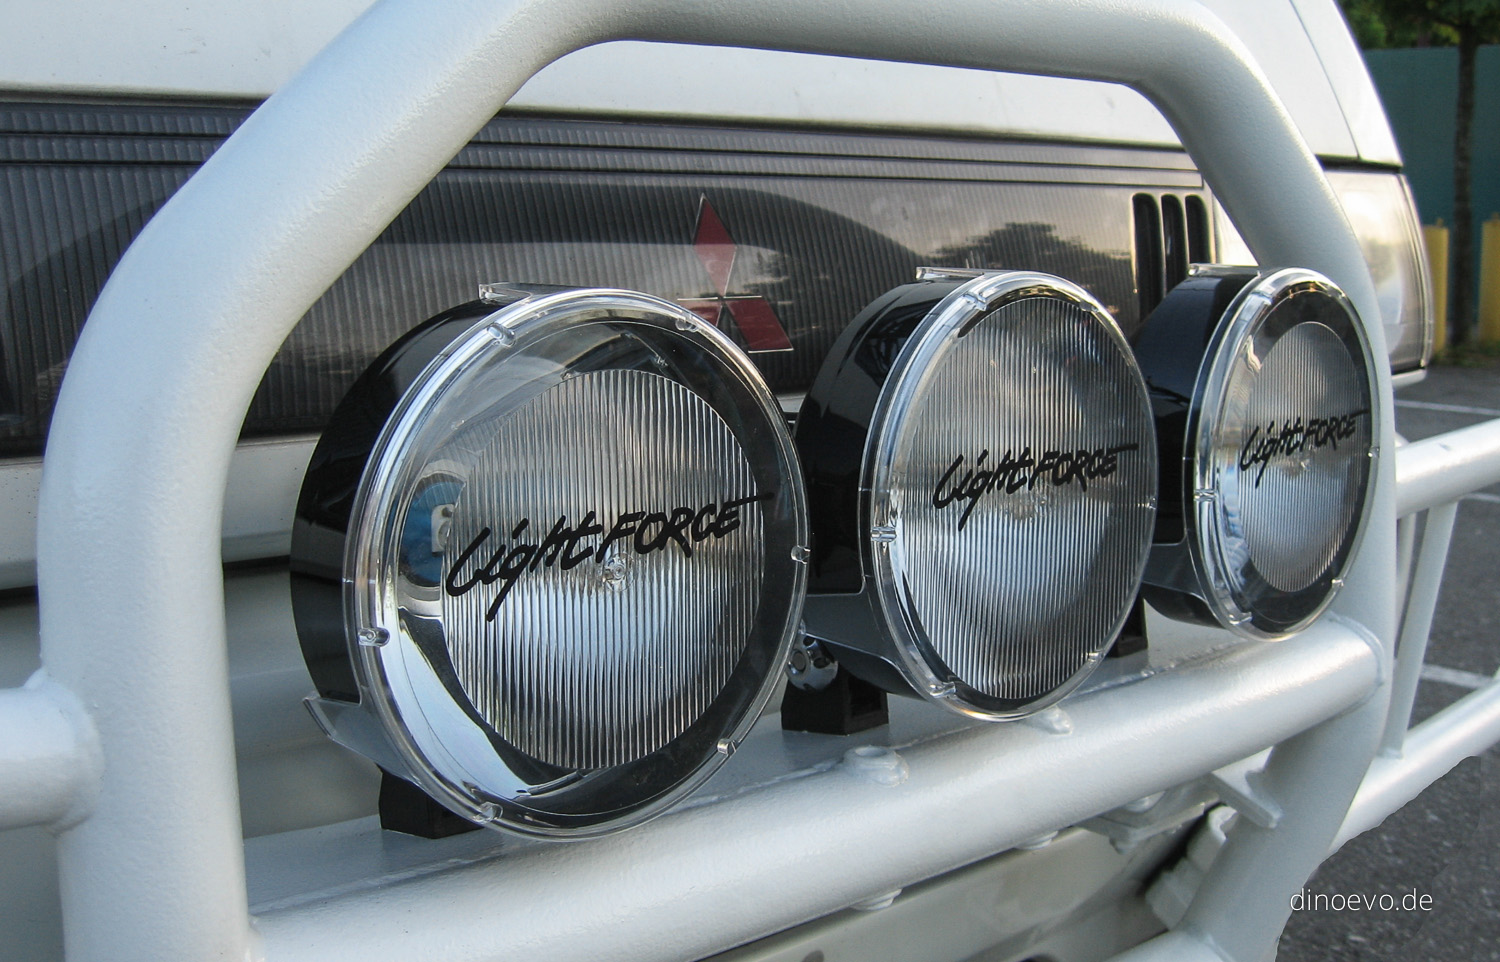
This was really a hard decision. Way too many good fog lights out there, but in the end the Lightforce Striker 170 …
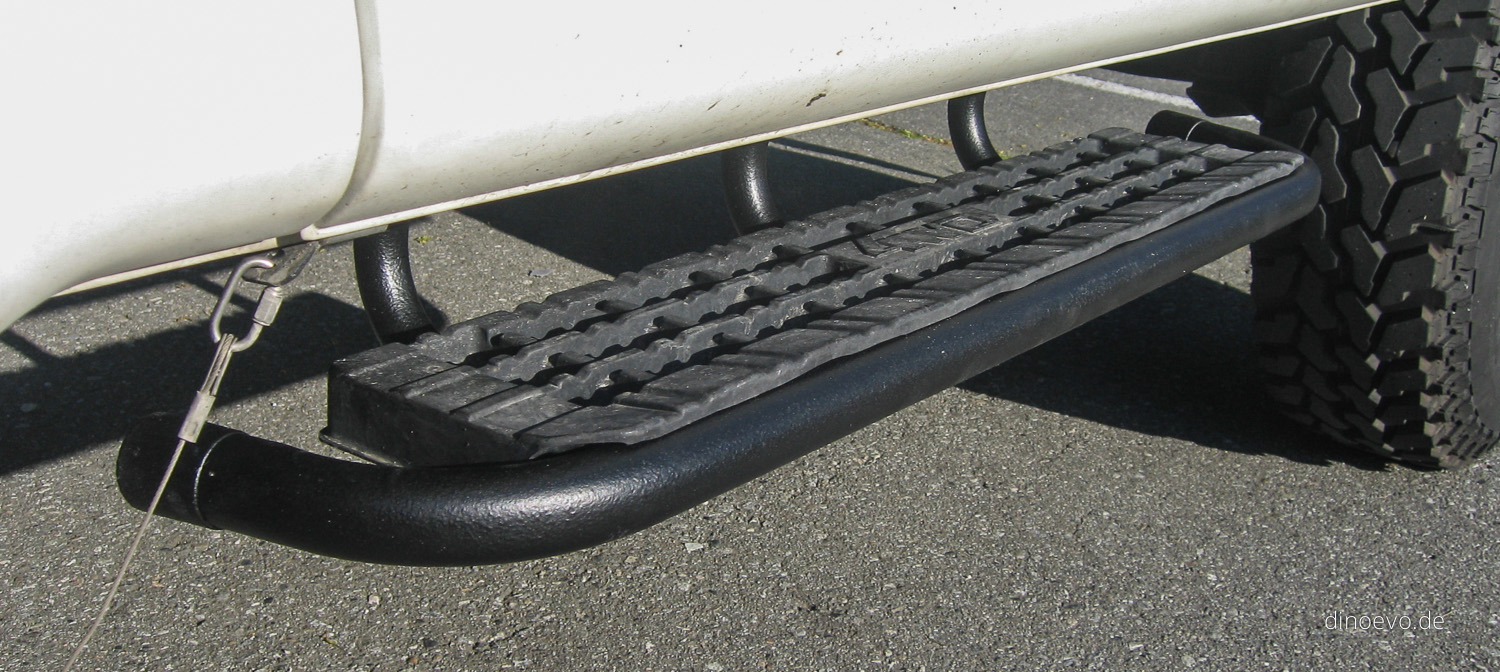
With the higher lift we use the side-step below the sliding door quite a bit while camping. After crawling under the van …
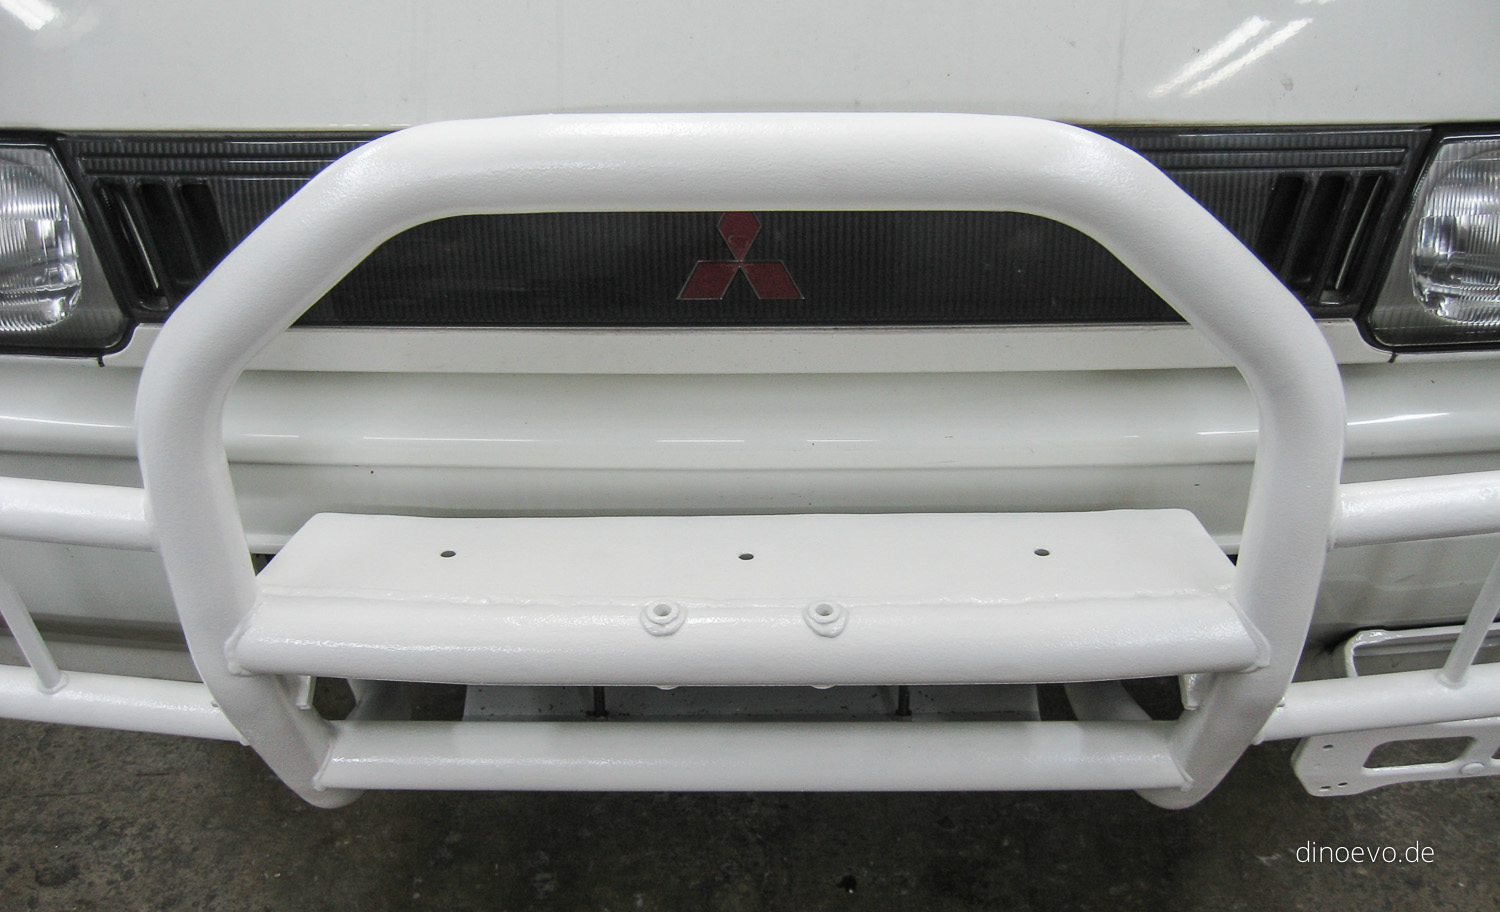
It was time to work on the front bull bar. In general I was quite happy with the standard set-up we had …
With the 32″ tires (235/85R16) you notice quite a bit of a difference (roughly 10% slower speedometer) between your actual speed and …
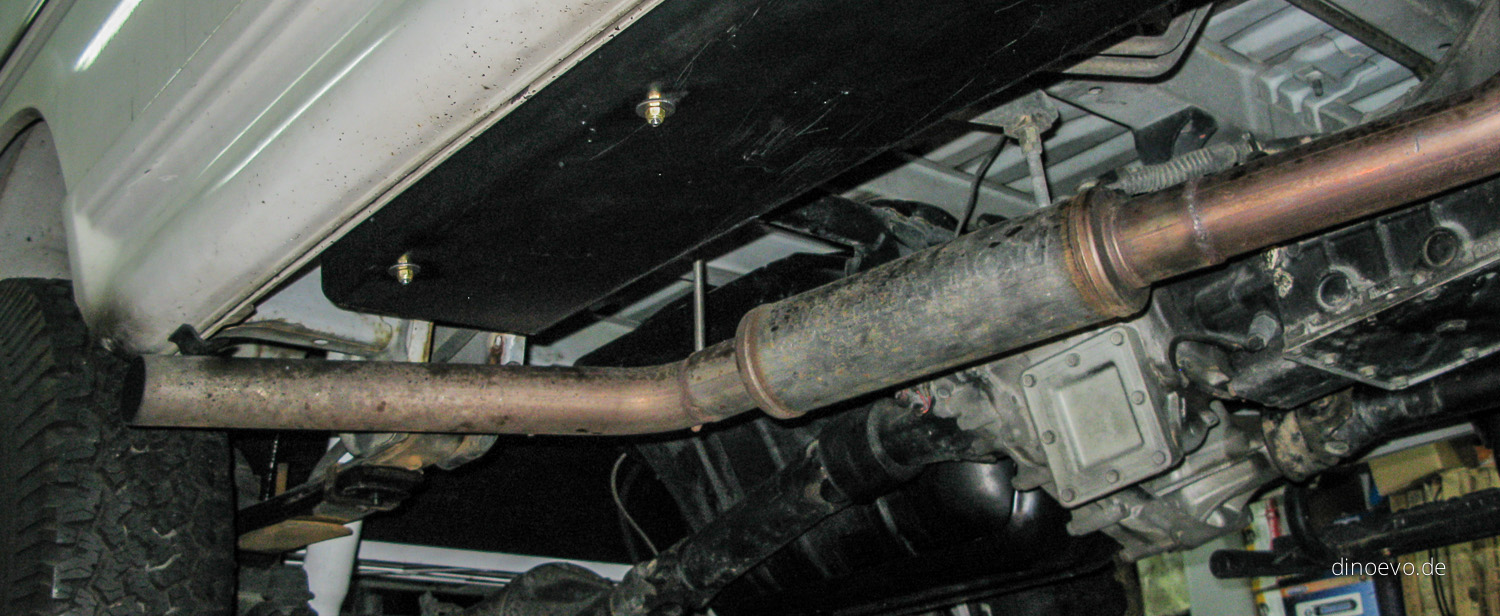
One problem with the performance of this little Diesel engine in a l300 is the stock exhaust. It is long and just …
Finally the snorkel modification is done. http://ow.ly/1C4aX Impressed with the added performance. # What's the best coat for a front bumper? Rhino … → 29/04/2010
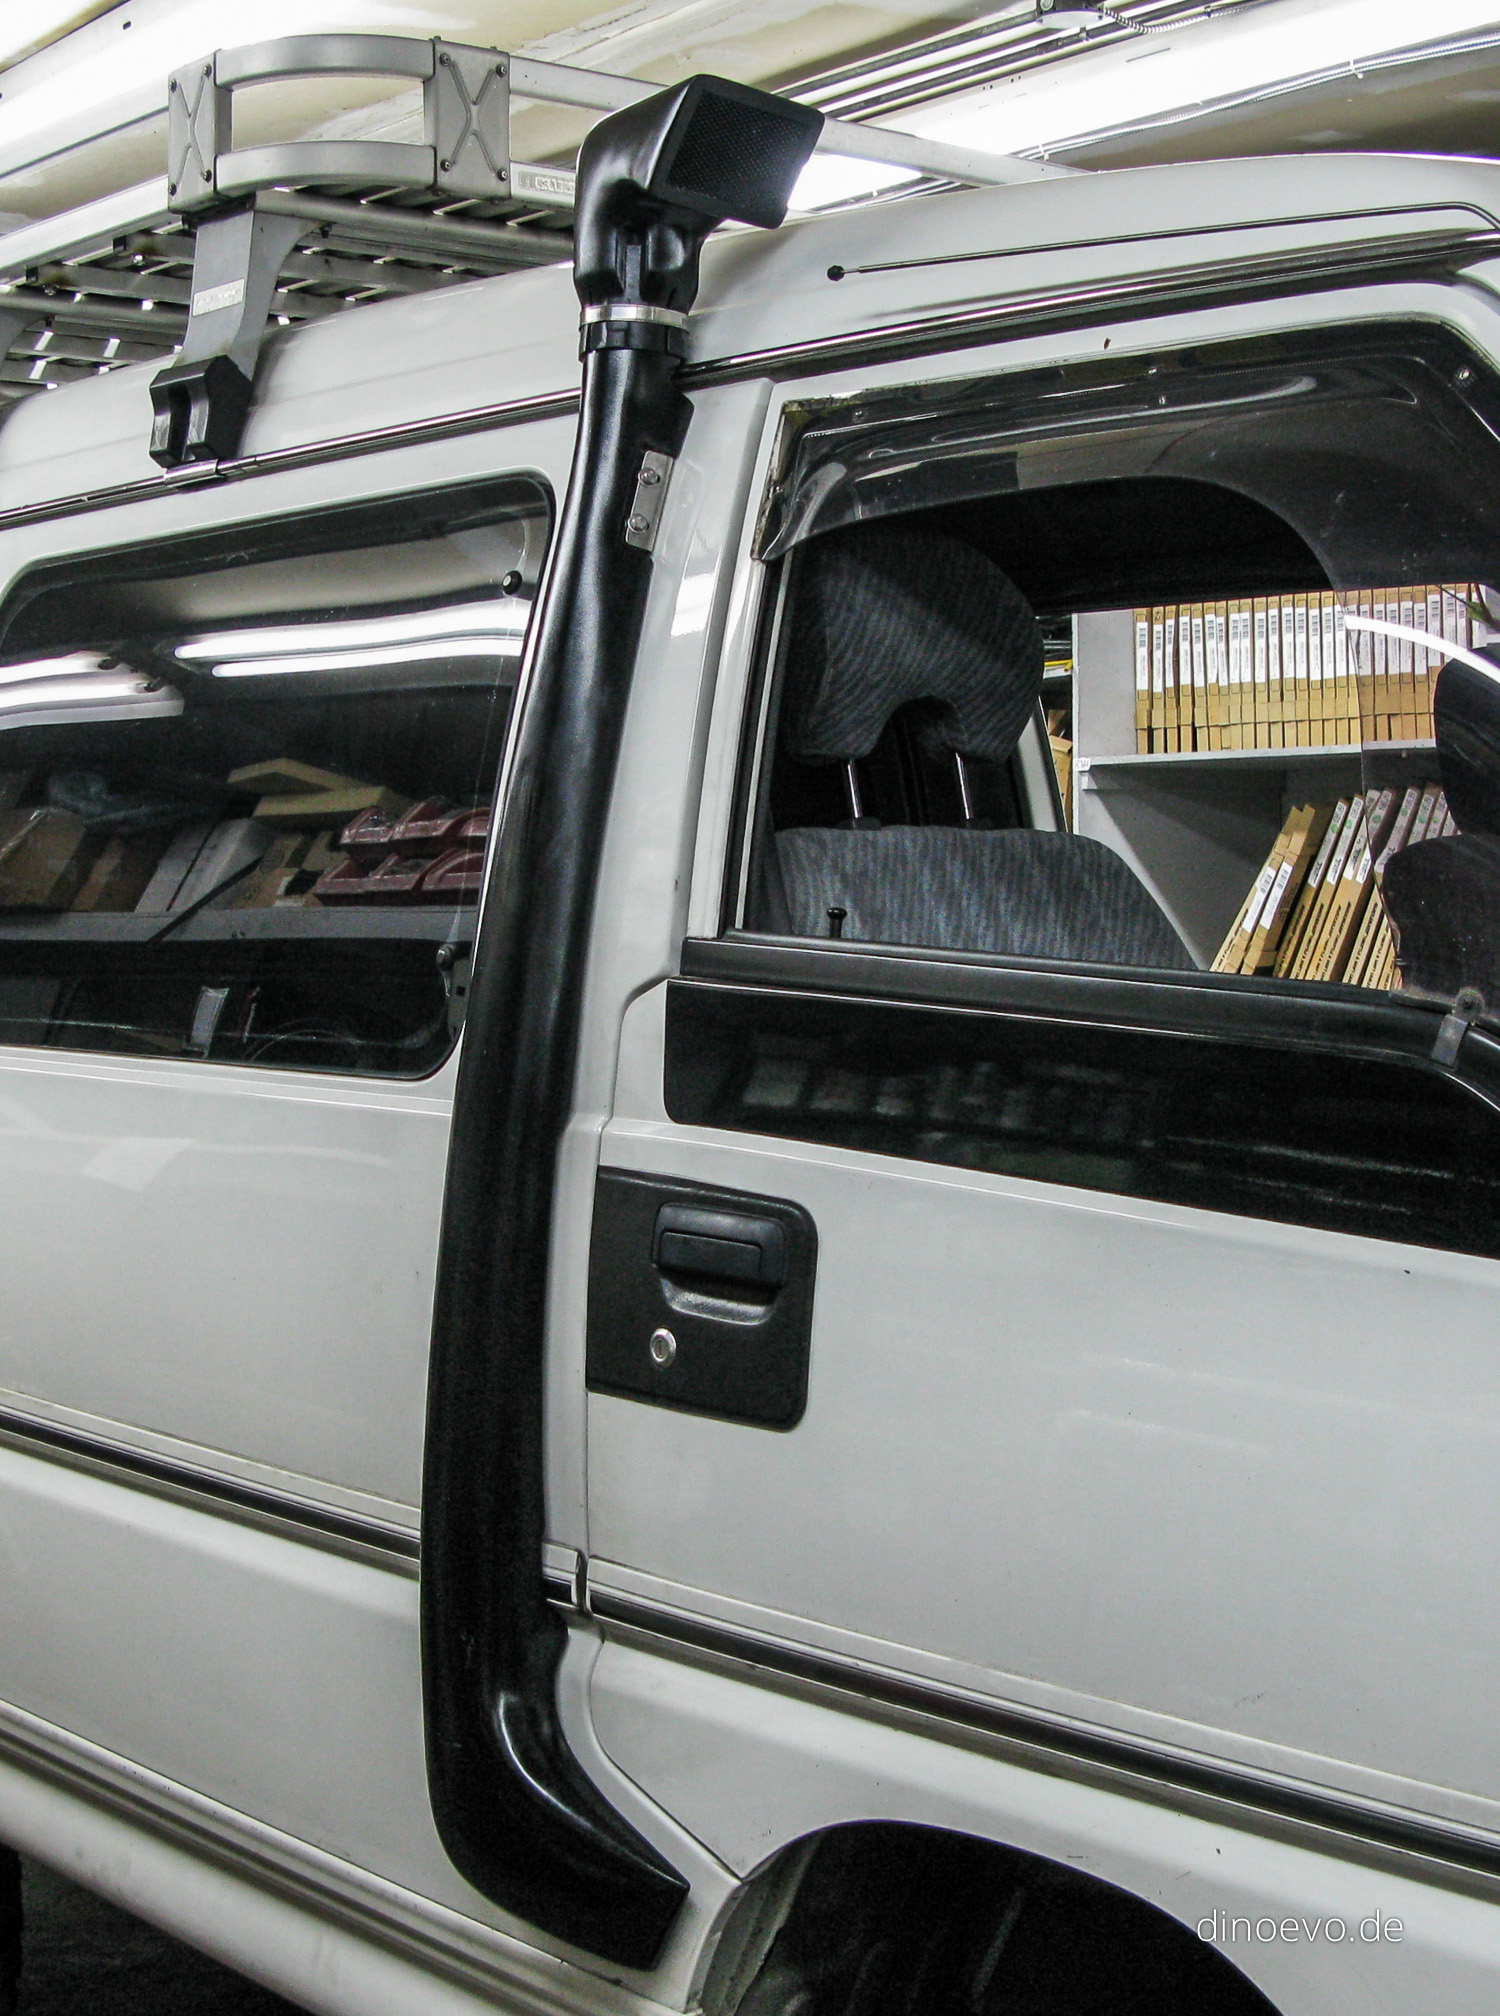
This modification took quite a bit of time. Back in February I received a package from Taiwan with all the parts, but …
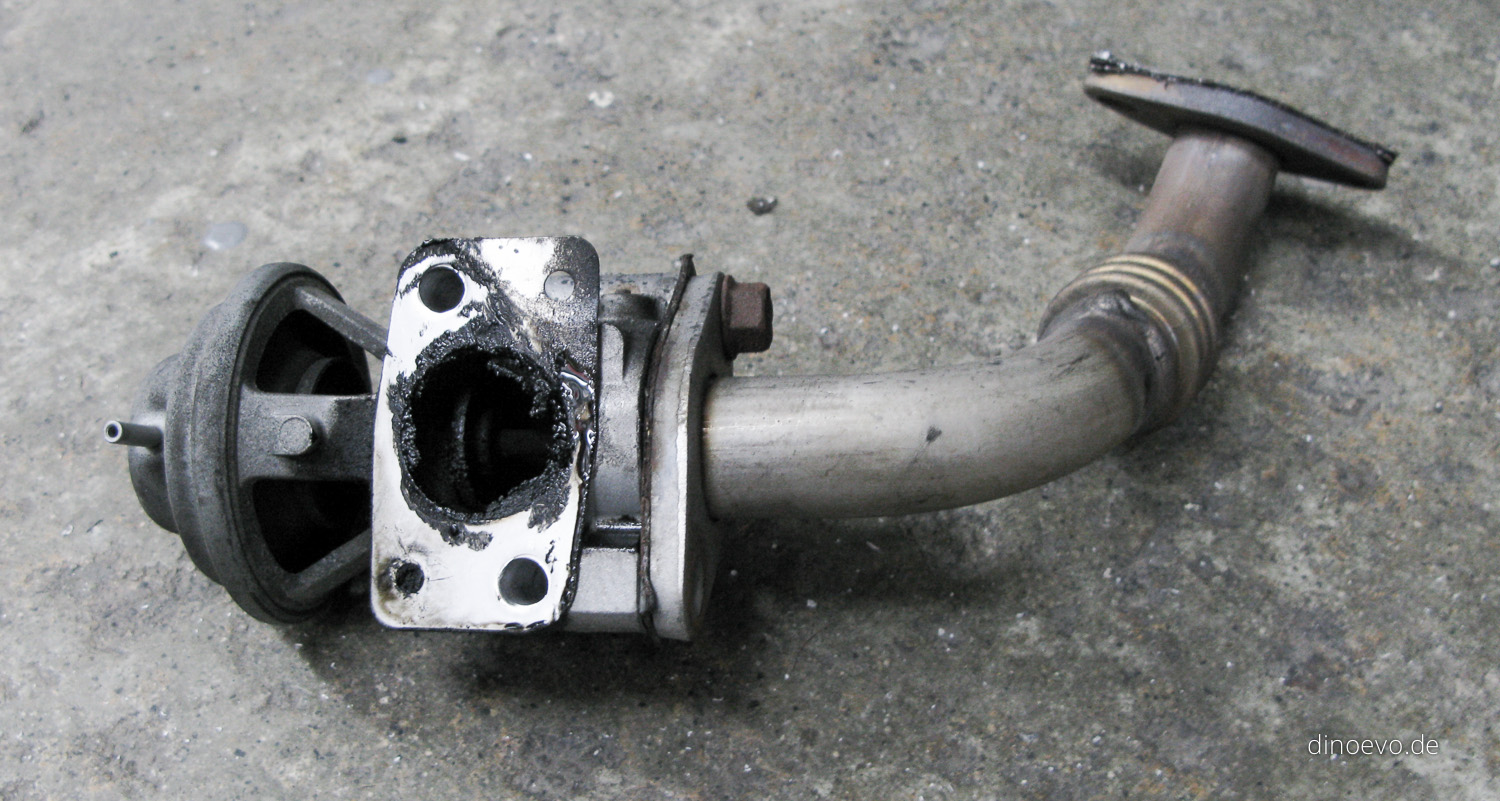
This week I removed the EGR (exhaust gas recirculation) and fabricated two blocking plates. Apparently it should increase the fuel economy, reduces …
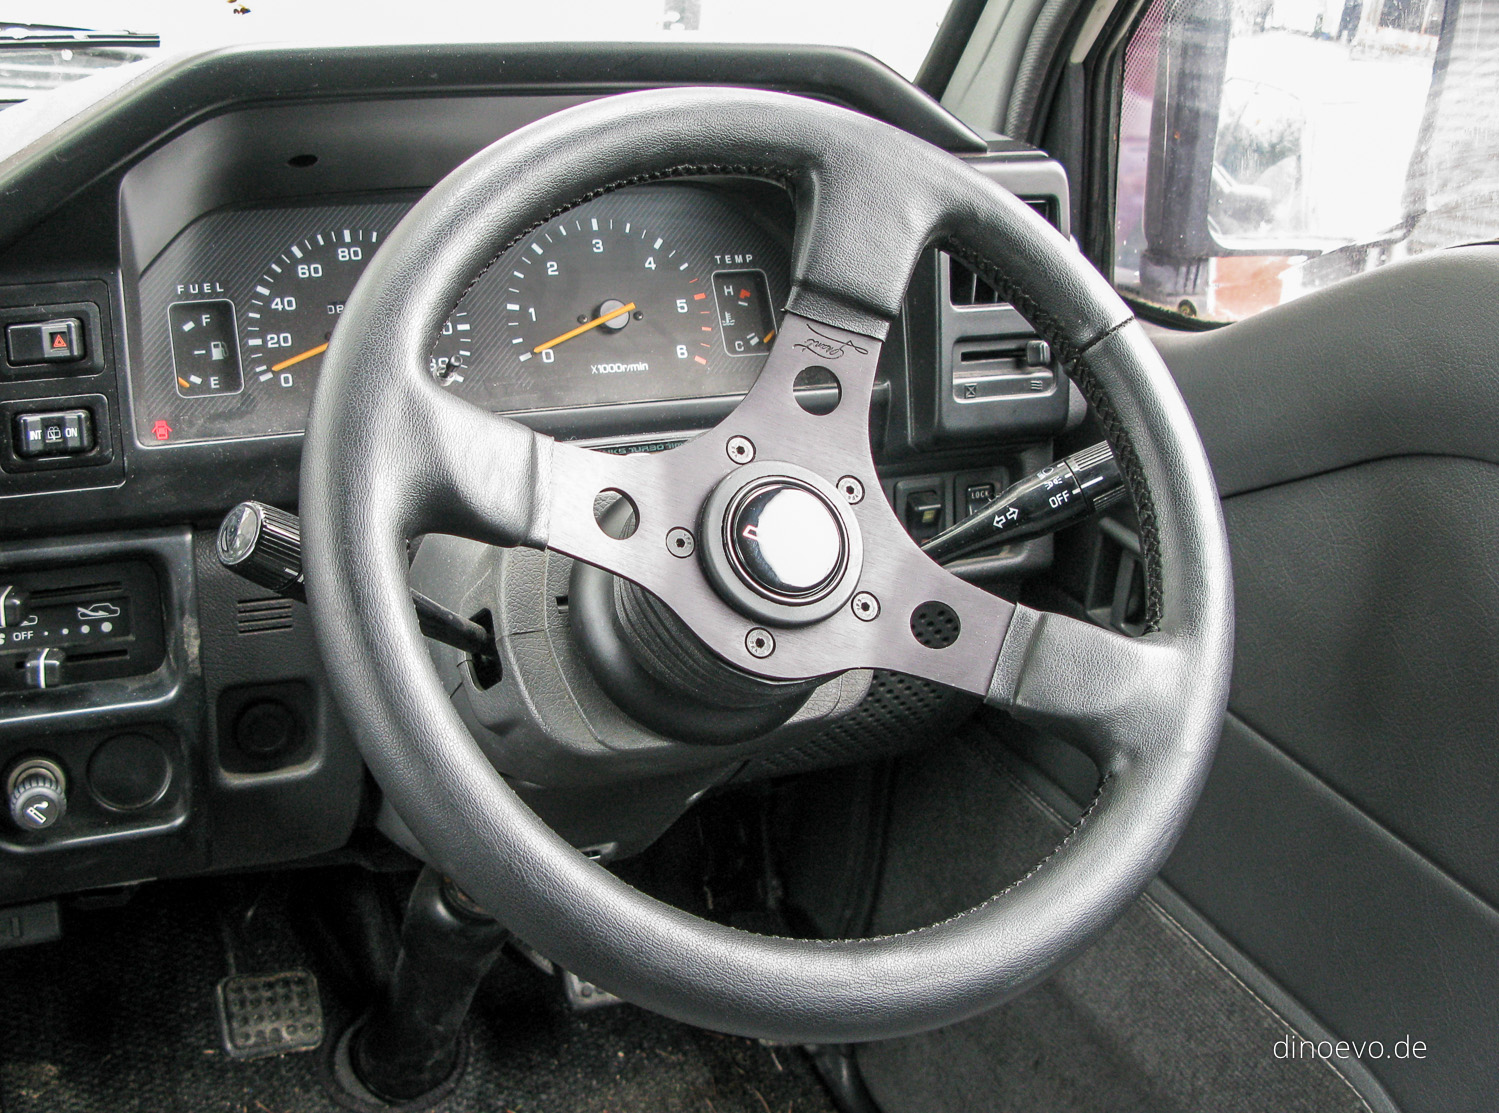
Small modification but huge driving improvement. We had already a smaller after market steering wheel on DINO and as we got DINOEVO …
Finally found high performance rotors, brakepads and stainless steel brake lines. Cant wait to get the front brake job done. # Air … → 25/03/2010
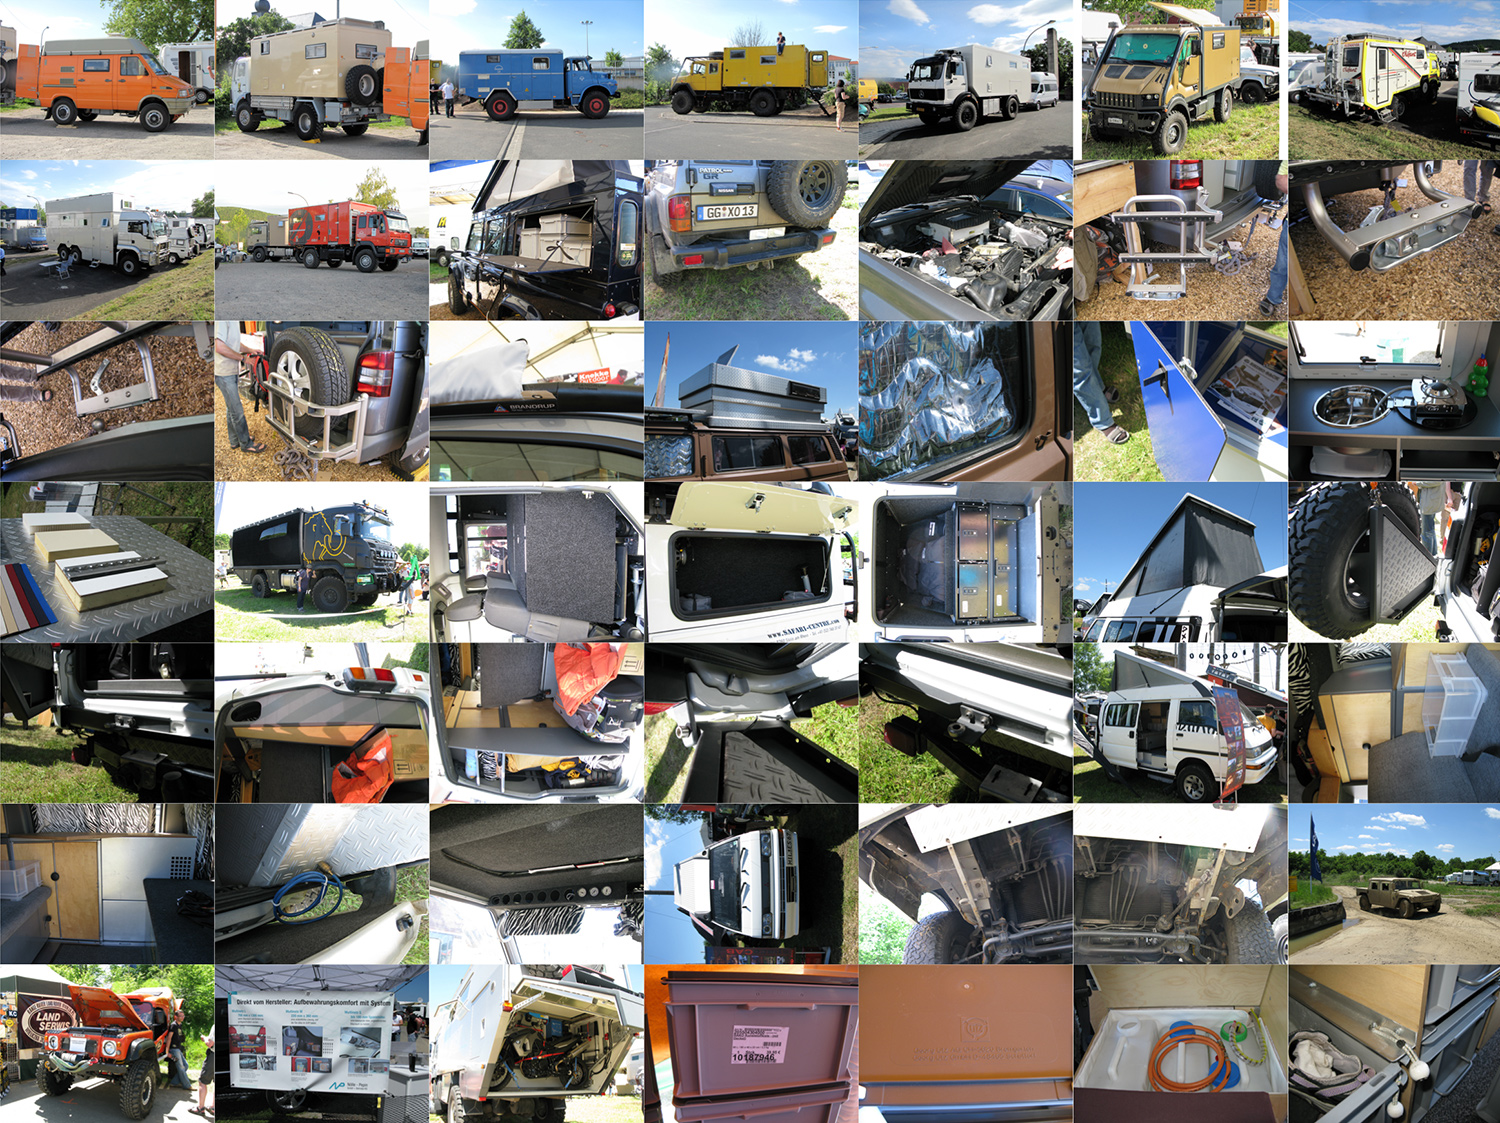
While everyone is envisioning something else for their ultimate camper van, it is quite inspiring to see what other people are doing. …